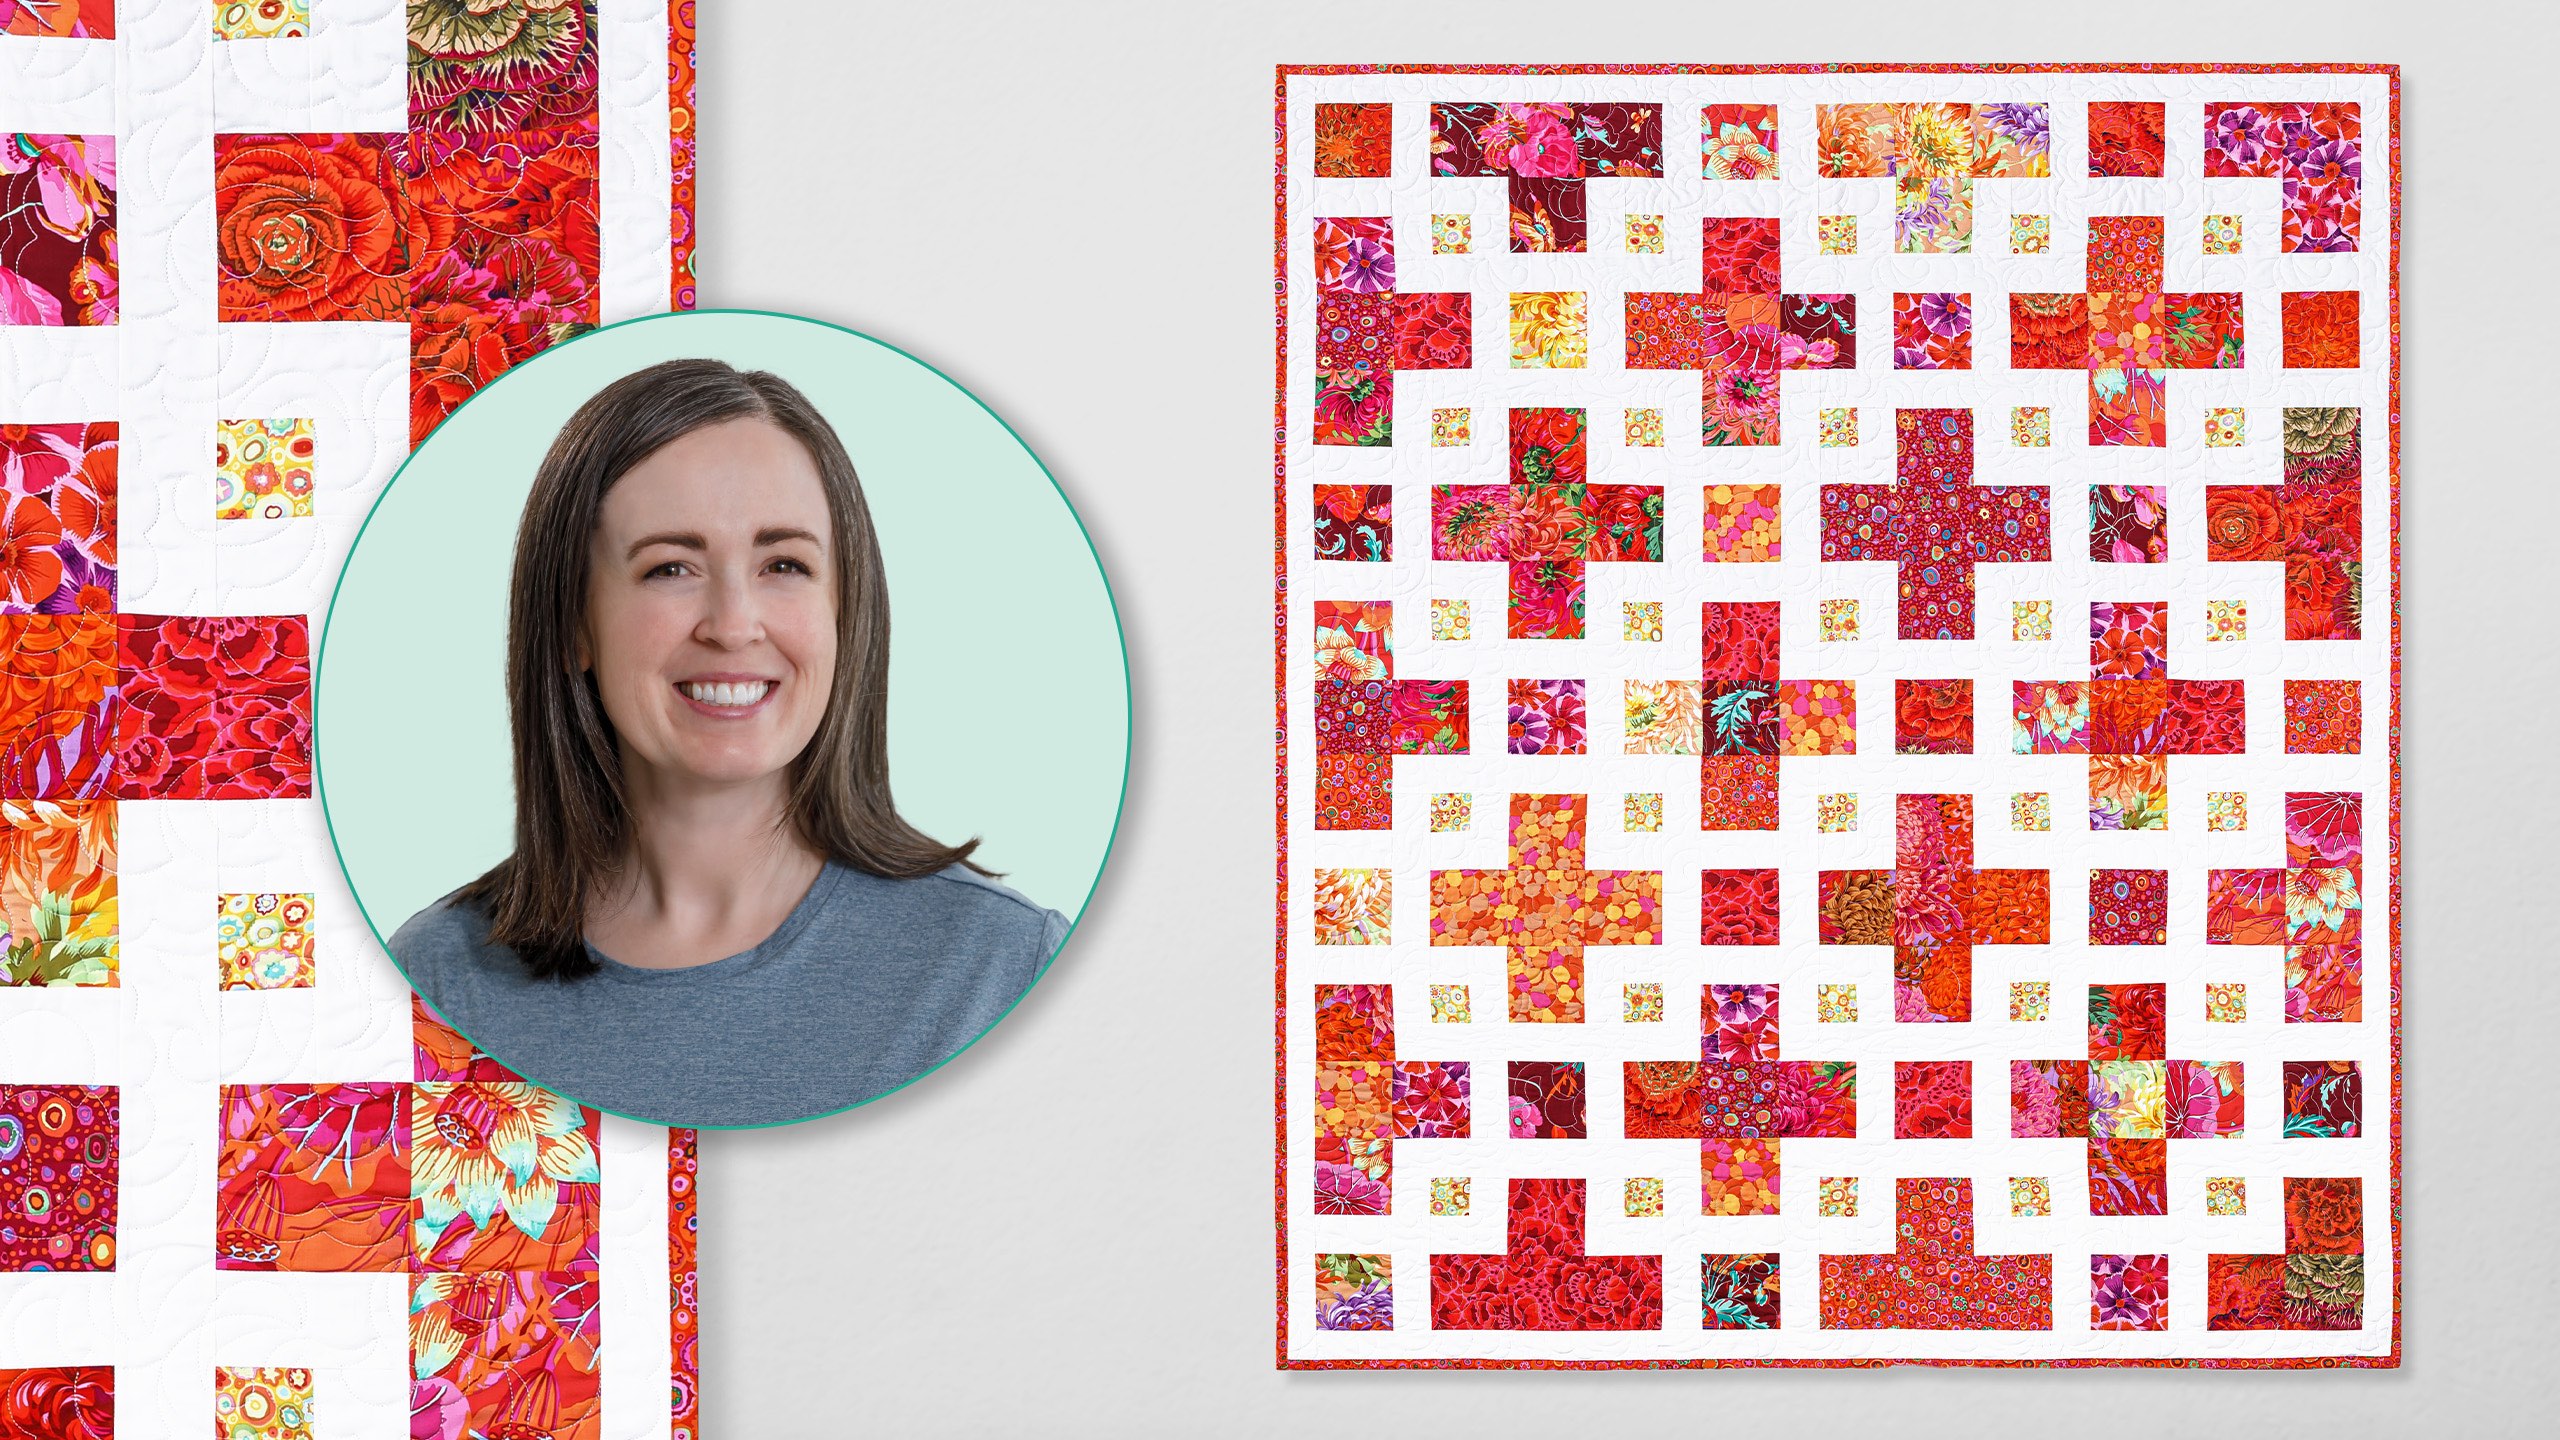
Erica Jackman's Violet quilt is made for showing off your favorite fabrics! Solid-color overlapping squares create frames that highlight pretty prints. Erica, of Kitchen Table Quilting, uses gorgeous Kaffe Fassett prints from FreeSpirit Fabrics in this simple but striking quilt.
Erica Jackman is the quilter behind Kitchen Table Quilting. One of her favorite aspects of writing patterns is explaining the quilting lingo in ways that anyone can understand. She enjoys combining traditional quilting shapes and techniques in new, innovate ways.
What is covered in The Violet Quilt with Erica Jackman?
Erica Jackman's Violet quilt is made for showing off your favorite fabrics! Solid-color overlapping squares create frames that highlight pretty prints. Erica, of Kitchen Table Quilting, uses gorgeous Kaffe Fassett prints from FreeSpirit Fabrics in this simple but striking quilt.
How long is the tutorial video?
The tutorial video is 00:08:56.
Are supplies listed for this tutorial?
Yes. The tutorial page includes the supplies and materials connected to this project.
Video Transcript
Hi, I'm Erica Jackman from Kitchen Table Quilting and today we're going to be making one of my favorite patterns, the Violet Quilt, using a custom bundle of fabrics from Cafe Faucet. So, to make this quilt, we're going to use this custom bundle of Cafe fabrics. And you'll also need to have 2 and 1/4 yards of background fabric, 3 and 2/3 yards of backing fabric, and 1/2 yard of binding fabric. Well, the only other things you'll need are a rotary cutter and a ruler. This is a really fun quilt pattern to make because it's a lot easier to make than it looks like. It's actually made of a few larger blocks and the rest of the blocks are made from sashing. There are three types of blocks in the lap quilt. The first one is a corner block and it will go right here in the quilt. And we have a side block which will go here in the quilt. And then the last block will be the main block which will go here in the quilt. We'll start by making the main block. Each of the blocks has the same shape in the corner. Let's make one of these together. I'm going to start by sewing these two pieces together. And it's a pretty short seam, so I'm not going to pin it, but you can if you want to. These are 2 and 1/2 in blocks, and I'm just going to sew them together using a quarter inch seam allowance. Now, I'm going to press the seam. I like to press my seams open. Now we're going to sew this 2 and 1/2 by 4 and 1/2 back inch background piece to the top. I'm going to pin at the beginning, at the end, and then I'm going to put one pin in the middle. Now I'm going to press this seam. This is the block that we'll have on the corner of each of our three types of blocks. And for each of the main blocks, you're going to need two of them. So, for each block, you'll need to make two rows that look like this. One that will go on the top, one that'll go on the bottom. And then one row that looks like this. Let's sew this top row together. I'm going to sew these two together. Pin at the beginning. I like to pin at the end. And then one in the middle. Let's press this open. Now we're going to attach the other piece. Pin the same way. One pin at the beginning, one pin at the end, and one in the middle. Now I'm going to press my seam. Give it a nice press. Okay, this will be the top and also the bottom row of these blocks. So, you need two for each one. And then you'll sew these three squares together in just the same way. These are 4 and 1/2 in squares in the pattern. Here's an example of what these will look like when they're done. The next step is to sew the rows together to make your block. And it will look just like this. We'll need to make four of these for the lap size quilt. Now, we're going to add sashing to the top and the bottom of the block. You'll add two 2 and 1/2 in x 12 and 1/2 in pieces, one to the top and one to the bottom. And then we'll add two 2 and 1/2 in x 16 1/2 pieces to the side. And those will make our main blocks for the quilt. And for the lap size, you will need four of them. Now that you've made your four main blocks, we're going to move on to making the corner blocks. They are made in a very similar way, but they're a little smaller. And you'll need to make two of these for your quilt. So you'll use three of the four and a half inch squares plus one of these starting pieces. And then you'll add sashing to the top and one of the sides. And then you'll need to make the side blocks. And you'll need six of these. They're made in a very similar way. You just use four of the 4 and 1/2 in squares and then two of the starting pieces. And then add your sashing to two of the sides and to the top. And that will make all of your blocks. Now, we're going to move on to making the sashing, which is a little bit tricky, but not difficult to do. We have all of our blocks done. So, now we're going to talk about the layout of the quilt. So, if you remember, we have our main block pieces. And you can see those blocks in the quilt have an outline of white background fabric. We're going to have our corner pieces, and there's only two of them, and they'll be on the right side because it's the layout of the quilt is not symmetrical. So you'll have one at the top and one at the bottom on the right side. And then we're going to have our side pieces which will go over here on the sides. And then you rotate them for this side of the quilt. So once you have all of those, if you refer to the layout section of the pattern, it will show the blocks in a darker outline so you can see where they go because we're going to add sashing in between the blocks. So in in each row there will be a line of vertical sashing that goes between. So here is a block and here is a block and right in between right here there is a sashing piece which has one 4 and 1/2 in square a 2 and 1/2 by 4 and 1/2 in backing background piece and then one more background piece and two more squares. This vertical sashing piece is going to go between your blocks to make your rows. And then between the rows, we're going to have a long horizontal sashing piece that's going to be made up of squares and the 2 and 1 half x 4 and 1/2 in background pieces. Now, there are two options when making your quilt. You can make it scrappy or you can make it as written like it says in the pattern. So, fabric C refers to these squares. And if you're making it as written, you these fabrics will all be the same for each of these squares. If you're making it scrappy, you'll use leftovers from your plus shapes to make these fabric C squares. So, after you've sewn your rows together, all you need to do is add your border. It's a 2 and 1/2 in border that goes around the entire quilt, and the quilt will end up as 58 in x 68 in. It comes together really quickly. I highly recommend that you lay everything out before you start sewing everything together because this it's important to see visually how all the blocks are going to fit together before you start sewing. Thanks for joining me today and making the Violet quilt pattern. This is one of my favorite patterns to make and I can't wait to see what you do it do with it. If you'd like to see more of my work, you can find me on Instagram at kitchen tablequilting or visit my website kitchenquilting.com. Happy sewing.


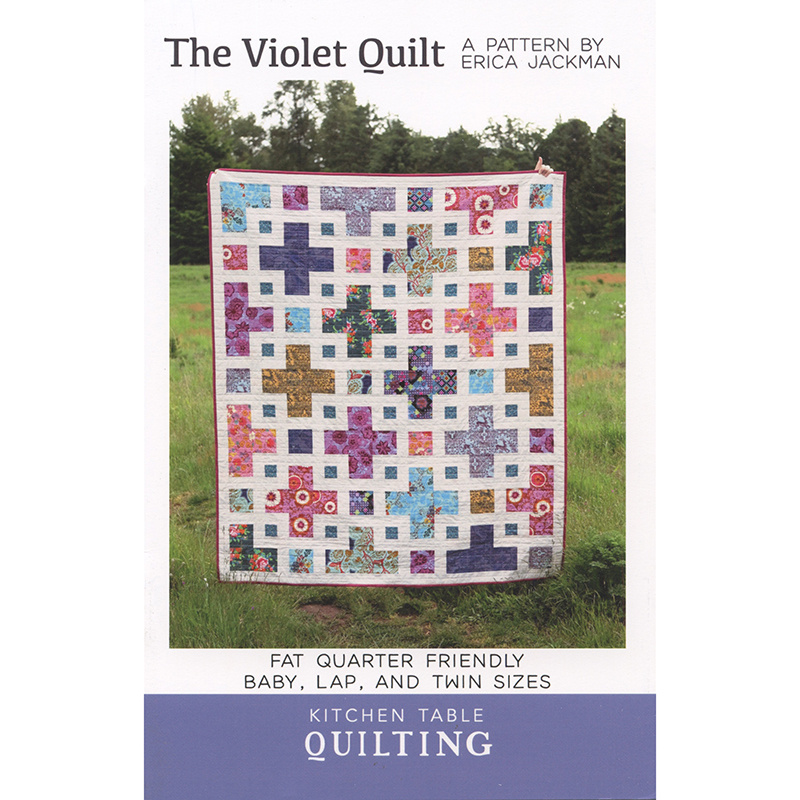 The Violet Quilt Pattern$12.75Shop →
 Colorworks Premium Solids - Superwhite Yardage$8.12Shop →
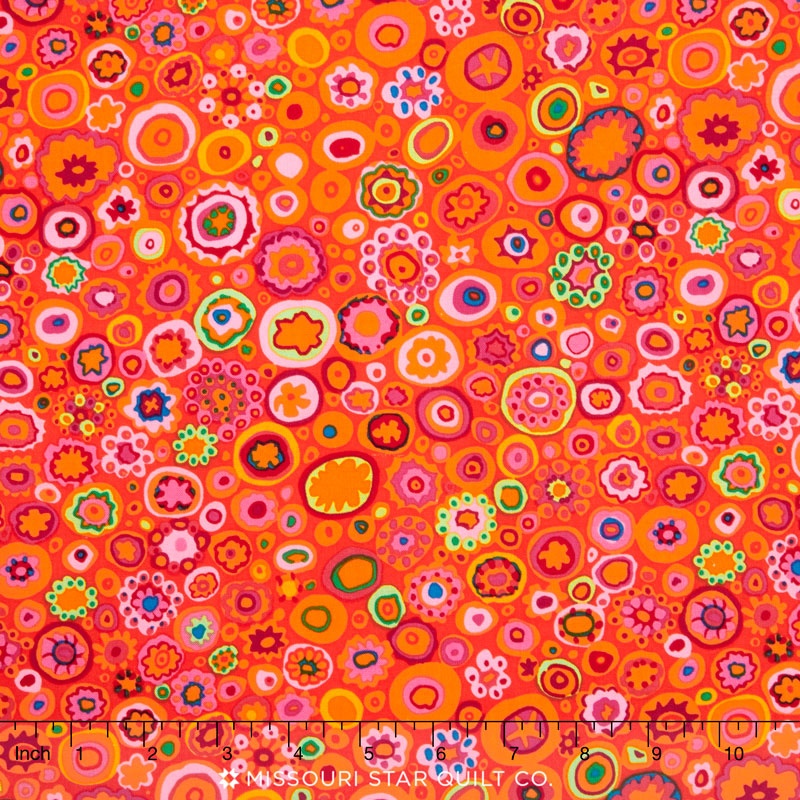 Kaffe Collective - Warm 2016 Classics Paper Weight Red Yardages$13.00Shop →
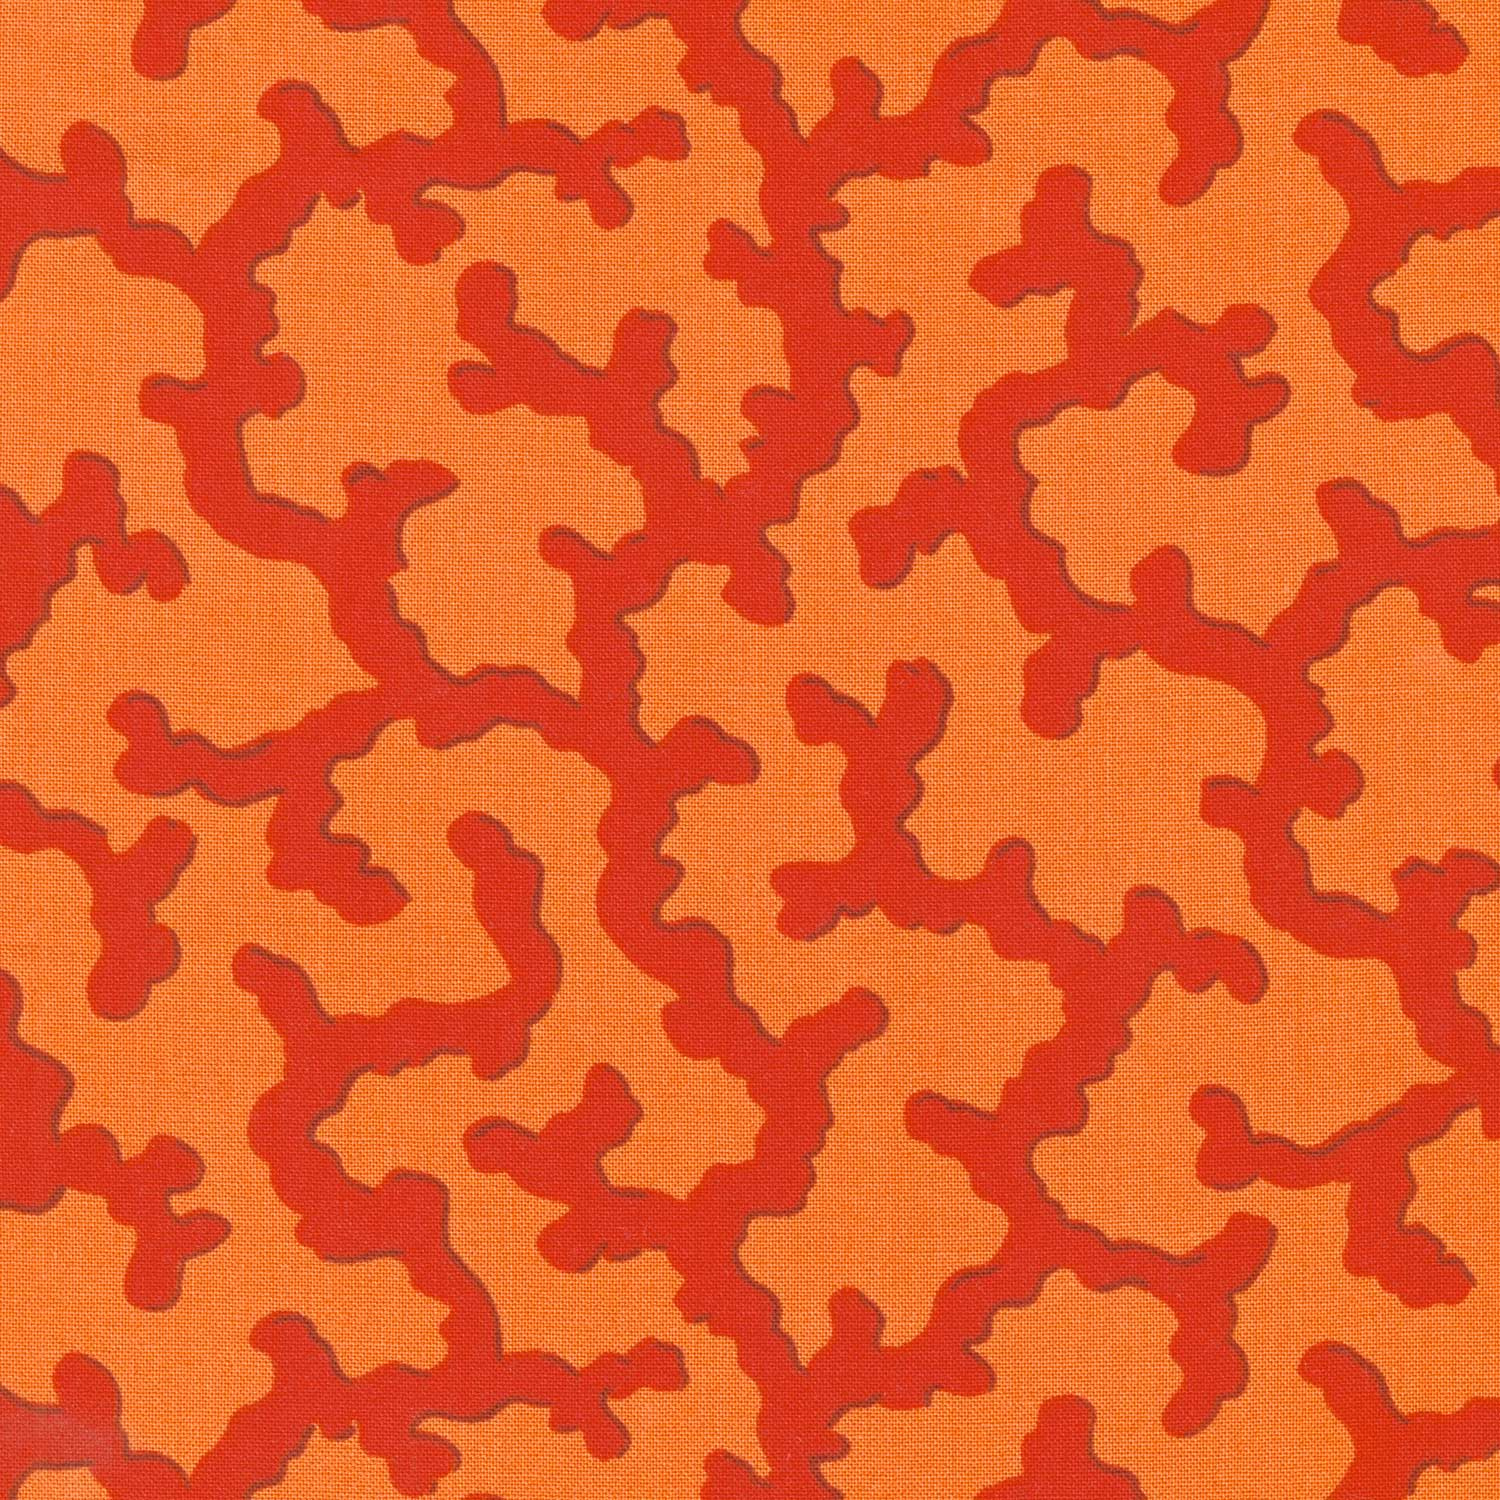 Kaffe Fassett Collective - February 2025 Warm Colorway Coral Red Yardage$13.00Shop →
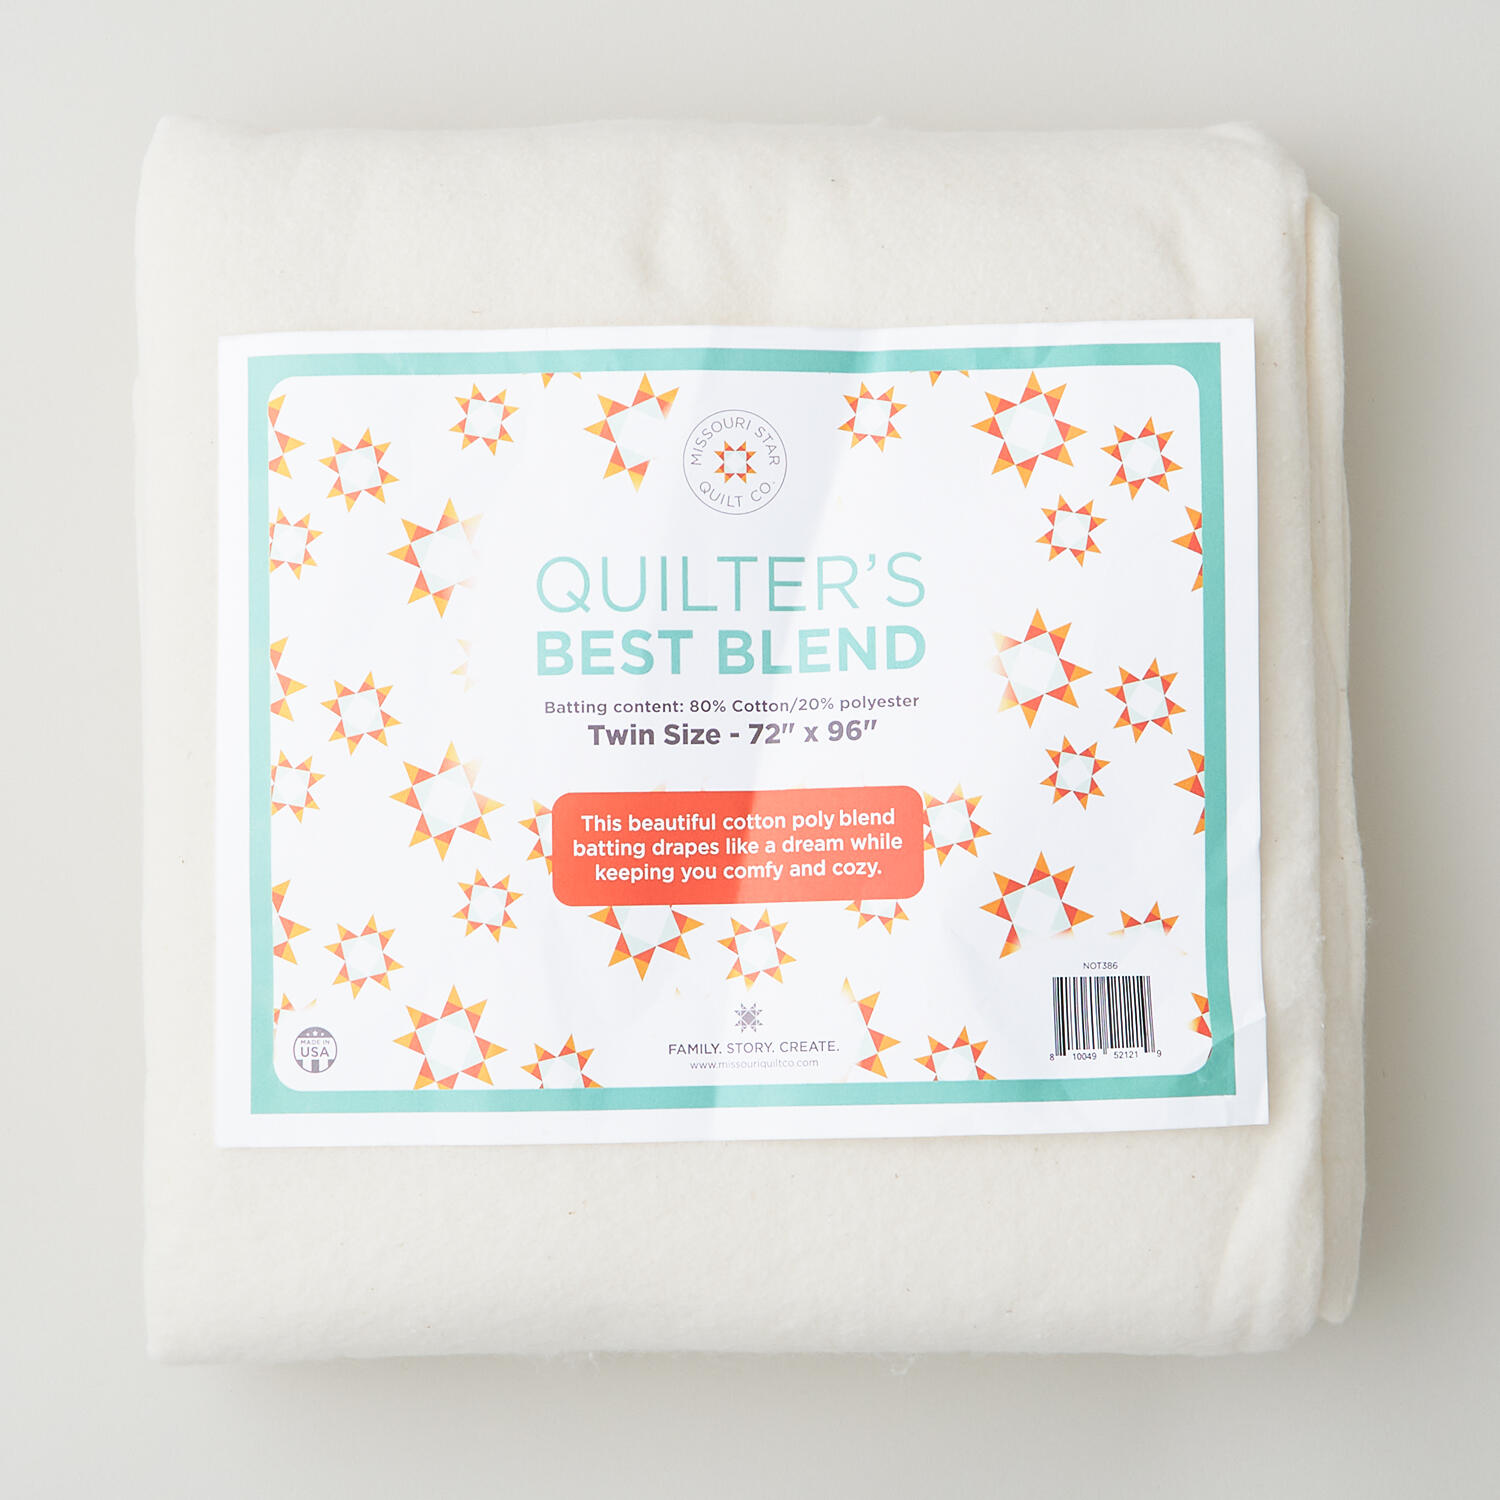 Missouri Star Quilter’s Best Blend Twin Batting$26.95Shop →
 Creative Grids Quilting Ruler 6 1/2 x 24 1/2in$35.49Shop →
 Missouri Star 45mm Rotary Cutter - Olga$19.95Shop →
 Missouri Star + Oliso TG1600 ProPlus Iron$209.95Shop →
 Missouri Star Wooly Betty Board - 17.25" x 25.5" Orange Border$99.95Shop →
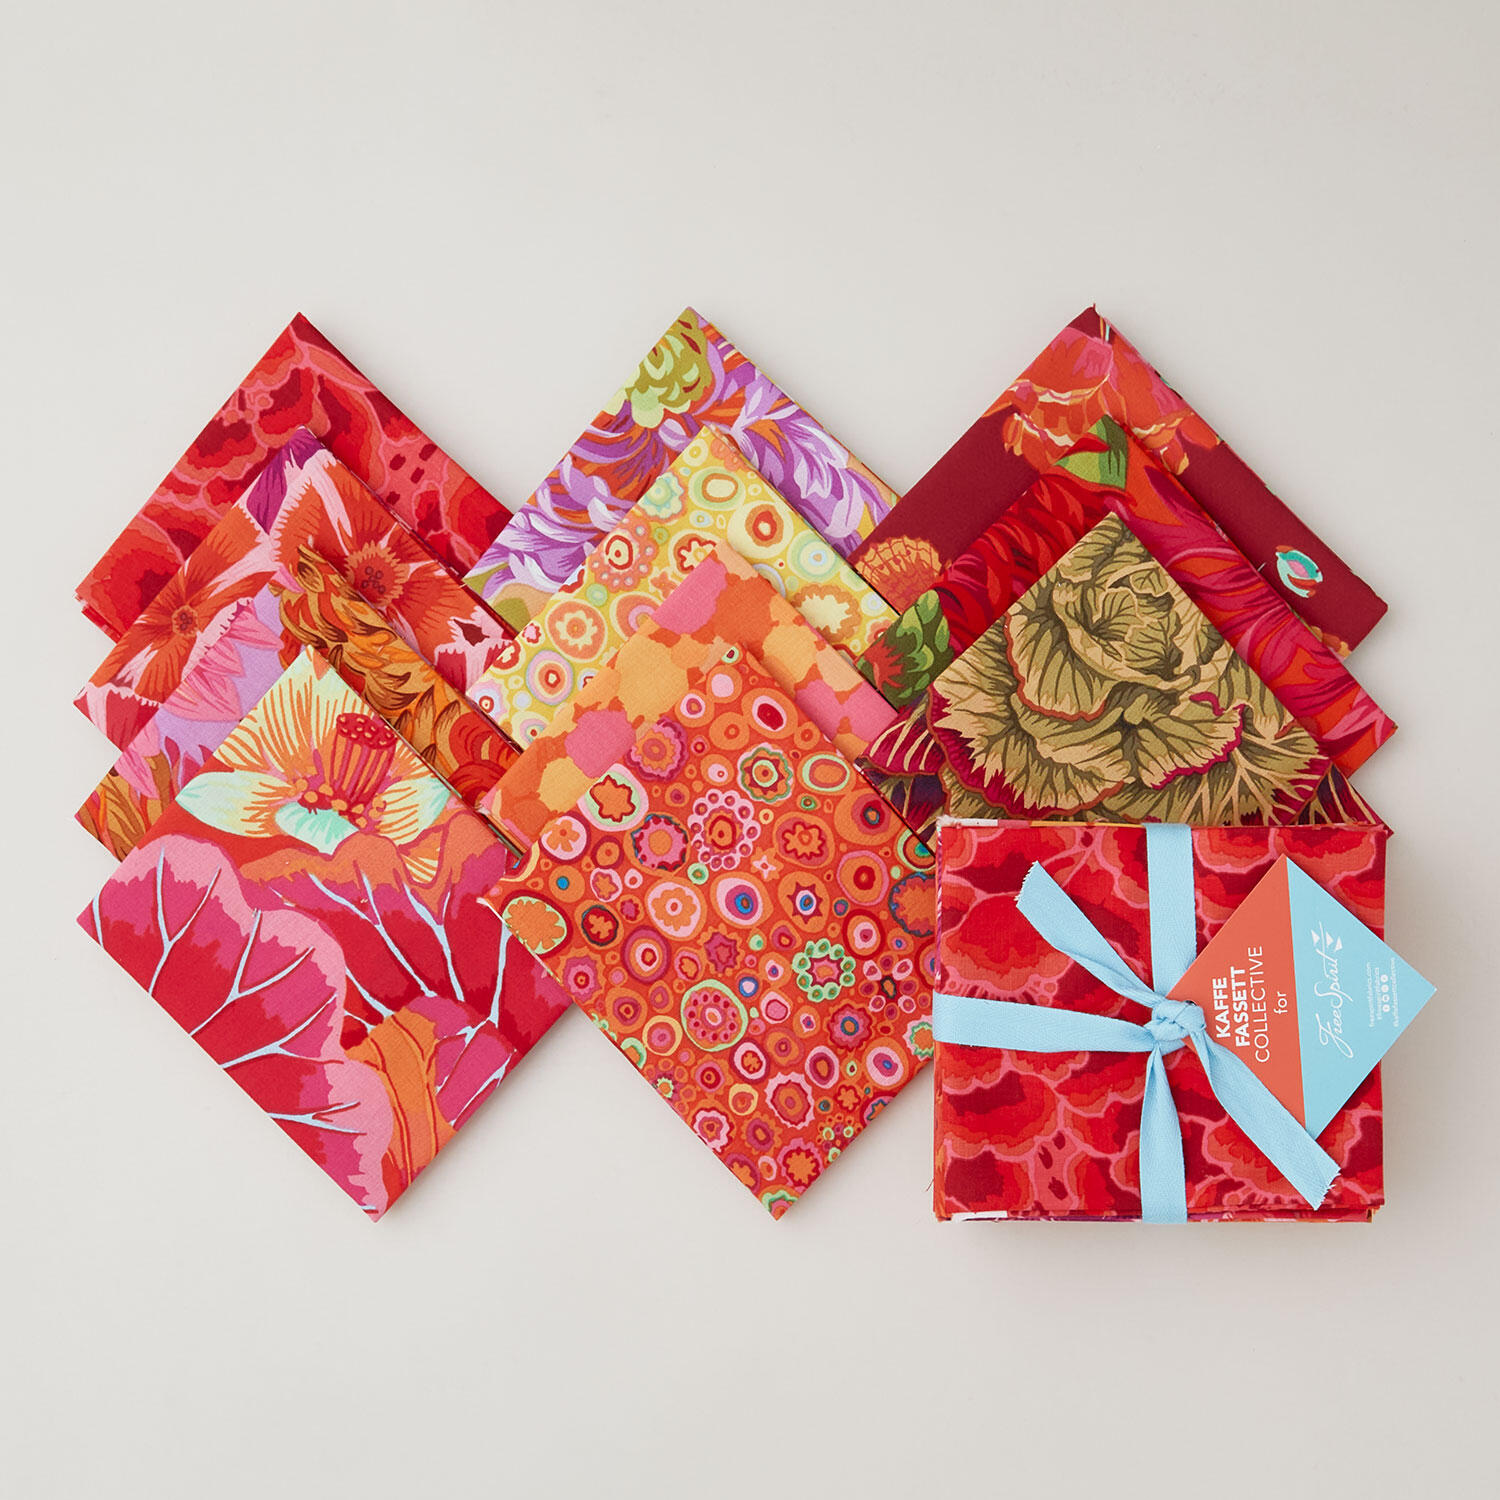 Kaffe Fassett Collective Violet Warm Fat Quarter Bundle 11 ply$47.95Shop →



