Tim Holtz - Pink Stand Out Star Quilt
 Misty Doan
- Fat Quarters
- Traditional
- Quilts
- Intermediate
- Quilt size 71" × 71"
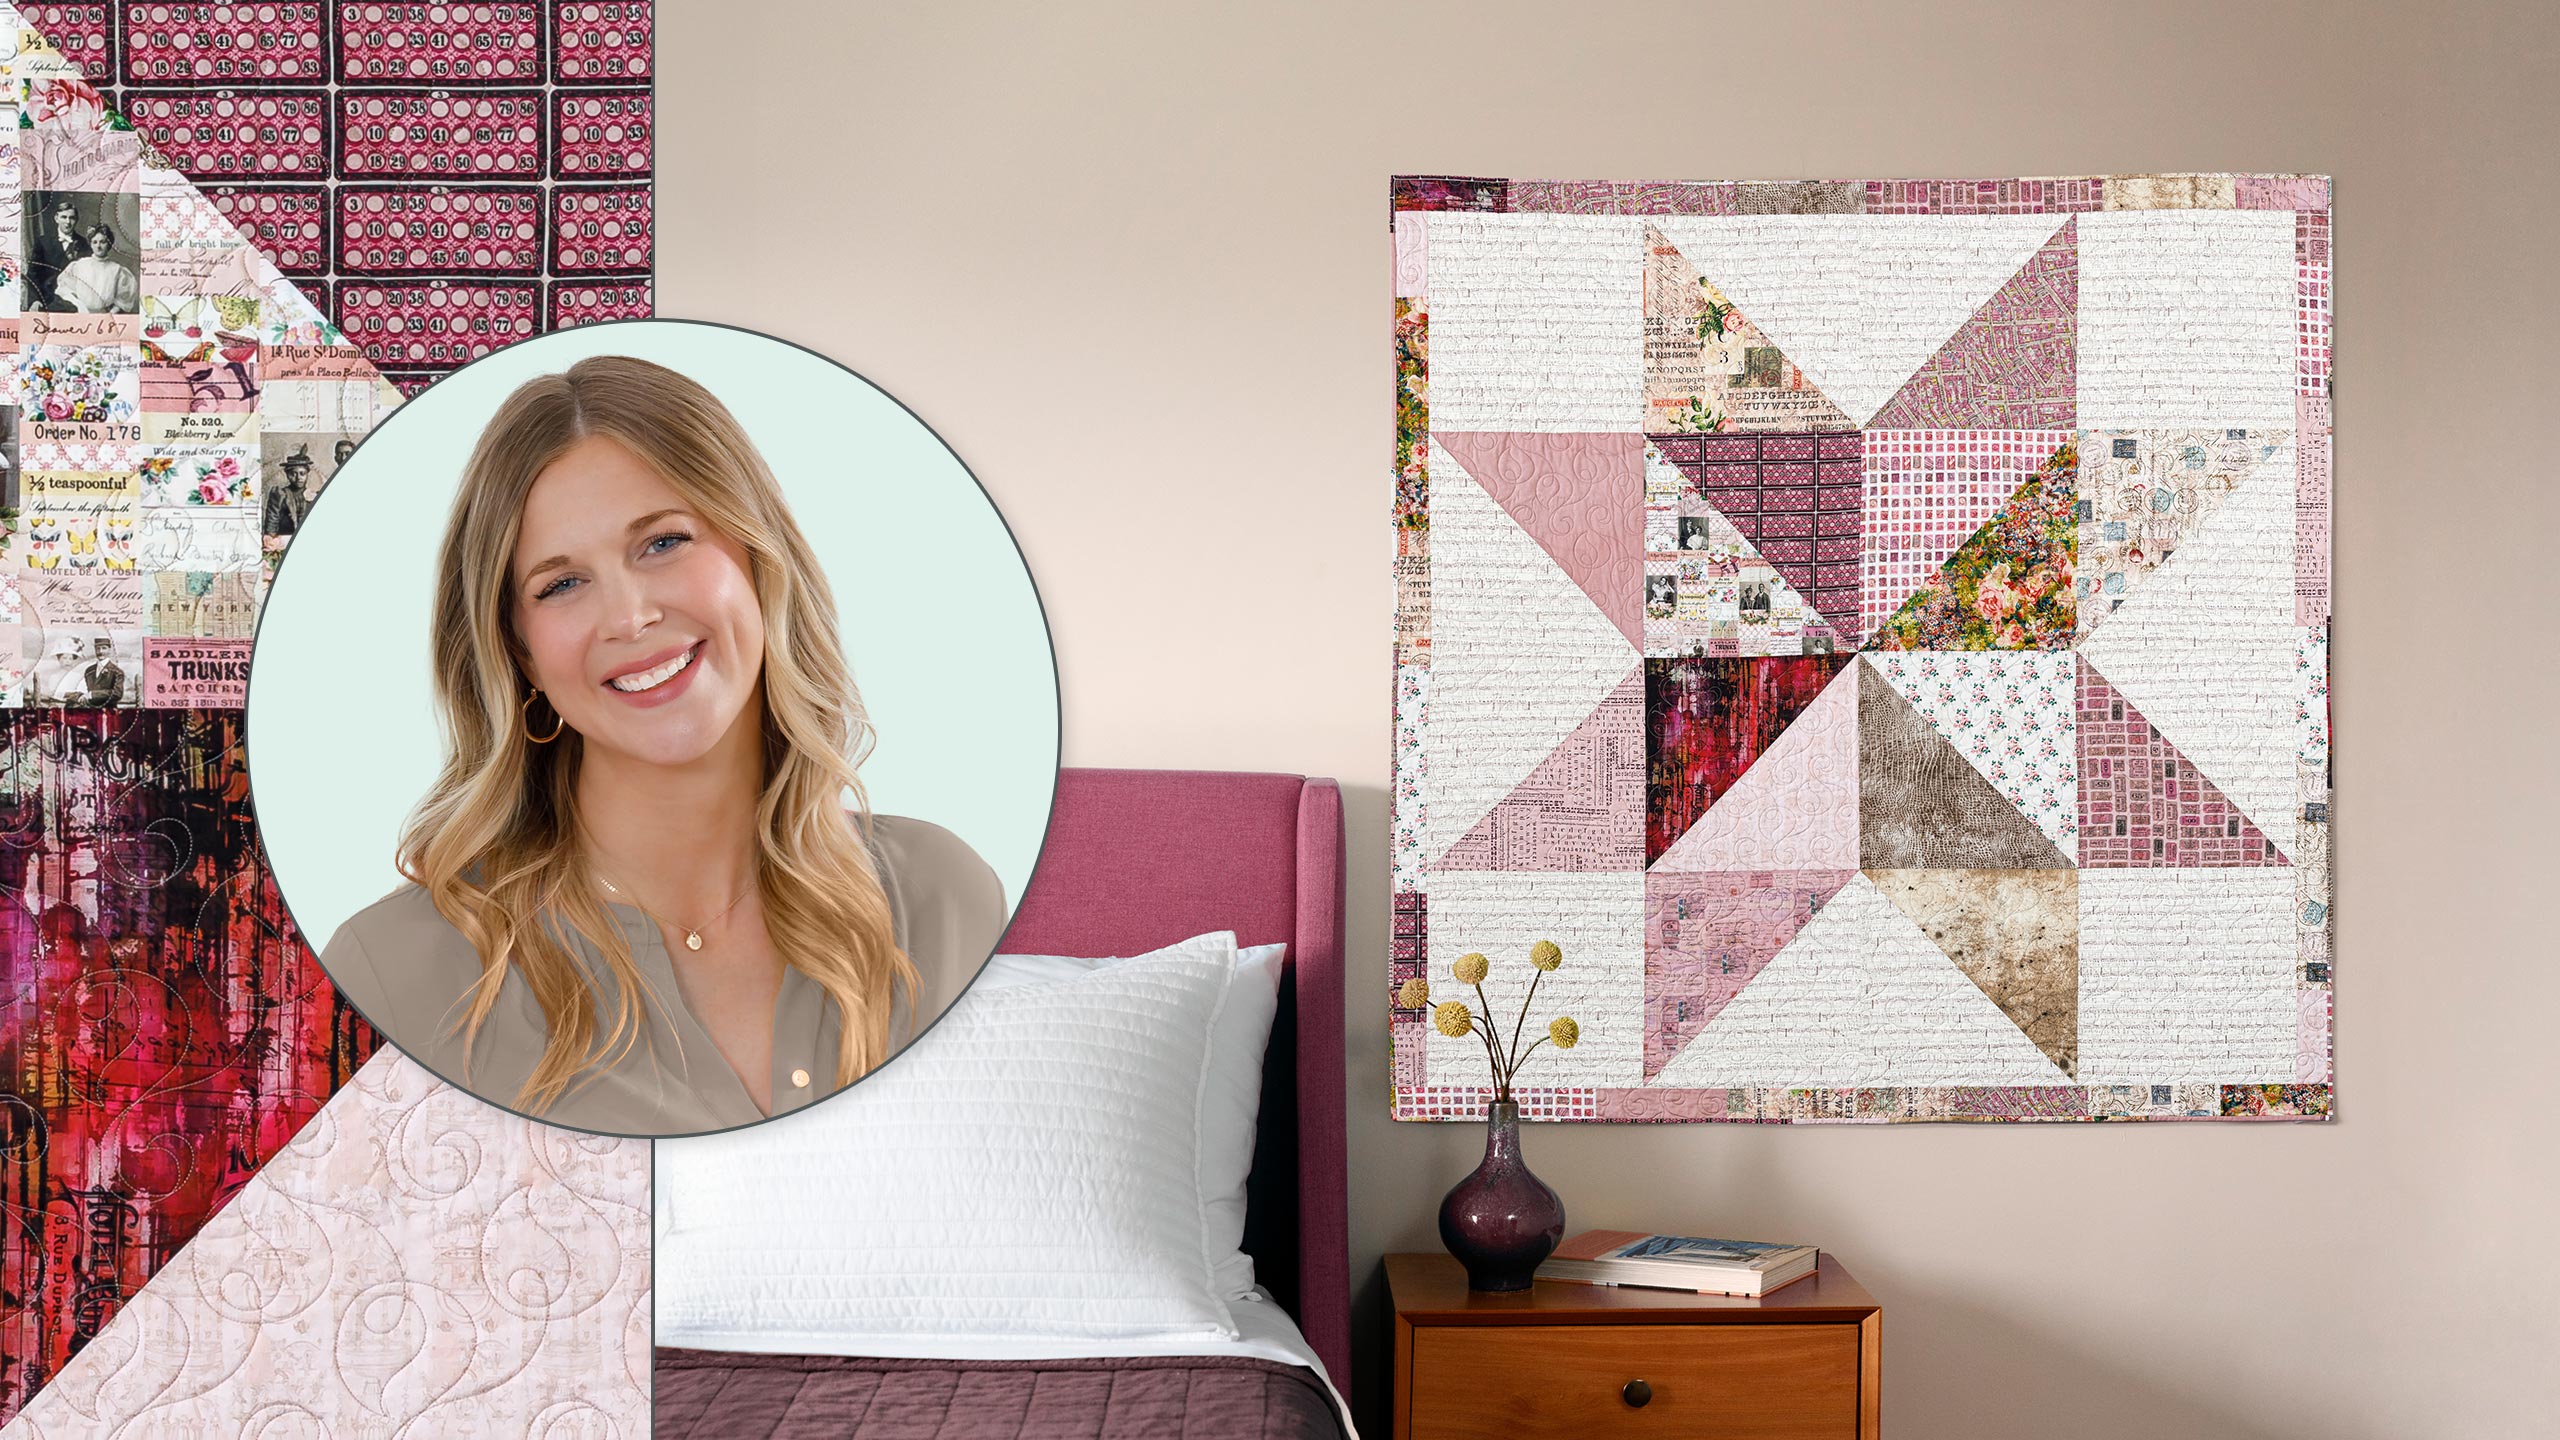
Make a quilt that really stands out! Watch as Misty makes Tim Holtz’s striking Pink Standout Star quilt. Designed for fat quarters, this quilt with one big star is a breeze to make. Only you will know how quickly this impressive quilt comes together!
Instructor
Misty Doan
Misty Doan grew up surrounded by sewing and quilting. She loves spending time sharing tutorials each week each week, and when she’s not stitching up one of her fun sewing projects for home decor, most likely you’ll find her hanging out with her husband and three awesome kids or working on a house project.
Shop this tutorial
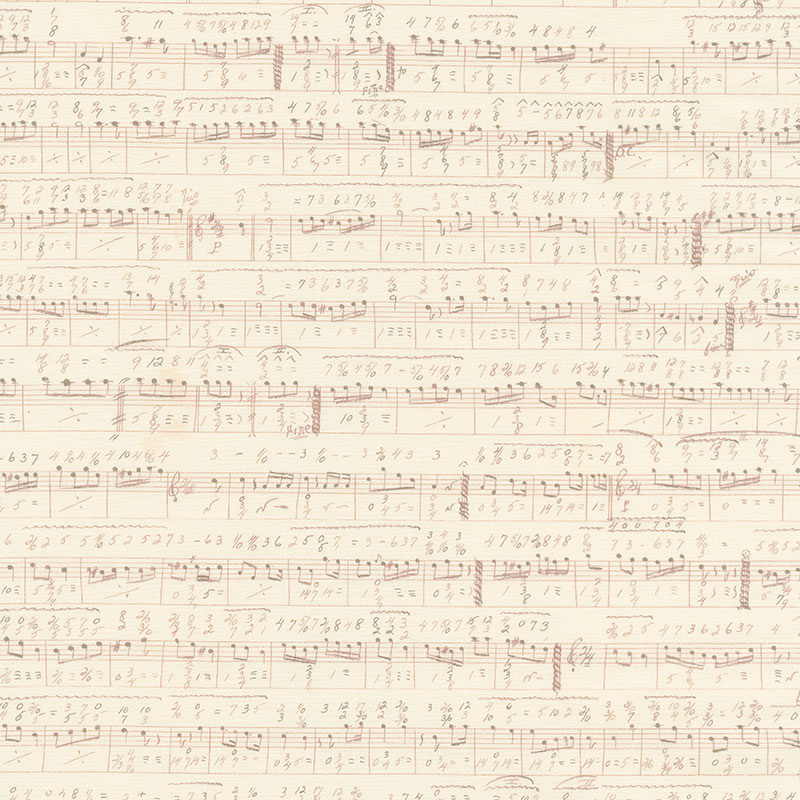 Eclectic Elements 2 - Neutral Yardage$12.64Shop →
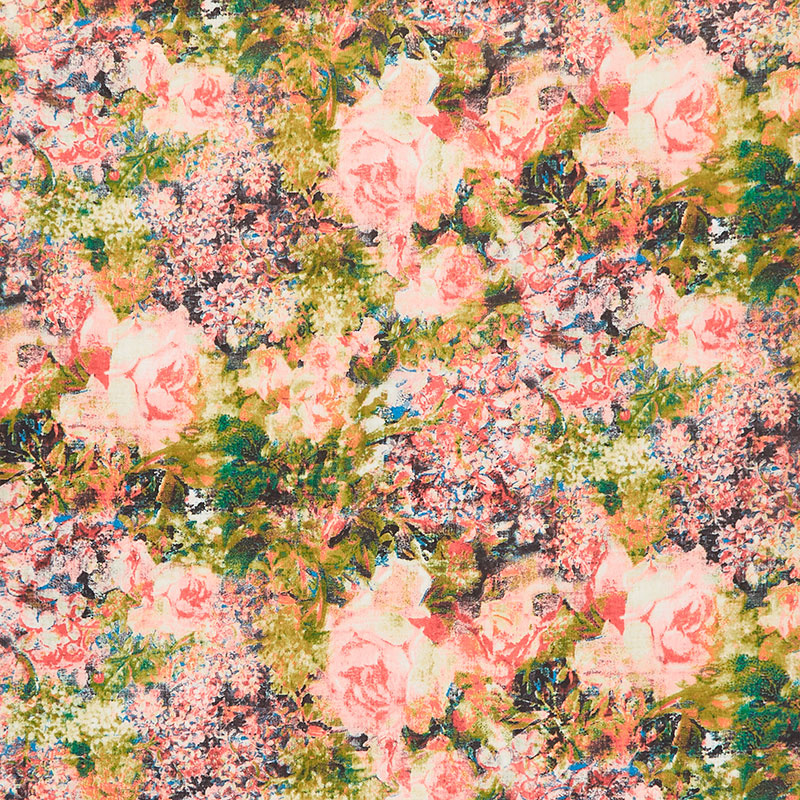 Eclectic Elements 2 - Bouquet Multi Yardage$12.64Shop →
 Eclectic Elements - Worn Croc Pebble Yardage$12.76Shop →
 Eclectic Elements 2 - Taupe Yardage$9.95Shop →
 Wallflower - Rose Parcel Multi Yardage$9.95Shop →
 Eclectic Elements - Provisions Linen Yardage$12.76Shop →
 Abandoned 2 - Hotel Burgundy Vineyard Digitally Printed Yardage$12.64Shop →
 Eclectic Elements - Palette - Pink Collage Pink Yardage$12.96Shop →
 Missouri Star Quilter’s Best Blend Full Batting$32.95Shop →
 Missouri Star 5" X 24" Ruler$29.95Shop →
 Missouri Star 45mm Rotary Cutter$19.95Shop →
 Missouri Star 8" Everyday Scissors$19.95Shop →
 Missouri Star Seam Ripper$9.95Shop →
 Missouri Star 50 WT Cotton Thread White$7.95Shop →
 Exclusive Missouri Star Jenny TG1600 ProPlus Oliso Smart Iron$199.99Shop →
 Missouri Star Wooly Betty Board - 17.25" x 25.5" Orange Border$99.95Shop →
 Bernette 77 Sewing and Quilting Machine$1499.00Shop →
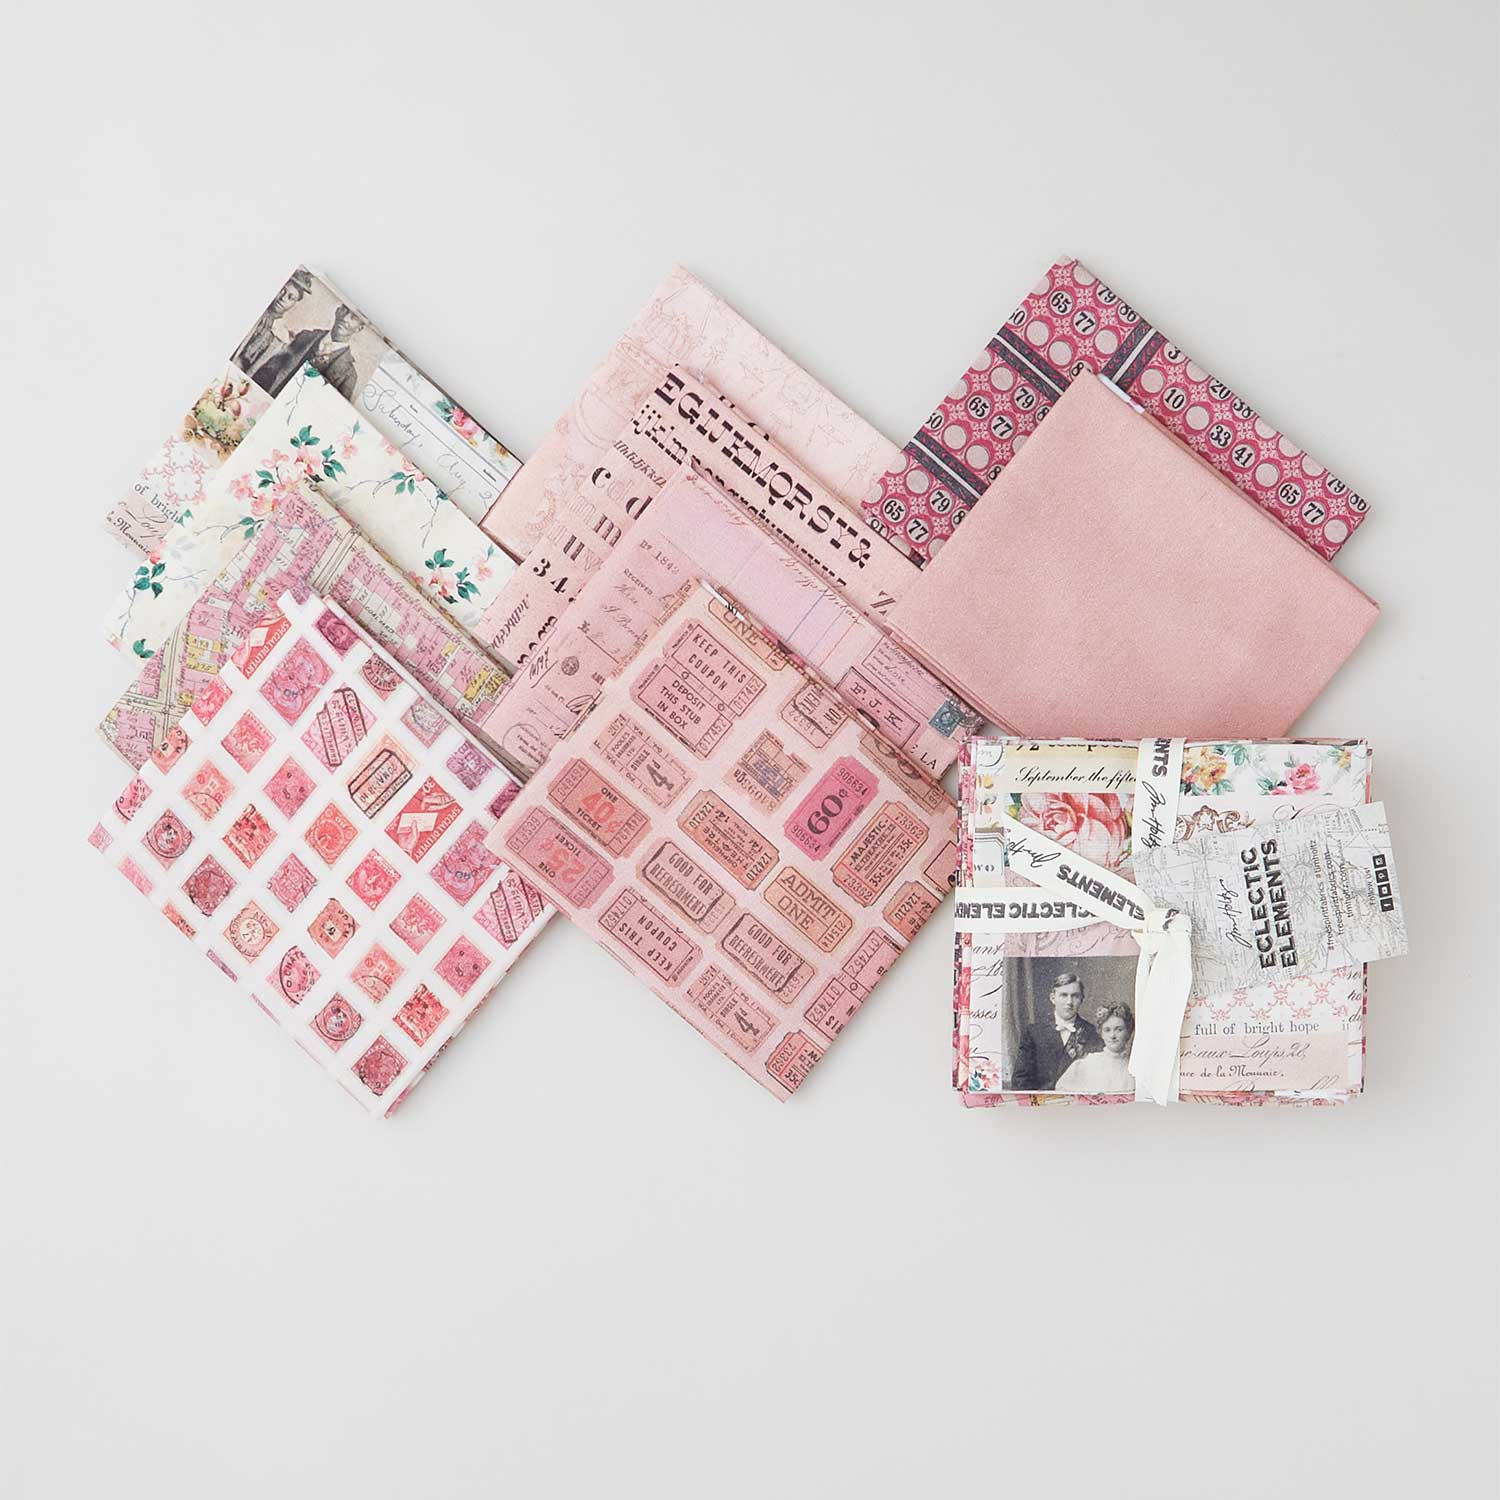 Eclectic Elements - Palette Pink Fat Quarter Bundle$36.95Shop →
Common Questions
What is covered in Tim Holtz - Pink Stand Out Star Quilt?
Make a quilt that really stands out! Watch as Misty makes Tim Holtz’s striking Pink Standout Star quilt. Designed for fat quarters, this quilt with one big star is a breeze to make. Only you will know how quickly this impressive quilt comes together!
How long is the tutorial video?
The tutorial video is 00:09:44.
Are supplies listed for this tutorial?
Yes. The tutorial page includes the supplies and materials connected to this project.
Is a transcript available?
Yes. A written transcript is available on the tutorial page.
Video Transcript
So this quilt is super easy! It's made up of Half Square Triangles and gives you this really impactful beautiful star. And so to make this quilt you are going to need 16 fat quarters. The bundles come with just 10, so if you want to grab two of those you can or these are the other six fabrics that are recommended in the pattern, and those are also linked below. Then this is the background fabric - you're going to need three yards of that, and all of this is going to make your complete top. So let me show you how to get started!
All right, so first things first, make sure you download the free pattern. There is a link in the description for you to get this and this is going to walk you through step by step. It has some great tips on working with
directional prints as well, so you're going to want to refer to that.
Up first we are going to grab one of our fat quarters and I've got this one here. And we are going to start by making sure it's pretty straight and I'm going to cut a 17 inch square to begin with. So let me measure over… I've got six, 12, and then five - one, two, three, four, five. There we go. So I will make a cut here, just again making sure this is nice and straight. And then from this little piece I want to trim this down to 3 inches. And all of these pieces are going to be used for your border - these strips that are left over from the side, so I'm just going to set that aside for the border. Then I'm going to turn this and trim it to 17 inches, there we go.
Okay and so up first we're going to be making one of these star legs that
matches up with our background corners. And so when you look in the pattern it talks about left leaning or right leaning blocks. And so you'll notice that this is a left leaning block. My star leg is going to the left. And so I am going to take my background square. It's cut to the exact same size, so this is 17 inches. I'm going to make sure that it is facing up and
if I want my left leaning star leg to match up with the one that you see behind me and have everything stay directional, here is the right side up of this print. I'm going to put it right sides down and over here on the left. And let me show you how you can check this - you just get it lined up and so before you mark or sew or do anything, you're going to fold this back so that it matches up and looks how it will look in the quilt. And you'll notice that this is upright and so is my background and that's what we're looking for.
So now that I've double checked that, I can lay this back together, just making sure we don't have too much shifting, and I'm just going to use my large ruler here. So now we're just going to mark corner to corner on our stitch line. So I am just using a Sharpie. If that stresses you out, you can use whatever marking tool you like. And we're going to sew right on that drawn line.
So let's go ahead and bring this over to the machine. Just take a minute, make sure your corners are staying lined up. You can of course pin if you'd like. Okay now before we trim this, remember we went to all that work to make sure that it stays correct directionally. So you just want to fold that back, double check it, and so this is the version we want to keep, which means we want to trim off this side. So I'm just going to rotate it and I will trim this off leaving my quarter inch seam allowance. There we go. And now let's go ahead and give this a good press.
I'm going to go ahead and set that seam and then I guess this one is technically darker, so I'll roll this back this way. There we go, and so there is our star leg. And so then to make the right leaning block, you're going
to do that exact same thing but the opposite way. And remember it walks you through all of that in the pattern, so you can make sure you have the direction that you want to go. And so you make the middle ones the exact same way - you just place two prints together instead of a print and a background.
And then let's talk about the leftover that we have here. So we have our
background triangle and this is just waste. You can set it aside, put it in your scrap bin. But we are going to take a minute and we're going to cut some strips out of these triangles from our prints and that's going to make up the rest of our border and also our binding. So here is our leftover triangle. You're going to cut all of your print triangles that are left over from making your Half Square Triangles this exact same way.
So I'm going to line it up on my mat. And up first we need a 2 ½ by 13 ½ inch rectangle. So I'm actually going to slide this down just a little bit, just to give me some more working room. And I love to just use my ruler here and come to the 13 ½. This just makes it really easy and so then I start by cutting off this triangle off the top and I can get rid of that out of my
way. And then I can cut my 2 ½ inch strip. So there is my first one - anything that's 2 ½ inches is going to be used for that scrappy binding and so that will go into your binding pile. The next measurement is 3 by 10 ½. So same idea: 10 ½ inches down, 3 inches wide, cut off the top, there we go. Anything that is 3 inches wide is going to be paired up with those 3 inch strips that we cut off at the very beginning of our Fat Quarter and that's going to be used for your border. And so then our last two measurements are 2 ½ by 8. So let's cut that one… oops, it helps if you open the rotary cutter. There we go, 2 ½ by 8 inches. So again, that's going into our binding pile. And one last cut is 2 ½ by 5 ½ inches. There we go. And so not as much waste as you fear at the beginning. You can just toss that aside.
And so now I'll add these to my piles from some of my other blocks. Here's my other binding strips and some scrappy border strips. And so of course you're just going to mix those all up to make your border strips. But now let's talk about the layout of this quilt.
So to begin with we're just going to have a big 17 inch background square that's going to go in each of the four corners. And so that's what you see here. And then we have our star leg - this one's left leaning, that goes up there and of course our prints that make up the middle. And they just sew together four across by four down. Then you add your 3-inch scrappy border to your two sides, and then your top and your bottom. Quilt it and
then you can finish it off with that scrappy binding.
It's a super fun project and I hope you enjoyed this tutorial! I'll see you next time.