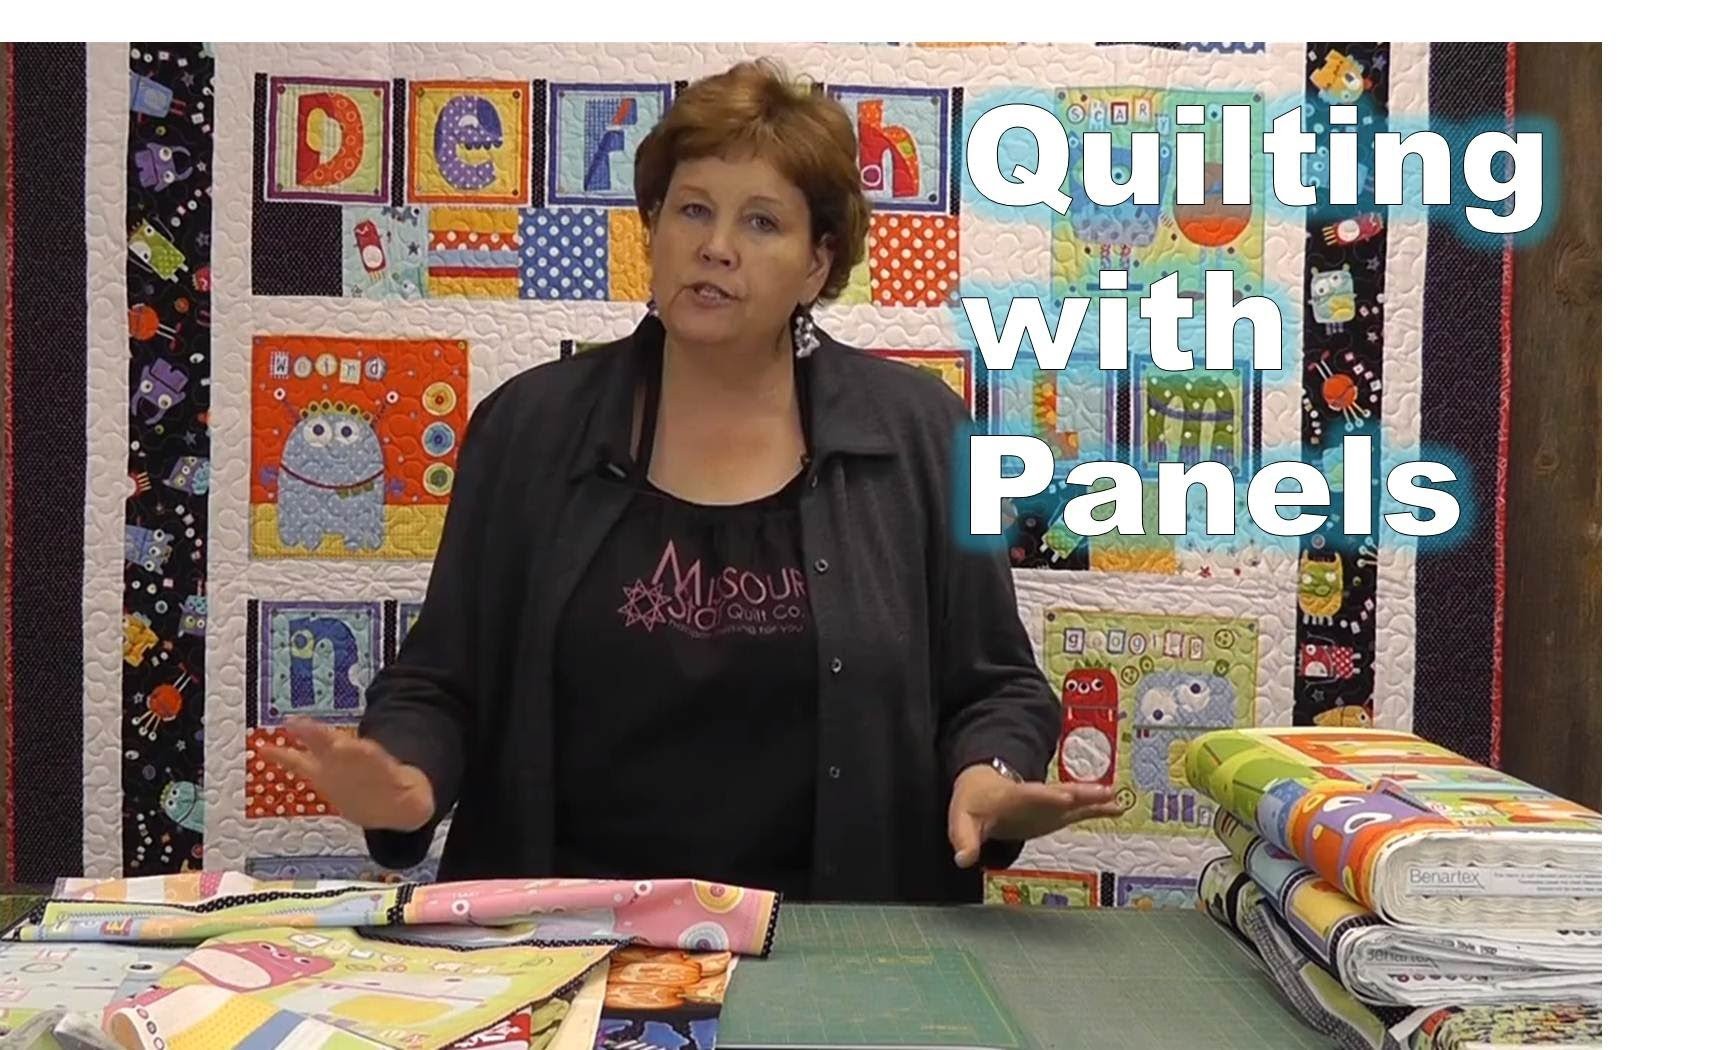
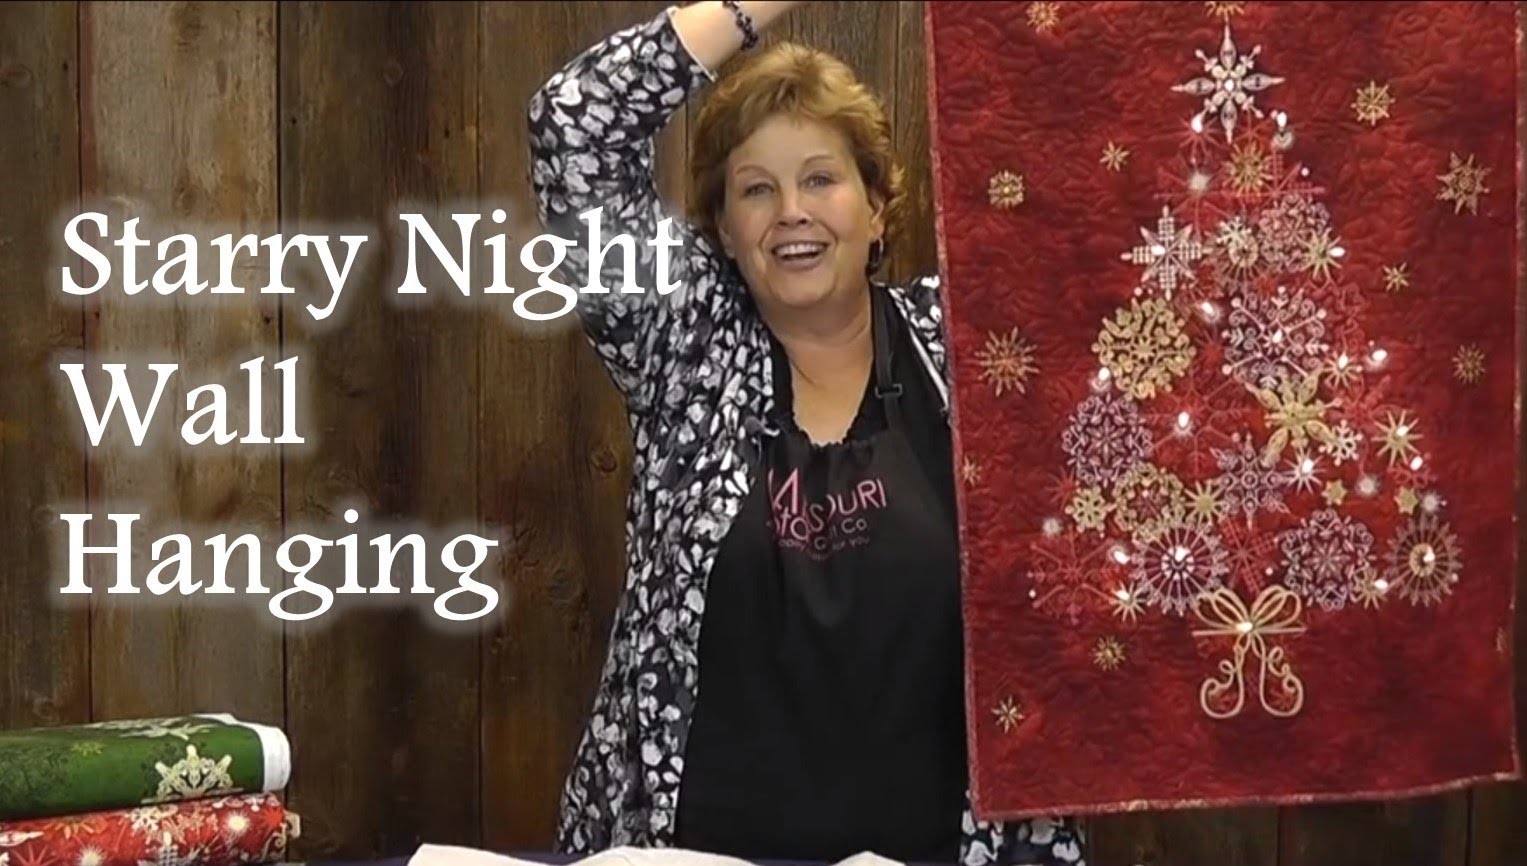
Do you need a quilt in a hurry? Start with a fabric panel! Courtenay Hughes shows you how to quickly turn panels into throw quilts and wall hangings. The panels already have beautiful artwork, so you just need to add the finishing touches!
Courtenay Hughes is a talented instructor of quilting, embroidery, and appliqué classes. She teaches at Missouri Star Academy, in both online and in-person classes.
What is covered in Turning Panels into Quilts with Courtenay Hughes?
Do you need a quilt in a hurry? Start with a fabric panel! Courtenay Hughes shows you how to quickly turn panels into throw quilts and wall hangings. The panels already have beautiful artwork, so you just need to add the finishing touches!
How long is the tutorial video?
The tutorial video is 00:26:05.
Are supplies listed for this tutorial?
Yes. The tutorial page includes the supplies and materials connected to this project.
Video Transcript
Hi everybody. It's Courtney with Missouri Star Quilt Company. Welcome to my Christmas and July panel tutorial. I know we all see all these great panels. I am the culprit as well and then I see them and think to myself, what am I going to do with them? So, I'm here today to show you a few things about how to square up your panels, what to do with them after you purchase them, and get you started on your Christmas projects. [Music] I'm going to start with the Santa panel. And this is what the panel looks like. You can see there's no border on it yet. And that's okay. So, let's square this panel up to make all four sides nice and straight. So, the first thing I'm going to do, I'm going to fold it in half. Now, if you notice at the bottom here, these aren't exactly meeting, and that's okay. Sometimes these panels and all fabric when it gets wound on the bolt, they get wound when they're still a little damp, so they can get wonky. So, don't worry so much about that. What I want to look for is to make sure that this panel is folded nice and flat across the bottom. And I'm going to kind of press that down with my fingers. And if you'll see over here on this edge, it's not lined up at all. And that's great. We're going to get rid of that. Okay, since this doesn't have any border on it at all, I'm just going to lay this down. I'm going to do trim off the sides first. I don't really have a size in mind at this point. Um, I'm just going to trim it so the edges are nice and even. So, I'm going to lay this down. And if you'll notice, I line my panel up along this my line on my cutting mat. And that's making sure that I get a nice 90° angle when I'm cutting. And that way I know that my panel is going to end up either square or rectangular. Okay. So, I'm going to lay my ruler down here. And I've got this star here. I'm not real worried about that, but I'd like to keep it if I can. And it looks like I can. So, I'm going to cut off as much as I can without getting the star. I'm also going to look on the back. There's nothing in the way there, so I don't have to worry about cutting anything off on the back side. So, I'm just going to worry about what's on the front. When I cut these, I try to do them in half inch increments. It's a lot easier when you get to the math to try to figure out what size of borders you're going to put on. You can, of course, do the quarter inch and do your math that way. That's totally fine. But just in my brain, some days the half inches are easier to add up than the quarters. So, I'm going to line this up on the half inch here. And actually, I'm going to move it over a hair. I'm going to line it up on the 3/4. And then that way I'm not going to lose, you can see my star point there. I'm not going to lose that star point. All right. And then I checked to make sure that I cut off part of the back too. And I did. So now I'm going to flip it over. And I'm going to do this side. And I'm going to measure this down all the way to make sure I would measure this down to the end of the mat and make sure I'm cutting at a half inch or the full inch. Again, I'm going to look. Here's a star here. I'm It's way in on this side. I'm not worried about cutting off a star here. So, I'm just going to use this mark here on my mat. I'm going to cut that. Okay. Then, I'm going to cut the top and the bottom off because we don't want to have to deal with the salvage, right? So, in this case, I'm going to cheat a little. I'm just going to fold this in half. I'm going to line up these folds really nicely so they meet on this side. Then I'm going to fold this in half. You want to make sure this is nice and flat on your mat. If there's any kind of bulk in your fold, that again is going to give you your dog legs, which we don't want. Okay, so I'm going to lay this left end on a line on my mat. And then I'm gonna lay this bottom on a line on my mat to make sure it's all nice and pretty. And then I'm gonna make sure I cut off the salvage. I've got a lot of room on this bottom. I don't have to worry about anything for a while. So I'm just going to cut off right here. That gives me about 3/4 of an inch behind um underneath this M and Merry Christmas. So, and there we go. My panel's all cut and it's ready to put borders on or it's ready just to be quilted and finished. You could just quilt it, bind it, call it good. Now, when you have panels, sometimes we get them. This one's a beauty. This one's very pretty. Now, this one already has a border on it. So, what I'm going to do, I'm going to try to give myself some room. I'm going to go off of this inner little gold line there. And I'm going to come out so far and give me a nice border. So, let's see how far. And I'm going to lay it flat in this case because if I tried to fold this in half, it may not line up exactly on the other side. And if I did this, I'm really not going to have that match up. So, I'm going to lay this out on my mat nice and flat. You want to iron it. Make sure all the creases are out. Anybody that knows me knows I'm also a pre-washer, but we won't go there today. So, just iron this nice and flat. I'll give it a hit of best press or starch, whatever you've got. And I see I can about get one, two, three, three and a half inches past this inner gold line. And I can get that all the way around, I bet. So that's what I'm going to use as my border. So I'm just going to start cutting. And actually, I'm going to come back a little bit. Let's see here. One, two, three, and a half. There we go. So, I come all the way back here. So, I'm off the fabric down here. And sometimes when you're doing this as well, sometimes this little line will be wavy because of the fabric and that's just the way it came off the bolt. Just try to line up the top and the bottom as best you can. And if it waves a little bit in the middle, it doesn't matter. It's all good. Especially after it's washed, you won't notice that it's not exactly straight. And if you see here, this one line is kind of off at the top, but it looks good on the bottom on this second line. Don't even worry about it. Just get rid of that. Sometimes, and I'm guilty of it, too. I try to be too perfect when I'm trimming my panel. Sometimes you lose things on them, like in the design. Don't worry about it. Just just cut it and go. and make sure it's all even so you can add your borders. And then I'm gonna line this back up here and go all the way up to the top. And then I'm just going to do this all the way around until I get a nice till I get this all trimmed up nicely. All right. And if you see here, I'm making sure that this ruler is 90 degrees going up here. And it's straight across with my fabric here on the bottom where I already cut. And if you look here on my fabric, look how that goes off. Don't worry about that. I've got three and a half at the top and I've got three and a half at the bottom. And that's what we want. Now, if I were to pull this so it looks pretty, what's going to happen is once this comes out from underneath this ruler, it's going to go back into place. So, just leave it. Just leave it. It'll all be great. And then I'm just going to start cutting up this side. And I usually come down a little bit of where I already cut just so I know just so I know I'm in the ballpark here. And I'm glad I double checked. The other thing you can do too when you're cutting these, sometimes there's so many lines on here and if I know I'm going to be cutting a lot of three and a half, they have um just put some tape on that 3 and 1/2 inch line, whether it's skinny little quarter inch tape you've got at home or I use a lot of the blue painters tape. Just run that tape along that three and a half inch line and it's easier to line up and you can see it better. Sometimes I'm doing this at night and I can't see. So, what I would do is just do all four sides. And in this case with this quilt, since it already has or that panel, I should say, since it already has a border on it, I just finished it with some quilting. And this is what that looks like. Looks great. And it's ready to go. It' be a great wall hanging. And it' also be real pretty draped on the back of your couch. Okay. So, that's one way to finish your panel. Just quilt it and be done with it. Works great. Or you can also add a border. So, we're going to talk about borders a little bit. What I do, um, I have my panel already cut. Then, what you will do after you cut it is you're going to measure what your panel is. For example, in your pattern, you will get um, you have a little table here, and it's wonderful, and it helps. There's not a lot of math, so don't be scared. It's okay. I measured my panel and it was 42 and 12 by 35 in. So that they have a little uh chart. It says panel length and I put that in there. Panel width. Then determine how wide you want your finished border to be and then you add a half inch. So I wanted my finished borders to be six to to be 5 and 1/2 in. So that's after it's quilted and I have my binding on. I want 5 and 1/2 in of fabric to be seen. So I'm going to cut my border at 6 in. Okay. And it says right here to add the half an inch and how wide to cut your border. Then the length of my panel is 42 and a half inches. So that first border length is 4 and 1/2 is um I'm sorry, 42 and 1/2 in by 6 in long. So I already sewed on the side borders. Okay, that's all that was. Nice and easy math. Now when you're cutting your borders, what I want to make sure that you're doing, I don't want you to get any dog legs. Okay. So, when you go to cut in the dog legs is when you have a long stretch of fabric and invariably and a lot of times and I still do it as well, I will cut it open up my length of fabric and it's got like a little a little V in it. And that's because this wasn't flat against the bottom of your mat. You might have had a little bit of a wrinkle in it. So, what I do is I lay this on my mat. This is my border piece. I'm going to make sure this is nice and flat. Again, I'm creasing it with my hand. And I am going to lay that fold right on one of my lines. Then I know that my my cut is going to be totally perpendicular and it's not going to have a dog leg. Okay? And it's really important when you when you're putting big borders on because you don't want that border to be wavy. Okay? So, I'm going to lay that on my mat and then I'm going to cut it. And this is not obviously 6 in, but I just wanted to show you how to cut your borders. Lay that mat. I'll make that first cut and then I'll move over. Let's cut it at three inches. I also will line up the bottom. this bottom of the ruler, this black mark is also right on my fold. That way, again, I know that this cut is going to be perpendicular. If you're if you do this with your ruler and it's off, if your fabric is off, it's not going to be a perfect cut. So, you just want to be very careful. And sometimes I have to I'll cut a couple and then I'll need to cut a little piece off and readjust. And that's okay. That's why we always buy extra fabric, right? That's my excuse anyway. All right. Now, what if I need a piece that's longer than 42ish or 41, however long this is? Then you're going to have to piece your border, and that's okay. You can piece them two ways. You can either piece them just straight like you do when you're piecing your fabric on the straight. So, you would sew this with a quarter inch seam. Now I will tell you when I am piecing borders I will back stitch at the top and the bottom and that is because once I go around and it doesn't matter how many rounds I am afraid when it goes on the long arm if I don't back stitch at the beginning and the ending maybe when it's on the long arm and getting pulled just a little bit those stitches are going to pop out. So, I like to back stitch all my borders and it's it it's worked great and I have talked to the girls in my studio and we do that too. Just because you did all that work, you don't want your stitches popping out at this at this juncture, right? You can also stitch them on the diagonal just like we do binding. Okay. Okay. So, I would lay this on here. And I usually give myself a little bit of room to the top and the right. And you can draw a line from corner to corner. Sew on that. And you're going to join them on the diagonal. Okay. This I think sometimes um the one thing it does do this distributes your seam a little bit. So, there's not as much buck bulk behind there. So, it's kind of like your binding. There's not as much bulk because it's on the diagonal. It also, depending on your pattern in your fabric, it might be less obvious where the join is. Some people don't really want to see that join. Uh maybe on a solid, I would probably I would probably do it on the diagonal. And if you're The other thing to keep in mind, if you're running short on fabric for your border, do it on the straight and then you for sure won't run out. So if you're worried you might run out of fabric, do it straight. It doesn't really matter. But I like to do a lot of mine on the diagonal. Okay. So, back to this. When I'm getting ready to put my top and bottom border on, what you have to measure in your little just go back to your sheet. You're going to subtract a half inch from the beginning width of your panel. So, my panel width at the beginning was 35. I need to subtract a half inch. So that's 34 and a2. Okay. And then my finished border width is going to be 5 1/2. You multiply the finished border width by two. So my finished border I want to be 5 and 1/2. 2 times that is 11 in. Then you add that number to the finished panel width which is 34 in. And then add in another half inch. So it's not hard math. You just I just write it on my pattern. And what I did in this case, I wrote it with an iron off pen because one, if I goof up, I can just erase that with the pen. Two, if I want to use it in future panels, I can just get rid of all those numbers and start over. So, I don't know why that came to me one day, but I thought that is genius because I went to start to make copies of this. I thought, wait, so just use or use a pencil and erase it with the eraser, right? But that those ironoff pens sometimes can come in handy. So then that will that measurement will give you your top and bottom border width which is or length which is 45 and 12 inches. So that's what you're going to have to cut. So in this case you're going to need to piece two pieces together because your width of fabric is probably not going to be 45 and 1/2. Then, um, to figure out how much border you need, you're going to add, um, you're going to times the 45 1/2 in twice, and you're going to, um, do the 30, let's see, the 45 1/2 in, which I would round up to 46. My other width is 42 and 1/2, so I'm going to round it up to 43, which gives me approximately I need approximately 178 inches of border. So, when I figure out how much fabric I can get out of one width of fabric, I assume I can only get 40 inches. That gives me room for those fabrics that have really wide salvages on them. And I'd rather be safe than sorry. So, I always, even in patterns, regular patterns, I assume that I only have 40 usable inches. Plus, if you pre-wash a lot of times, that that gives you closer to 40 inches. You can't really count on that 42. So, I figured five strips will give me at 40 inches will give me 200 inches, which is way more than I need. It's because I needed 178. What that also tells me in that measurement is that is also how many inches I'm going to need in binding because that's my that's my finished piece. So, that's how many binding strips I've cut as well. So, it's kind of you're getting two things out of one one math, right? But all of these measurements are in your pattern. It's great. Just follow the measurements. The pattern gals are wonderful and have that all figured out for you. So on the lovely panel behind me, I decided to put two borders on this panel. In the in your diagram, they decided to do three, but I just decided I wanted a skinny green border and then the print border. And then I went back out with the green binding. And the measurements are all in there. Follow the same math. and it's got the little chart for you. Very easy. So, this was fun and just quilted it and put a binding on it and it made it just a little bit bigger. Then you can get a little bit fancier if you like and you could put some cornerstones in it, which cornerstones are where your borders meet or sashing sometimes meets there, but those are called cornerstones because they're in the corner, right? So, I decided when I was deciding how wide to do my borders, I decided I'm going to start with a square and a square unit that I had done that ended up being 4 and 1/2 in big. So, I made four square and a square units and then that's how wide I made my border. It was already easy for me. I had the squares done. So, what I would recommend, find a square or a pattern that you like in a little block. Make four of those and then just make your border that wide to match and then you're not having to go, well, I want a four inch border. How do I make this block four inches? That's too much work. Just make your blocks first and then decide you want your border. Okay, so that's that math again is in here. So, what you'll do is your you'll measure your cut panel first. You will cut your top and bottom borders to that same length. Then this will be if this is 4 and 12 in and then this will be 4 and 12 in. You'll add you'll add the side borders first or the top first, it doesn't matter. Then add your cornerstones to the ends of the other border and then put those on. So this kind of makes it very easy. Now one thing to keep in mind, I cut off the corners of my uh square and a square here. And this is why I decided on this to sew my binding on the back and bring it to the front and top stitch it. So what's showing on the front of my binding is a lot bigger than what's on the back. Had I sewn it on the front and brought it to the back, I wouldn't have lost my corners. So just keep that in mind. I did it didn't bother me that I did that, but if you see that and went, "Oh man, she hacked off some of her corners." That's why I was trying to get these done quick. So machine binding it was. Okay. Now, what if we want to get a little fancier? We've got the math in there for you. We're going to add some flying geese. Okay. So, I did the same thing. I made my goose first. So, these goosees, these geese before I sewed them together were 2 and 1/2 by 4 and 1/2. So, they finish at 2x4. Okay. So, I made those first. And then since these were at four and a half, that's how wide I cut my border. Again, I made the blocks first and then I decided on the width of my border. Okay, so this is what it looks like. I did the sides first. You'll follow your chart the same way the girls the girls on the pattern team did all the work for you and it worked out perfectly because this is I use their chart. So this is what it looks like. I have my first border on. then the second border. So, here's my piece ready to sew onto my border. Here's my little geese. Gonna sew this on right sides together. You're going to make sure it's going in the correct direction. So, I want to make sure that my flat edge of my geese are against the fabric. Let's give that a quick sew. Again, I'll back stitch. And I backstitched when I when I showed when I sewed all the geese together just to make sure that none of those pull out when we're putting either another border. You can add another border on to this or if you're not when it goes on the machine the geese aren't going to pull apart. Okay. [Applause] And the directions will tell you, you'll measure your goose unit and then depending on what that unit is, it'll tell you how long to cut your next border piece. So, this piece will get sewn on the other side facing up. So, it will be facing up this way. Okay. Now, if you go to pin this on and for some reason your panel is a little bit too big, maybe you'll get like a little wrinkle and it won't match exactly. Now, I couldn't I did plan this, I guess, but this this worked out perfectly. Your mash should be fine and it did. But if for some reason you've got a little bit a little bit of room to take in, so it's just a little bit too much fabric here, you're going to put if there's too much fabric in the panel, you're going to put that on the bottom when you go to sew it. And what your feed dogs will do, and you'll still keep pinning, and you'll keep that little bit of fabric bundled up a little bit under there, but what that's going to do is your feed dogs are going to ease that fabric in and ease that panel in. and you're not even going to be able to tell that that extra fabric is in there. You don't want too much fabric under there, but if you have just a little bit, just pin it and let the feed dogs do their work. And then these we did for the top and bottom border, we just did four geese and that'll go on the top and the bottom. Sew those on with a quarter inch seam again. And you've got another option for your panels. So, that is great fun. So, let me show you what else you can do with panels that aren't Christmas. So, this is a fun thing to do with panels. This is called attic window. It's our pattern number 2649. And this would be cute to do with a a real life, like a lifelike Santa that's looking through the window. That'd be fun. And this is another one of my favorites. This is a kaleidoscope. This is Jenny's kaleidoscope. And this was in block 11, issue two. And in this instance, you're going to need six panels, but I like to buy seven because then you could put the panel on the back and then whoever receives it can see what the panel used to look like. You want to get a panel that has a lot of movement movement in it and a lot of color. That'll get you your best kaleidoscopes. And they're a lot of fun. And I love putting the panel on the back because you would have probably never guessed that that was a dinosaur panel. So, I hope I gave you some great ideas of on what to do with panels. And if you get started on them now, you'll have plenty ready for the holiday. We'll see you soon.

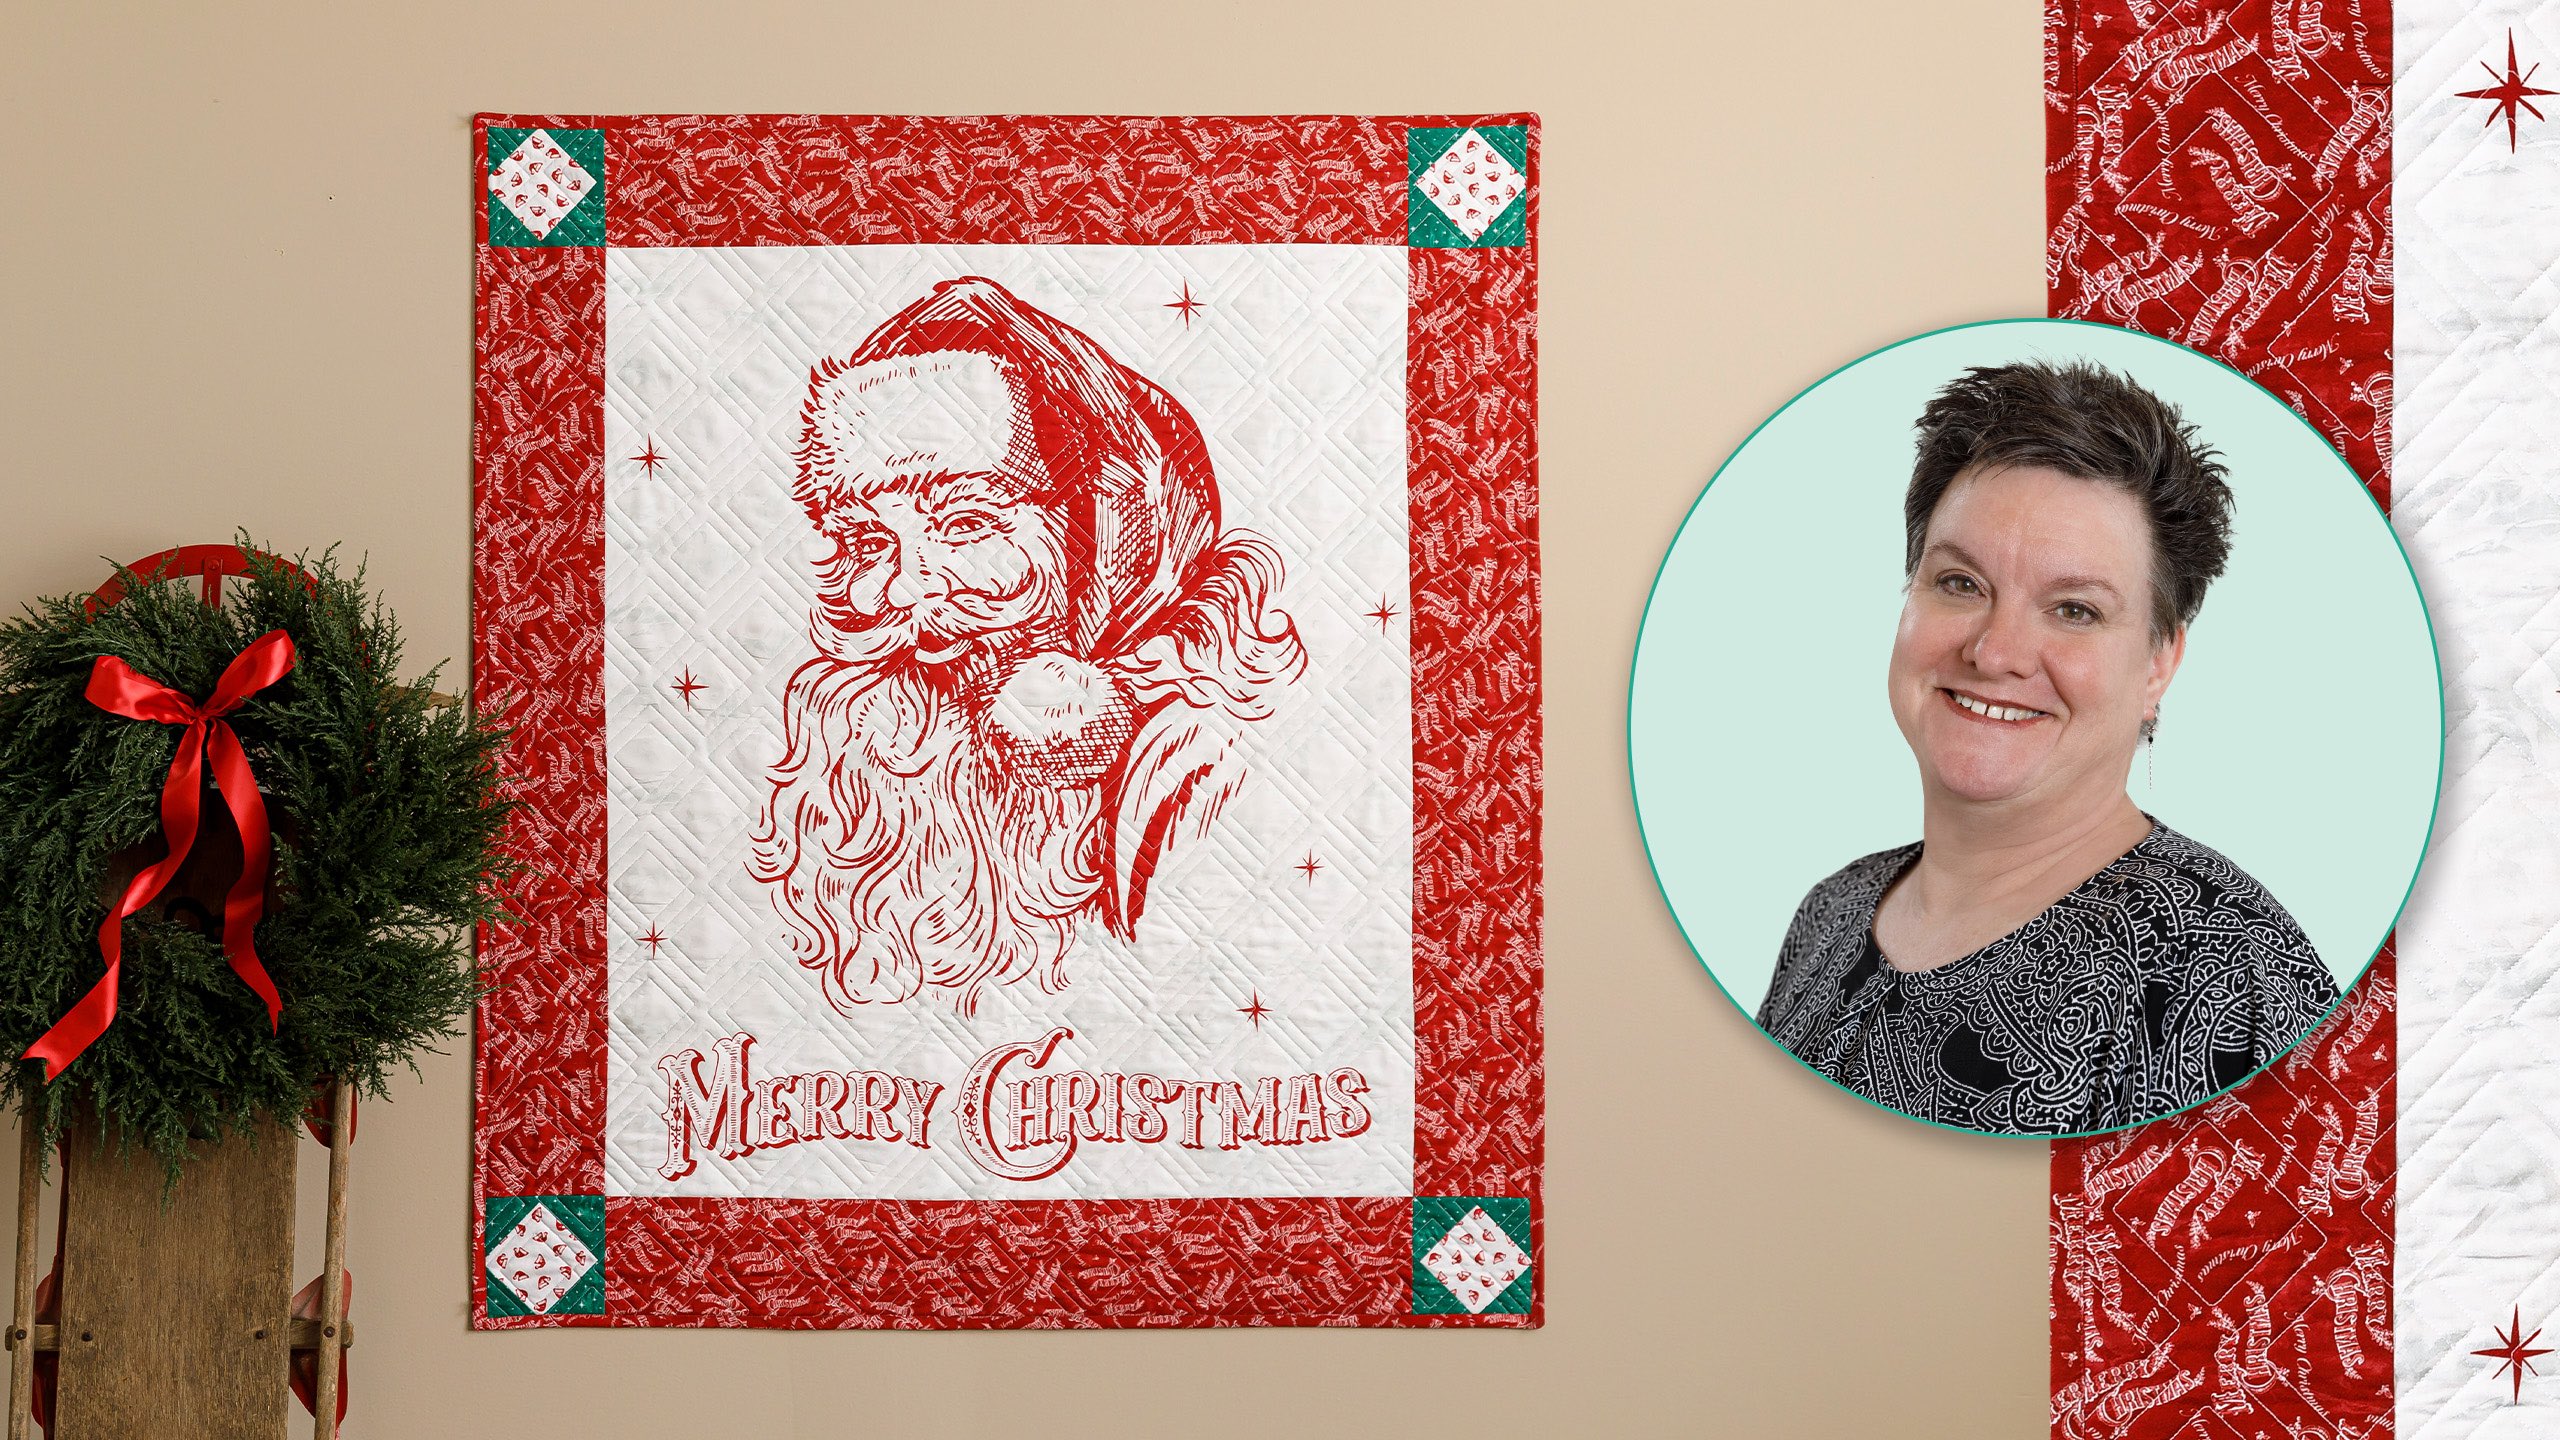

 Jolly Christmas - Merry Christmas Santa Ivory Red Panel$13.44Shop →
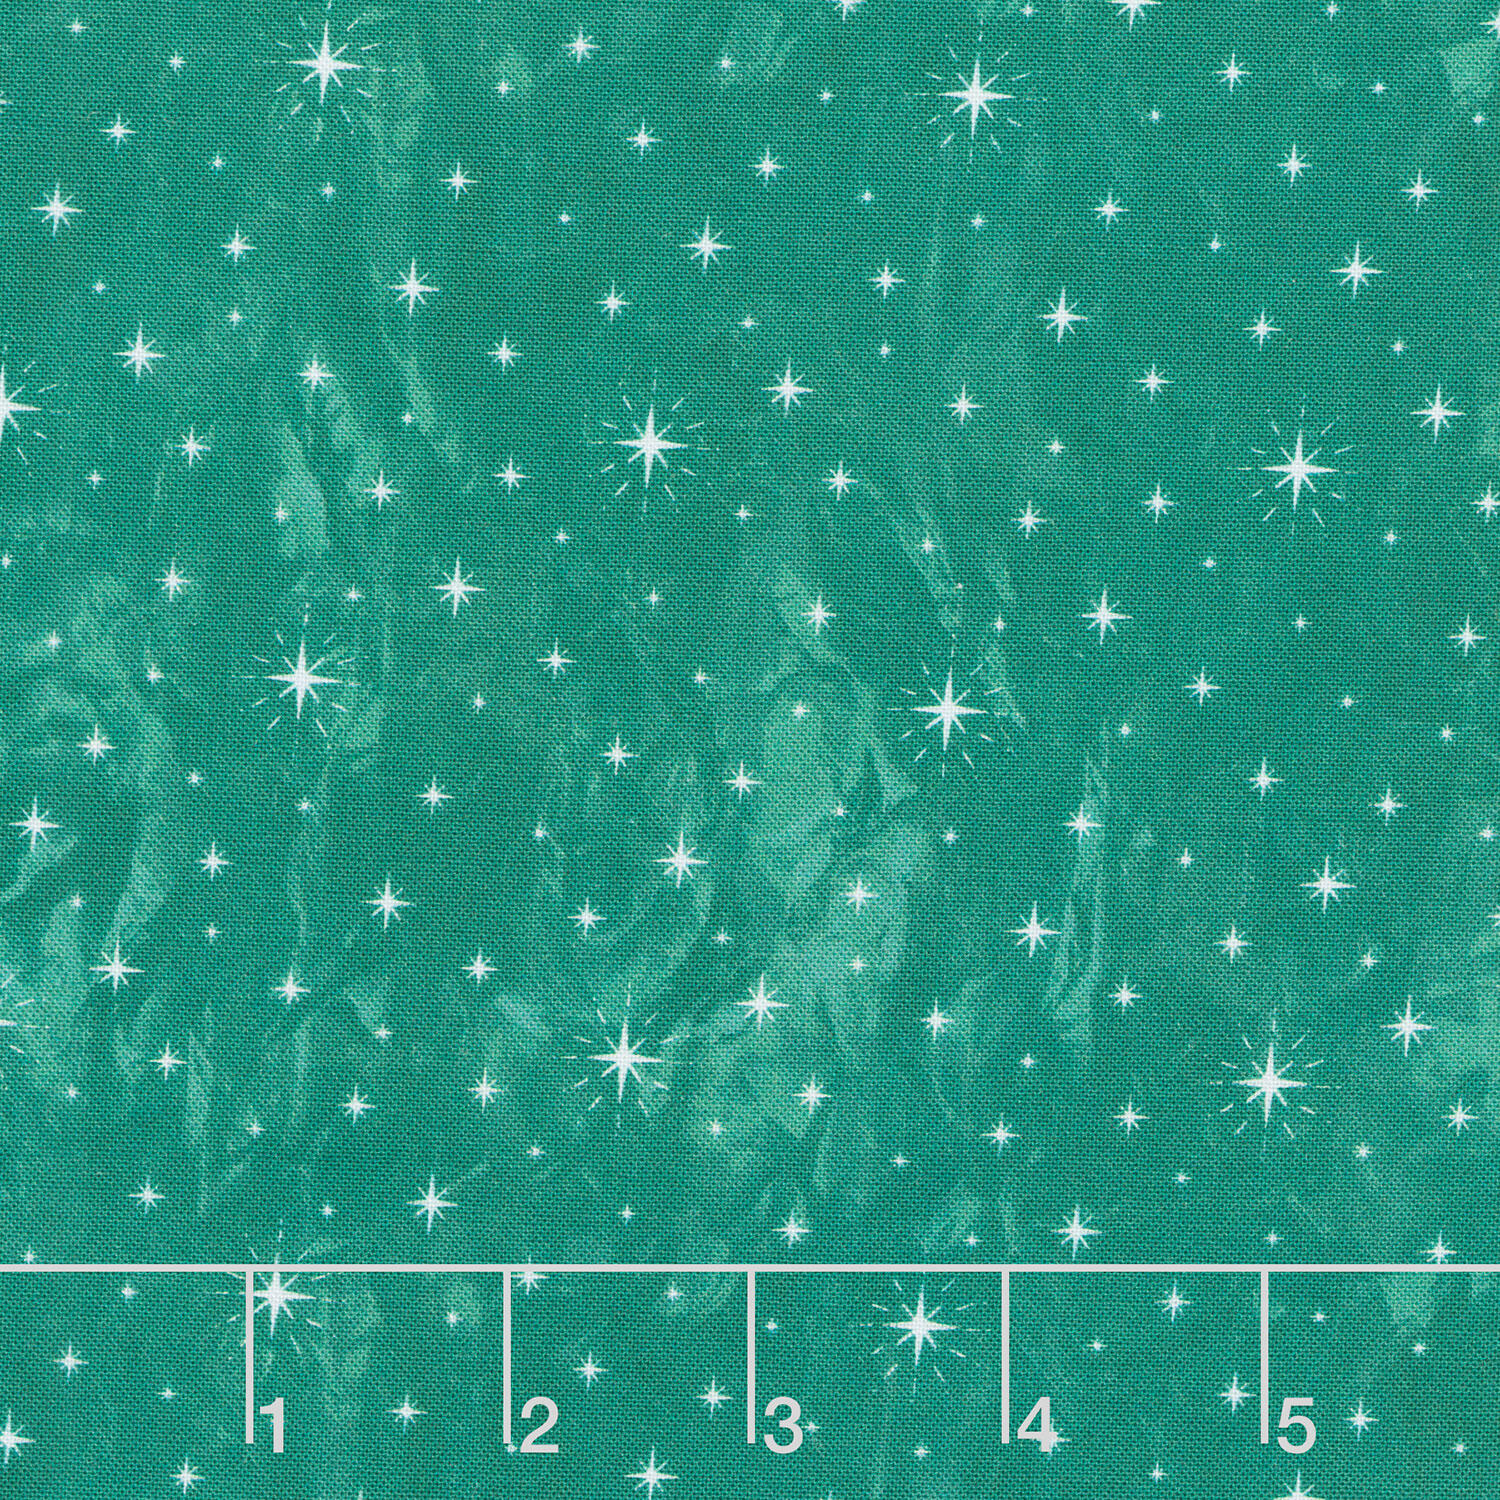 Jolly Christmas - Twinkle Stars Green Cotton Yardage$12.44Shop →
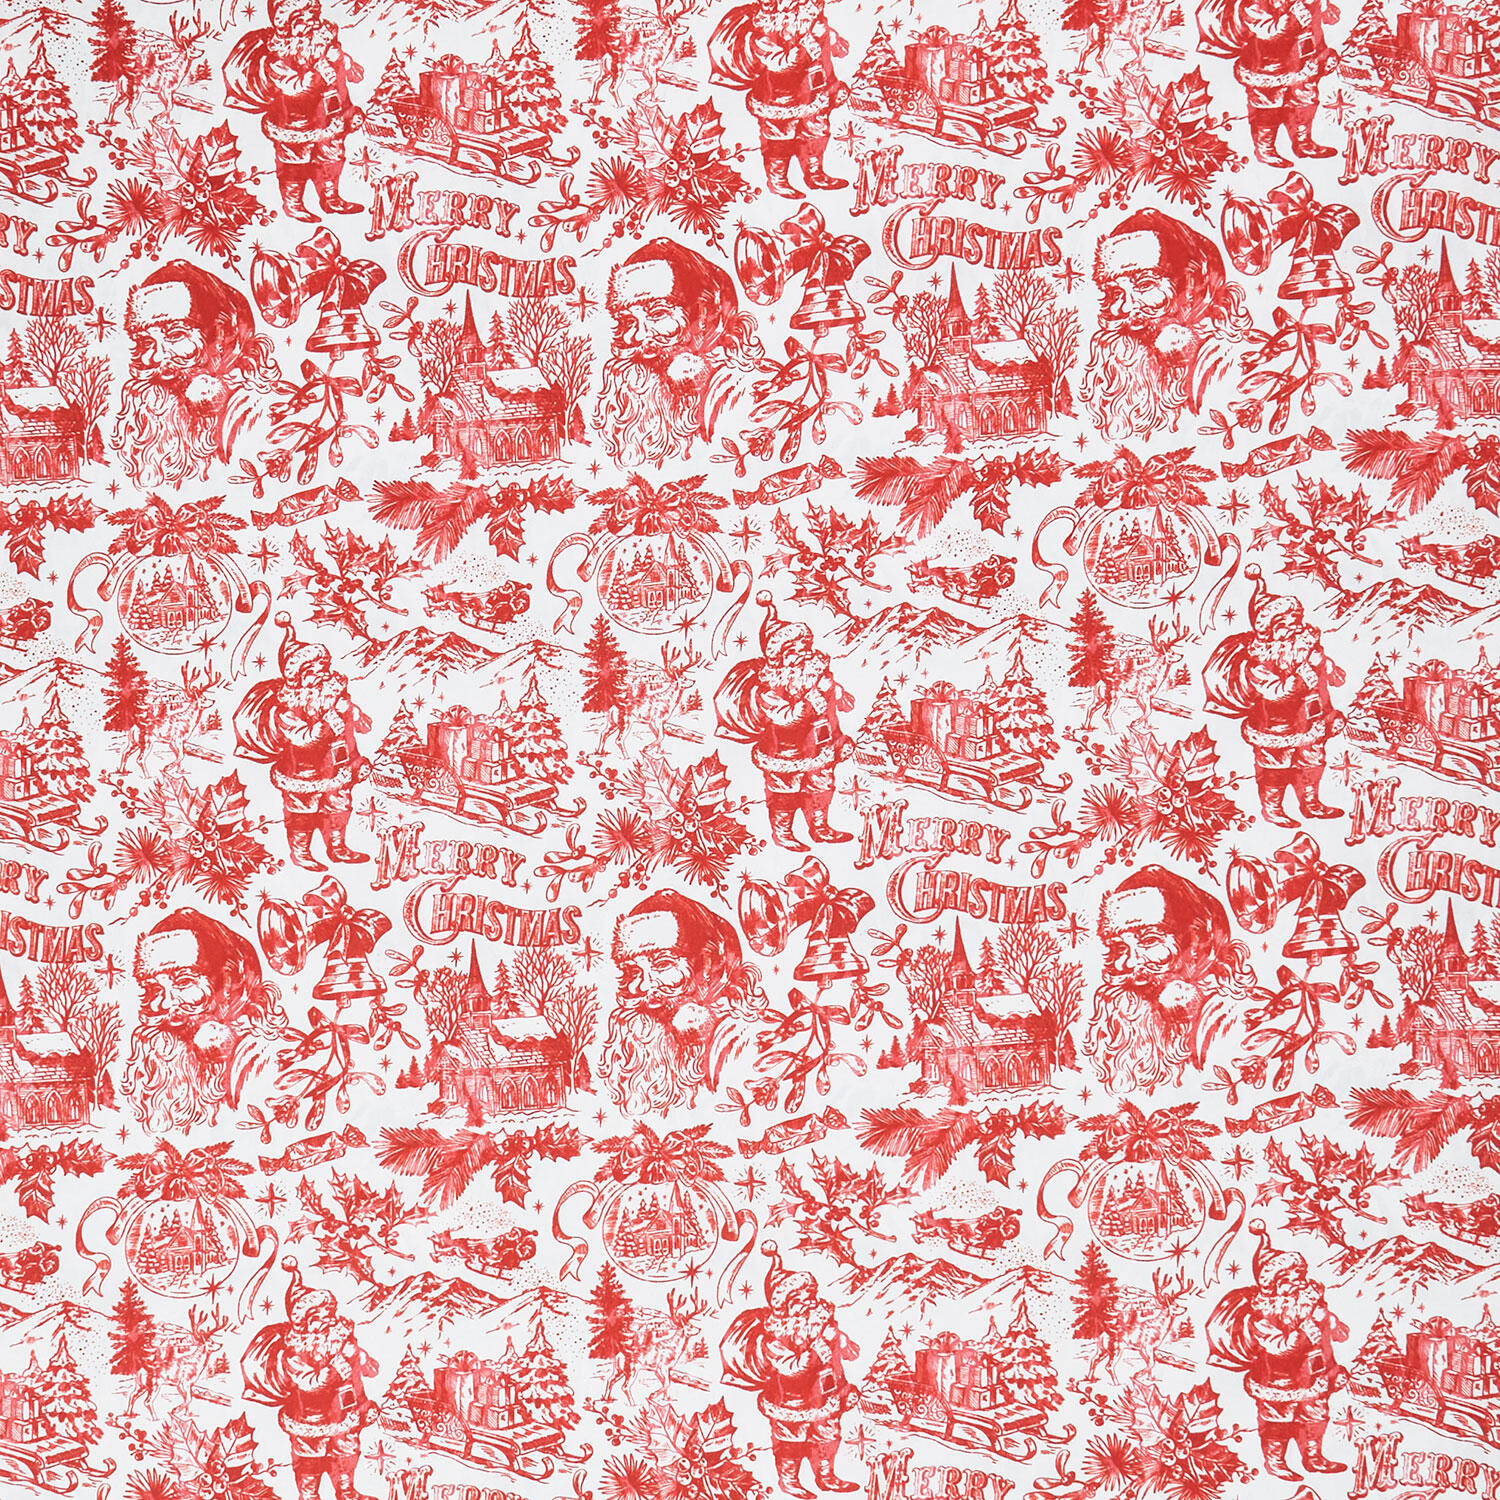 Jolly Christmas - Santa Toile Ivory Red Cotton Yardage$12.44Shop →
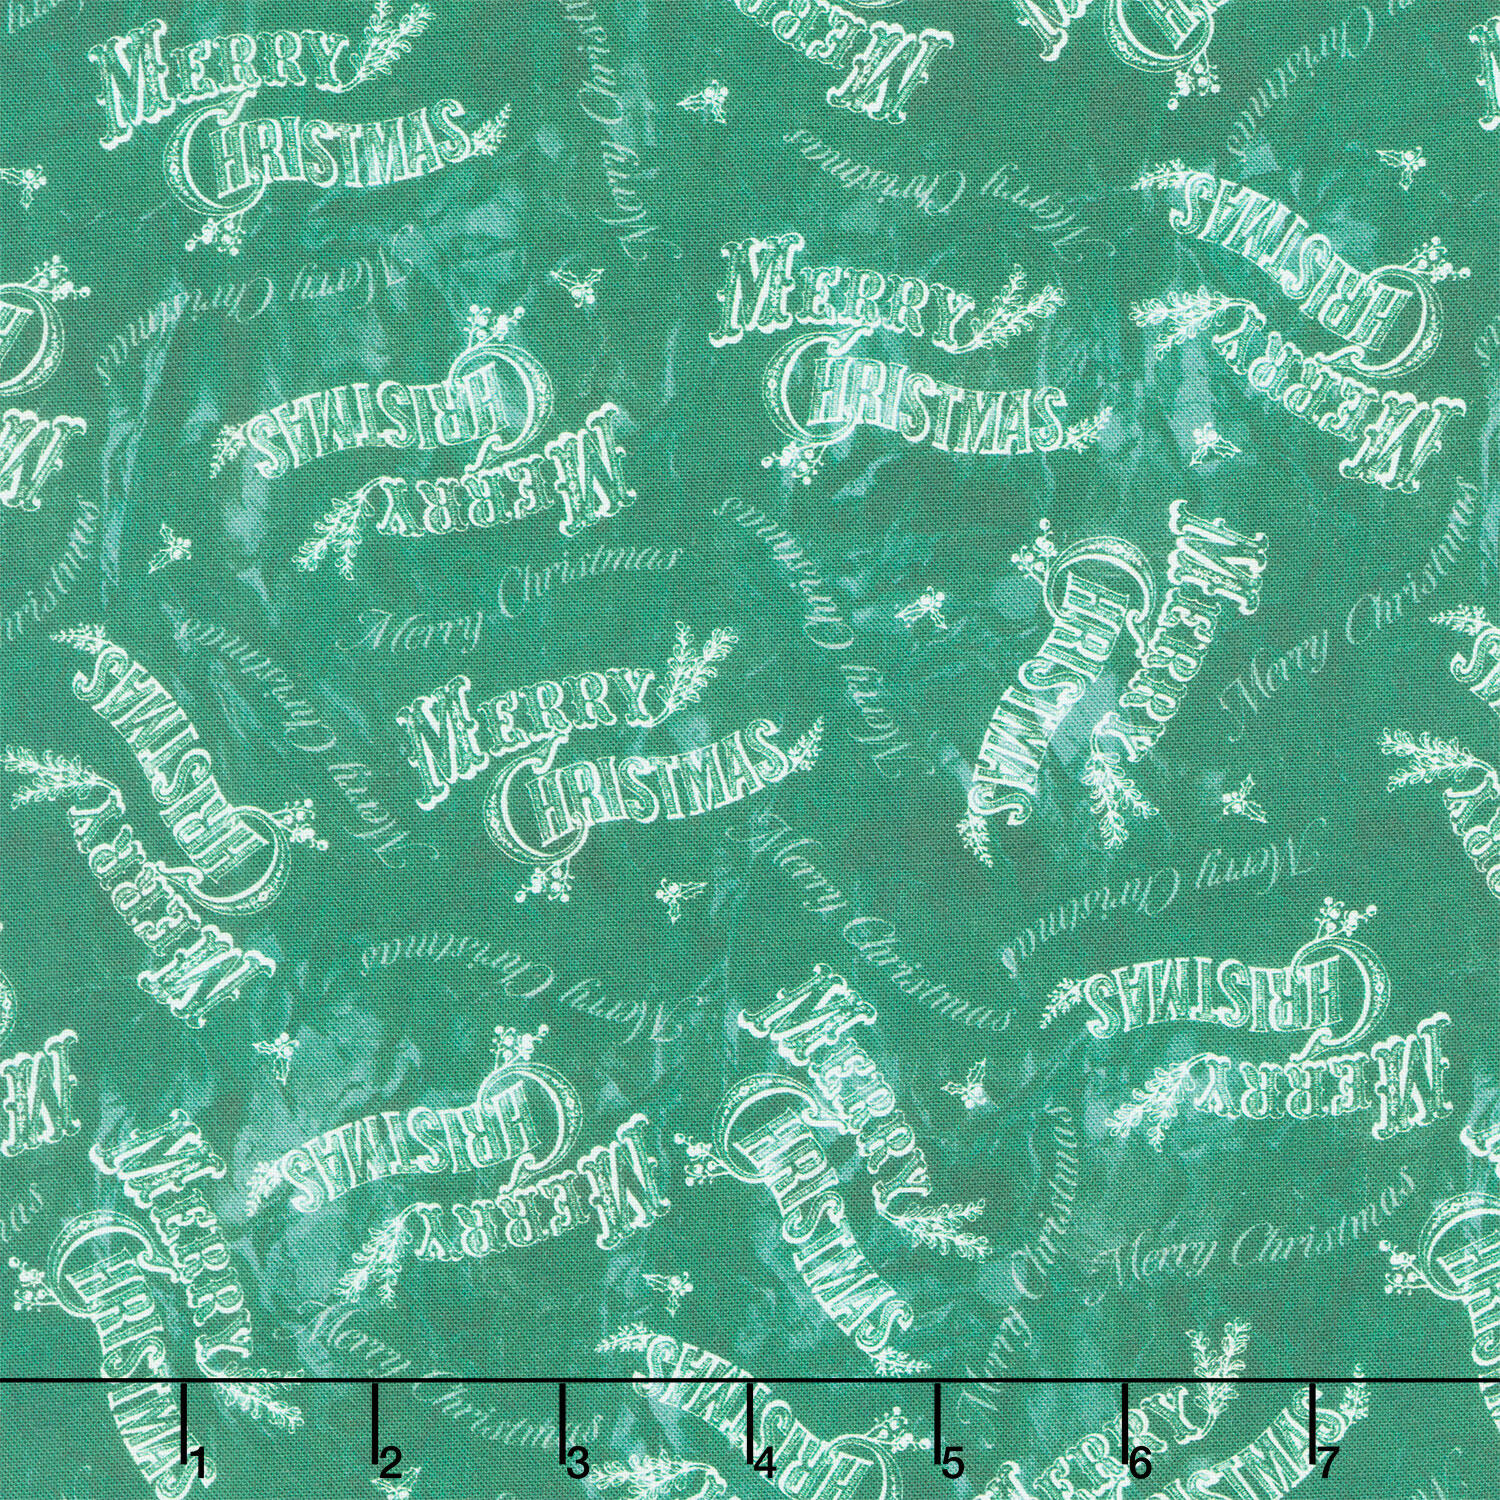 Jolly Christmas - Merry Christmas Dark Green Cotton Yardage$12.44Shop →
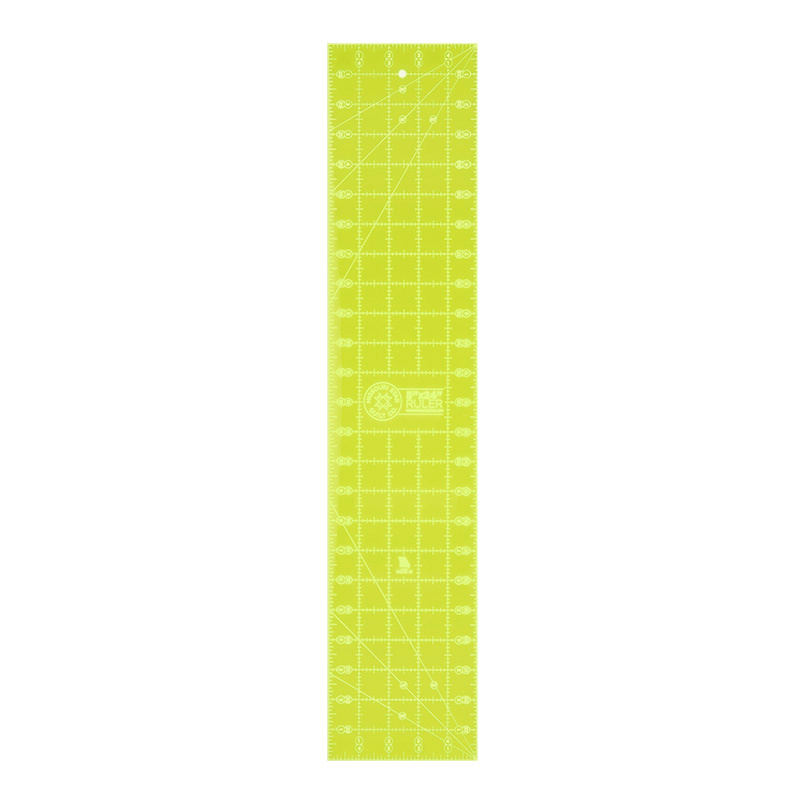 Missouri Star 5" X 24" Ruler$29.95Shop →
 Baby Lock Accomplish - 1500 SPM Straight Stitch Machine$1199.00Shop →
 Missouri Star 50 WT Cotton Thread White$7.95Shop →
 Missouri Star 45mm Rotary Cutter - Olga$19.95Shop →
 Missouri Star + Oliso TG1600 ProPlus Iron$209.95Shop →
 Missouri Star Wooly Betty Board - 17.25" x 25.5" Orange Border$99.95Shop →
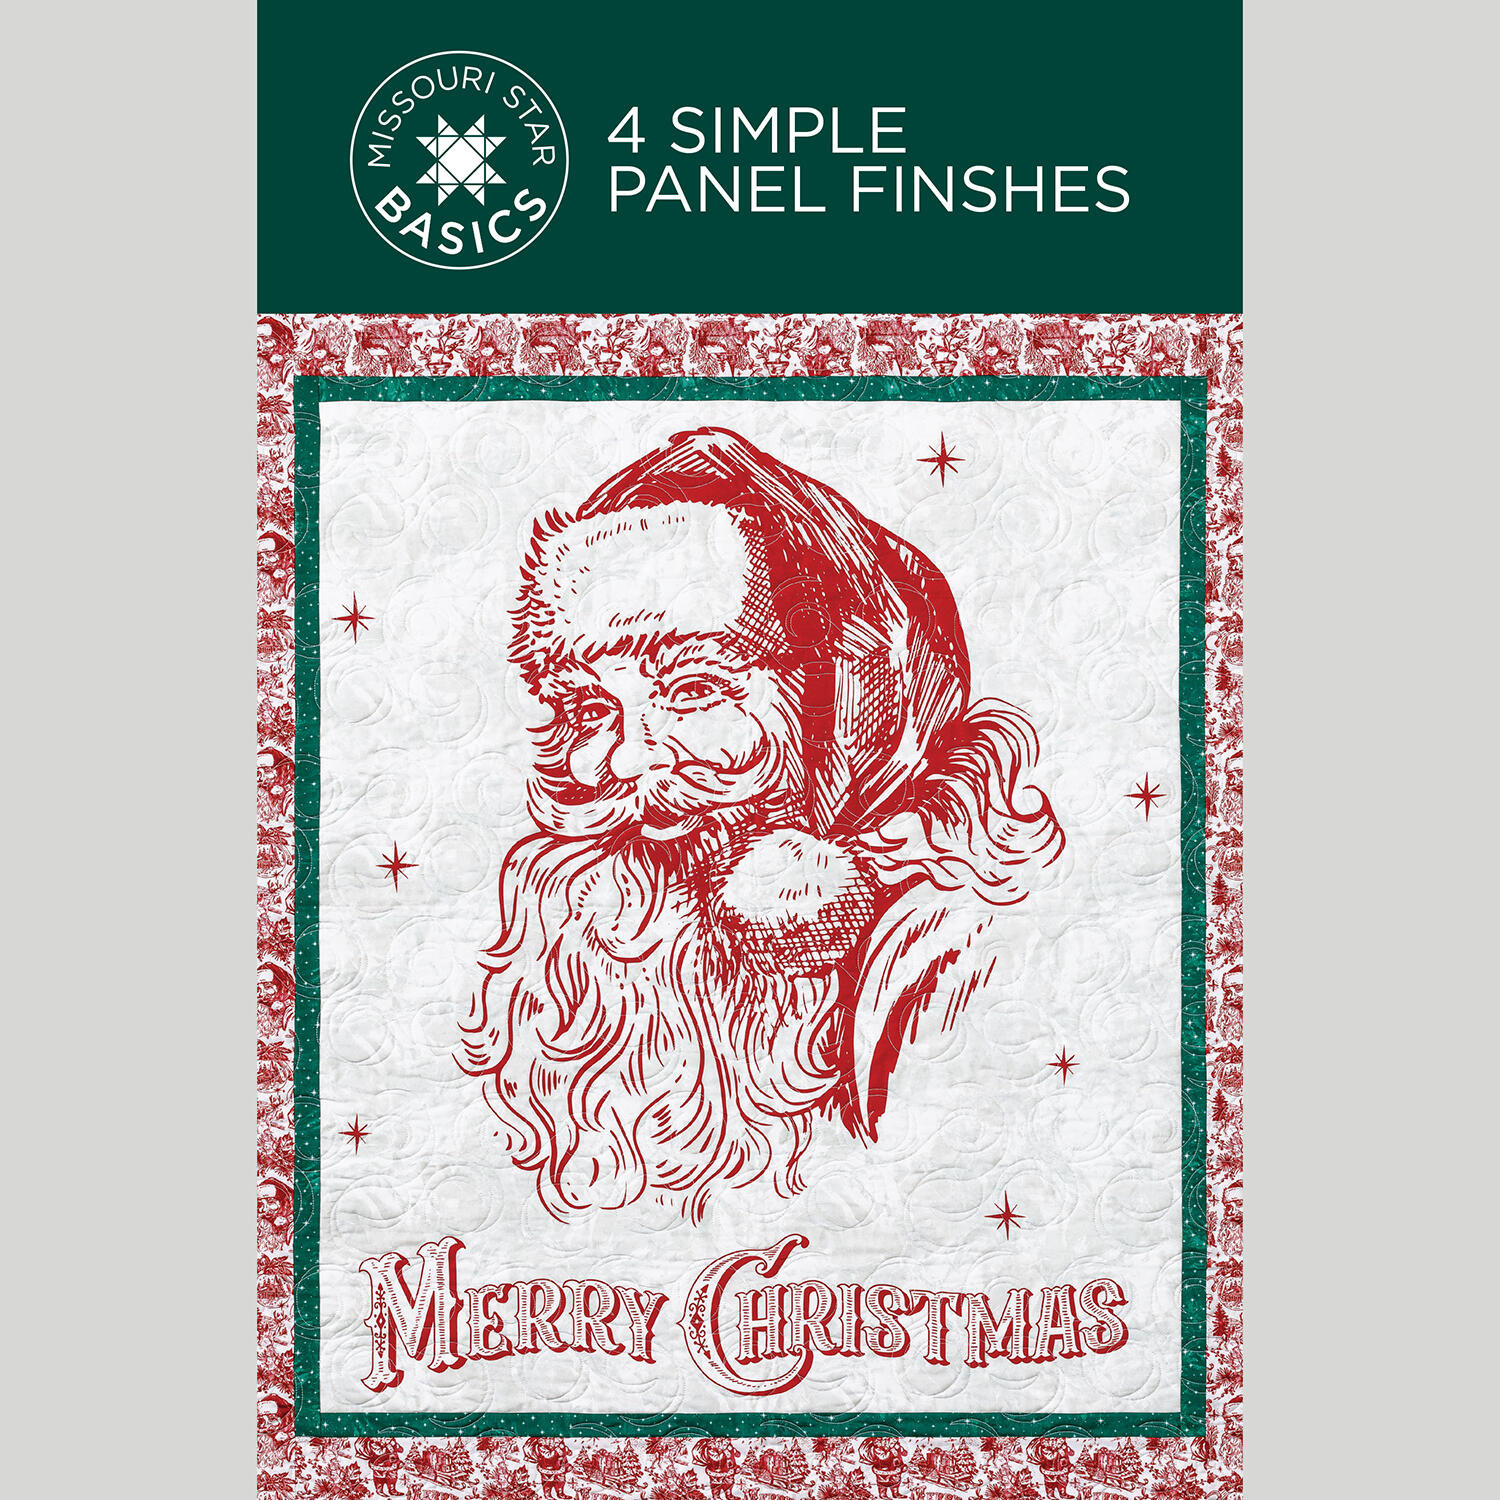 4 Simple Panel Finishes Quilt Pattern by Missouri Star$8.50Shop →
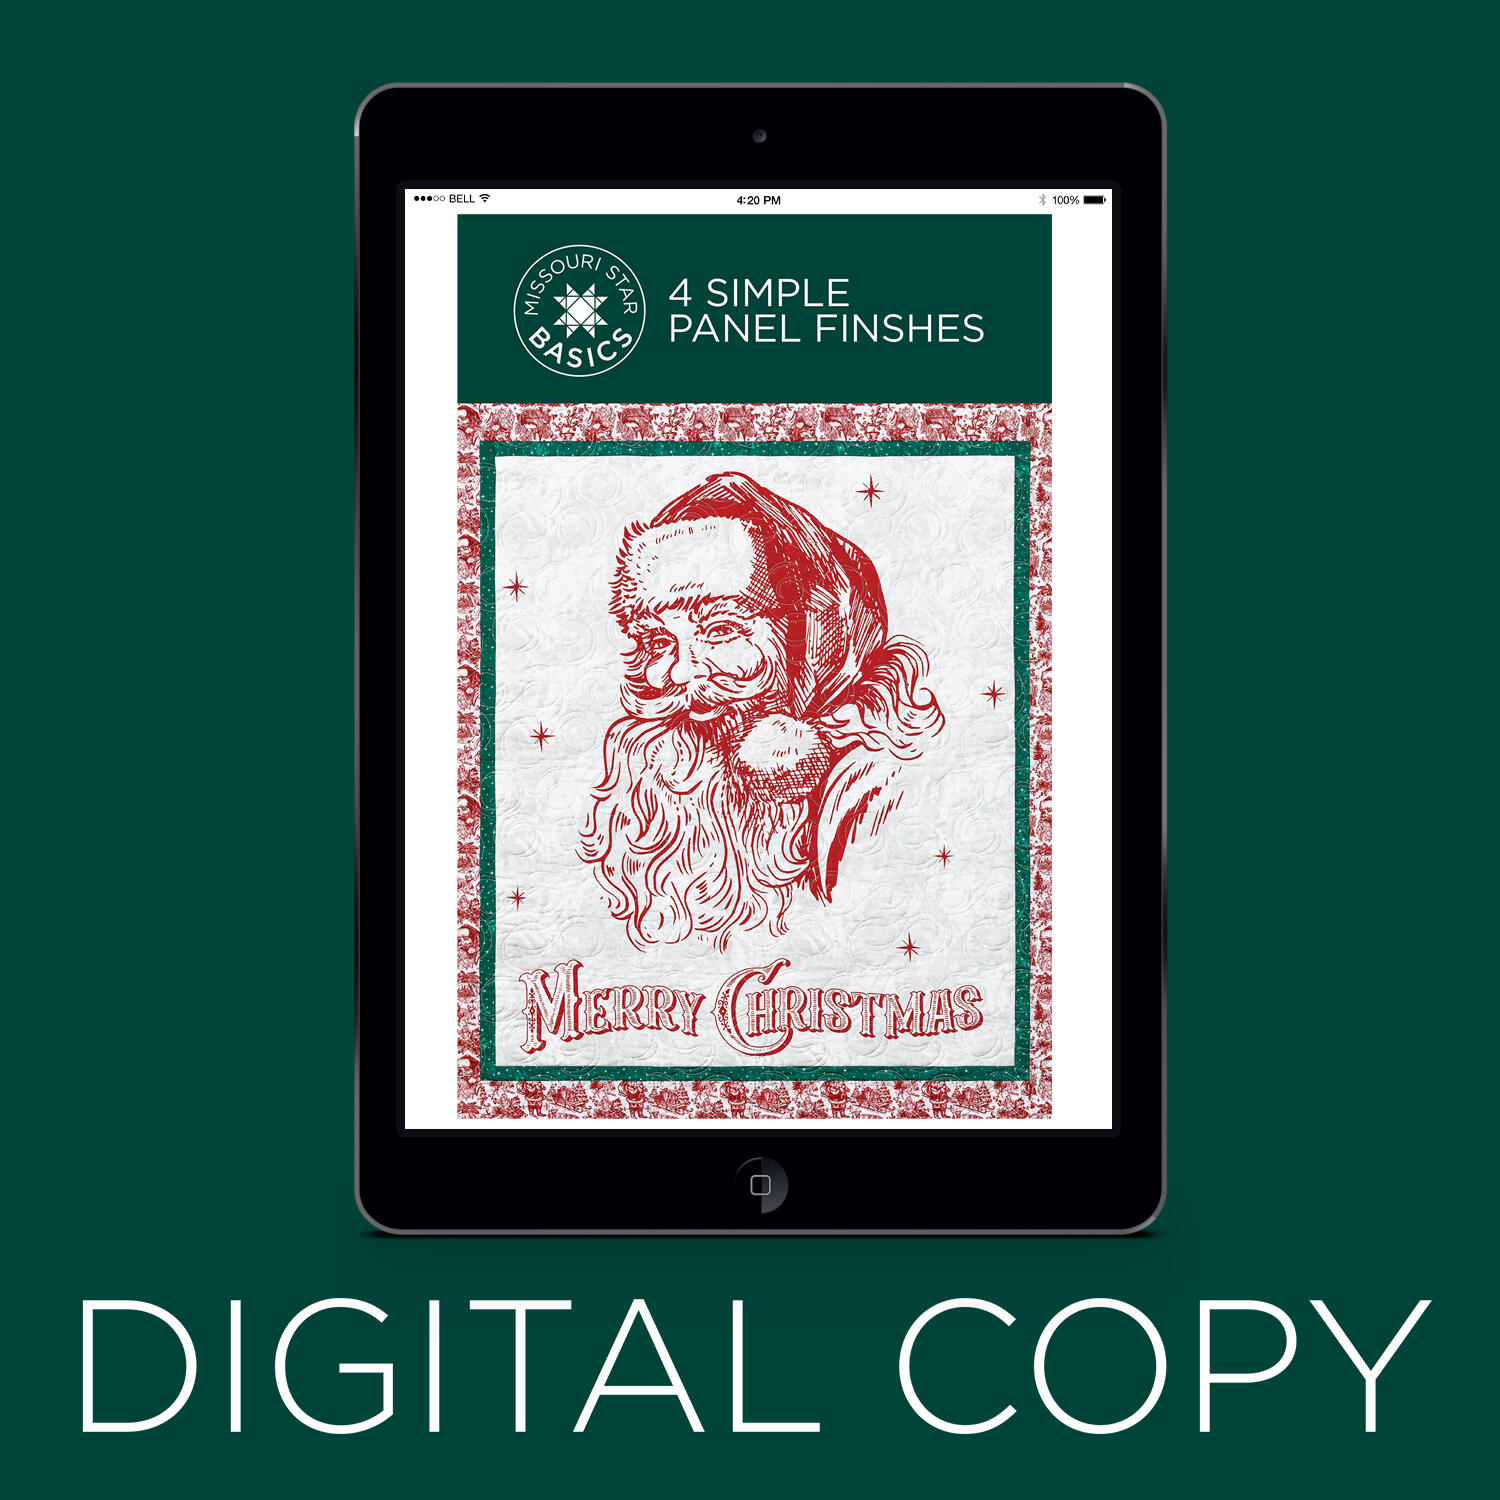 Digital Download - 4 Simple Panel Finishes Quilt Pattern by Missouir Star$6.95Shop →