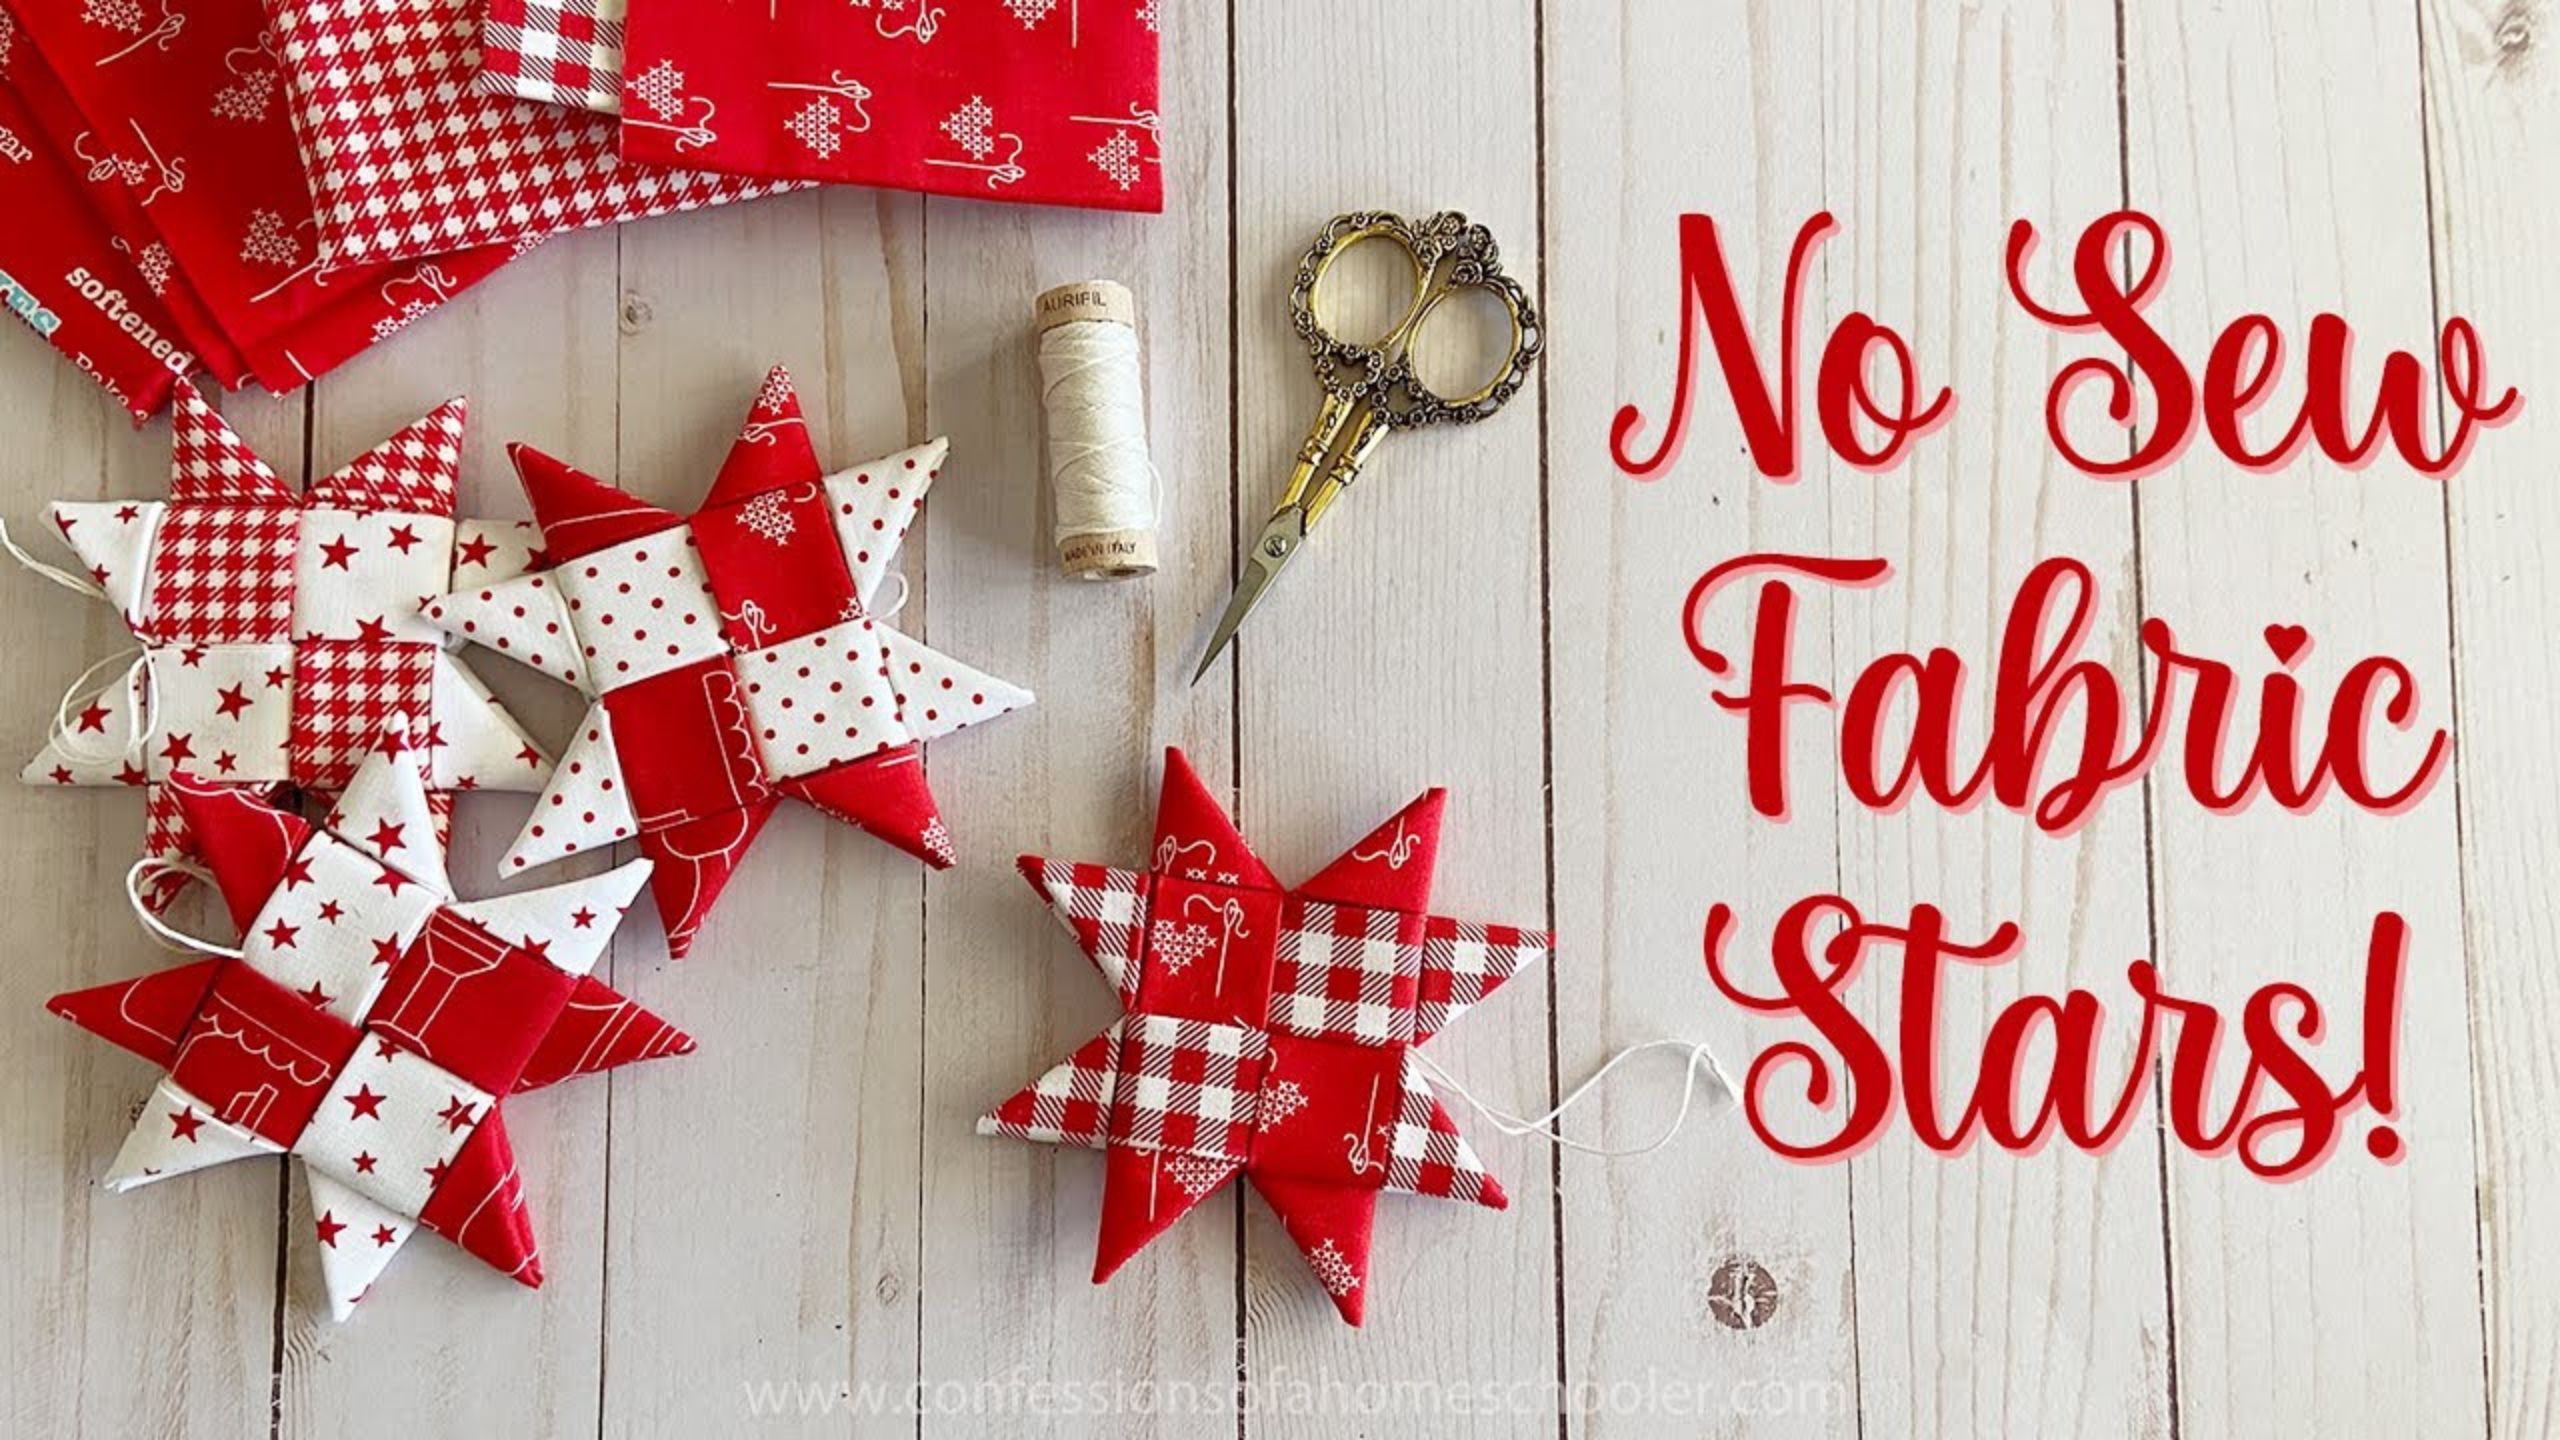
Zip & Roll Bag with The Little Green Bean
 Missy Luukkonen
- Fat Quarters
- Totes, Bag, Purses
- Beginner
- Quilt size 17" × 9"
School may be out for summer, but it will be back in session soon. Get those college students ready for dorm life with the this Dorm Project Series, hosted by Missy Luukkonen of The Little Green Bean. In this episode, learn how to create the Zip N Roll bag. This organizer is great for keeping makeup and art supplies secure and tidy, freeing up much-needed counterspace.
Instructor
Missy Luukkonen
Missy Lukkonen, owner of <a href="https://thelittlegreenbean.com/">The little Green Bean</a>, is a full time maker and has been sewing for more than 30 years. She is know for fun, whimsical items that are a combination of both practical and adorable.
Shop this tutorial
 Digital Download - Bedside Caddy Pattern by Missouri Star$4.95Shop →
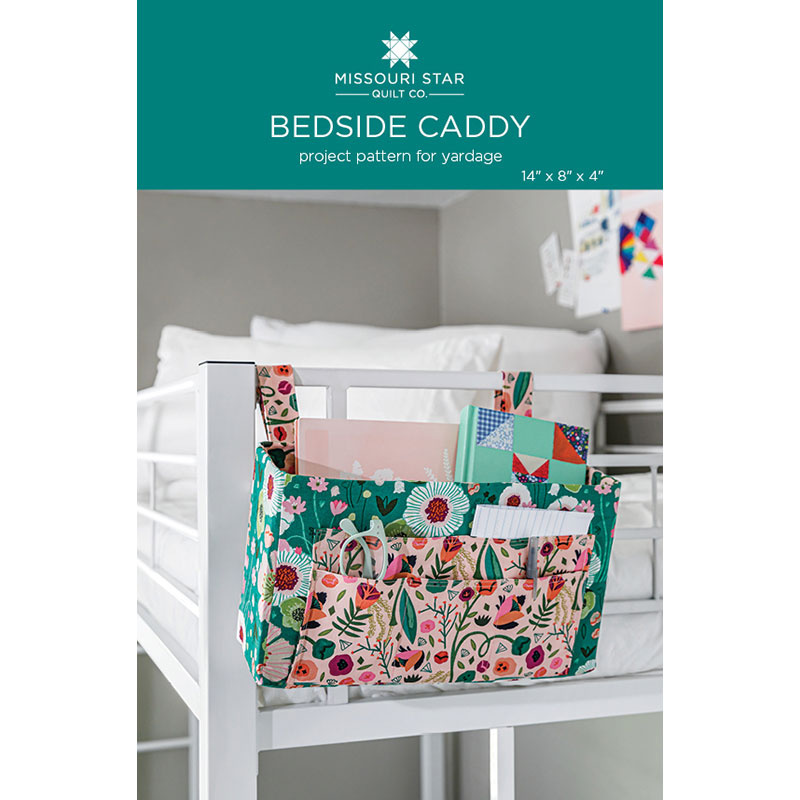 Bedside Caddy Pattern by Missouri Star$6.95Shop →
 Flower Power - Groovy Garden Avocado Yardage$11.96Shop →
 Flower Power - Lazy Daisy Avocado Yardage$11.96Shop →
 Heat N Bond Iron-On Vinyl$12.25Shop →
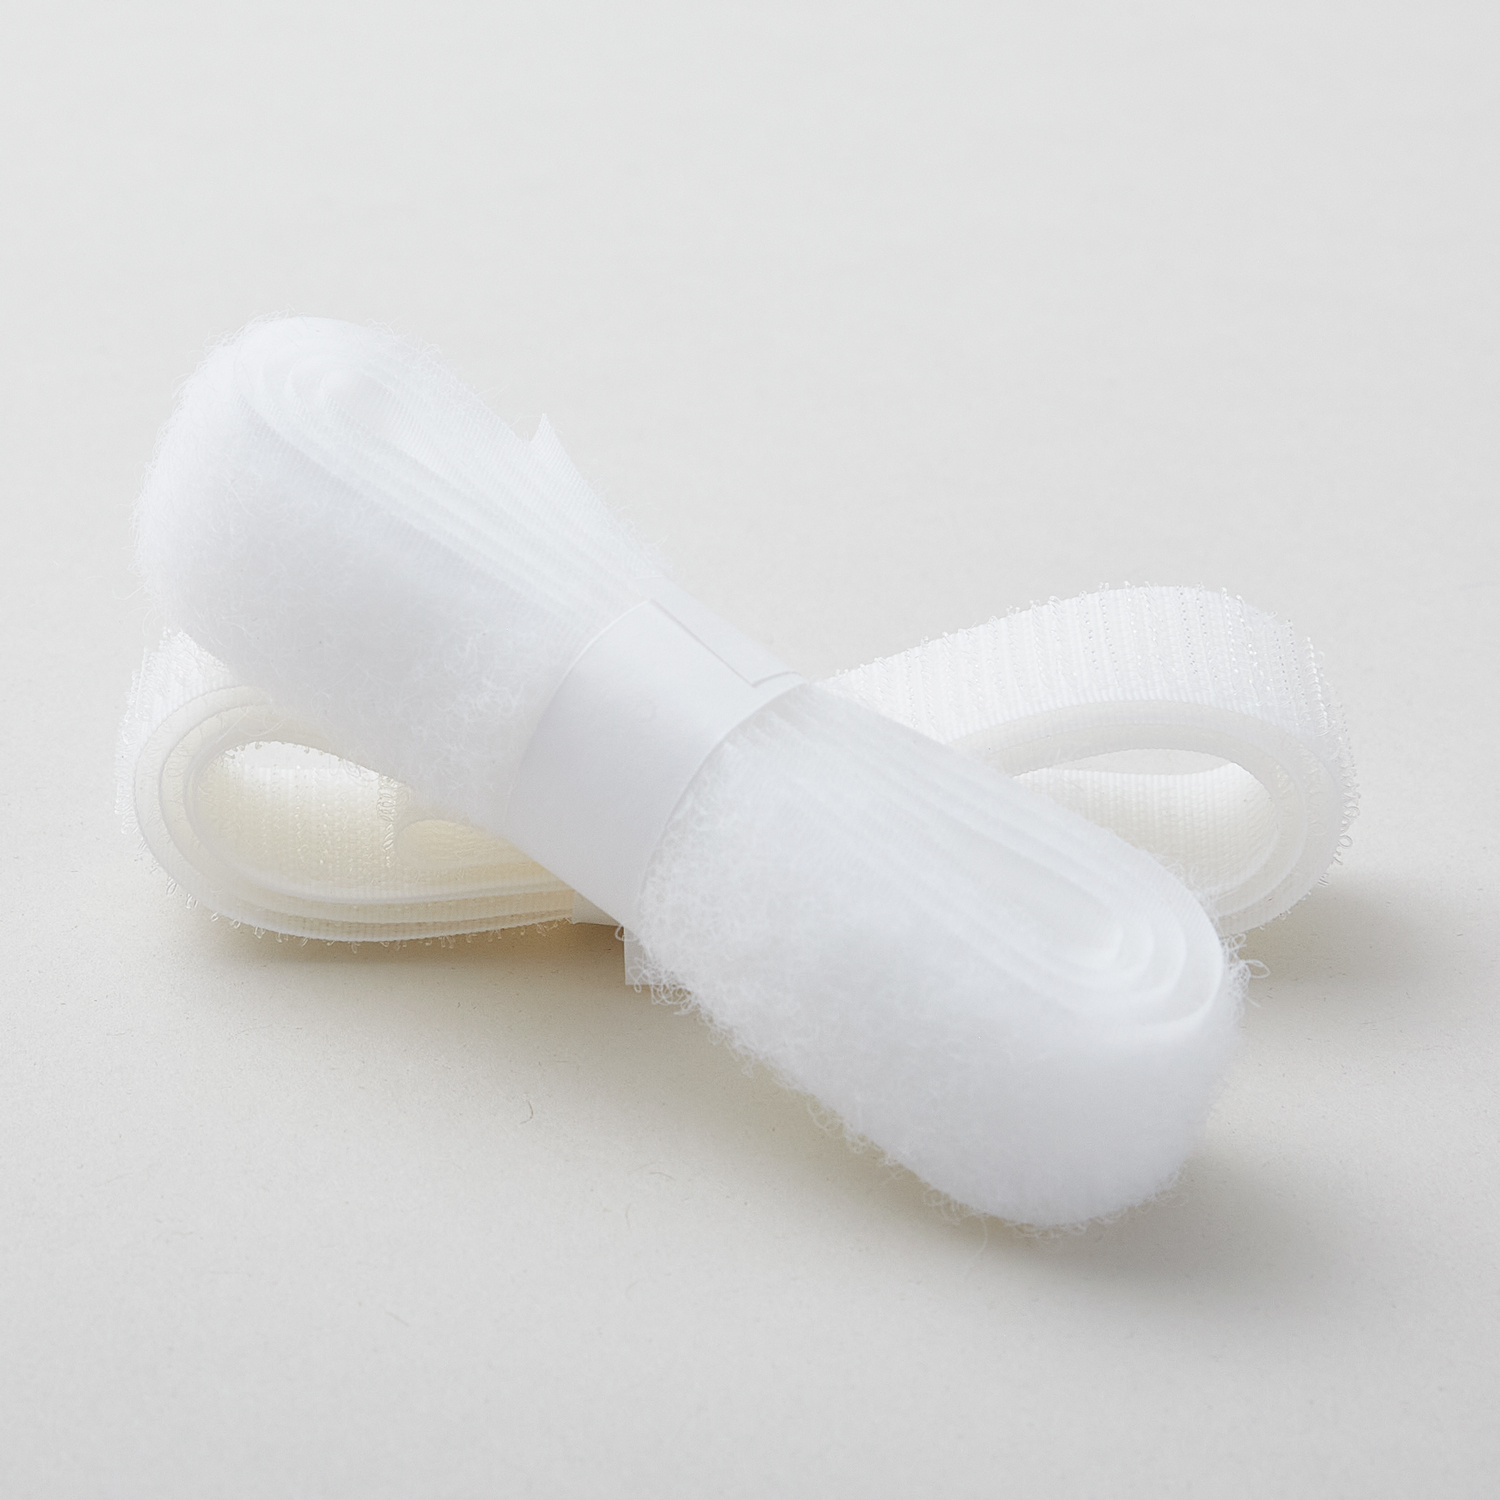 Velcro® Brand Fastener Regular Duty Strip White 3/4" x 30"$3.75Shop →
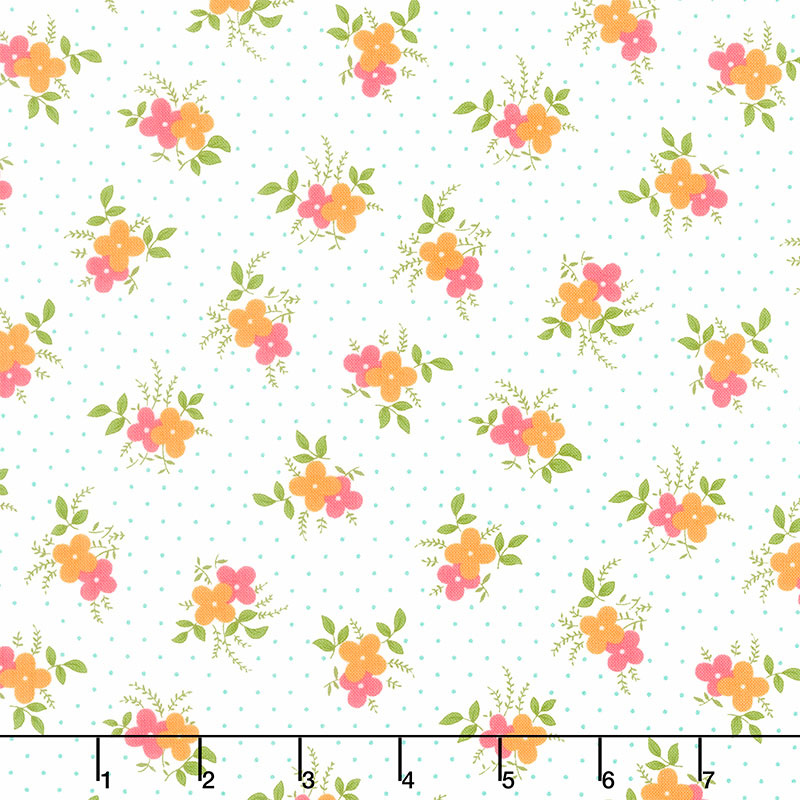 Flower Power - Easy Breezy Cloud Yardage$11.96Shop →
 Missouri Star Quilter’s Best Blend Crib Batting$14.45Shop →
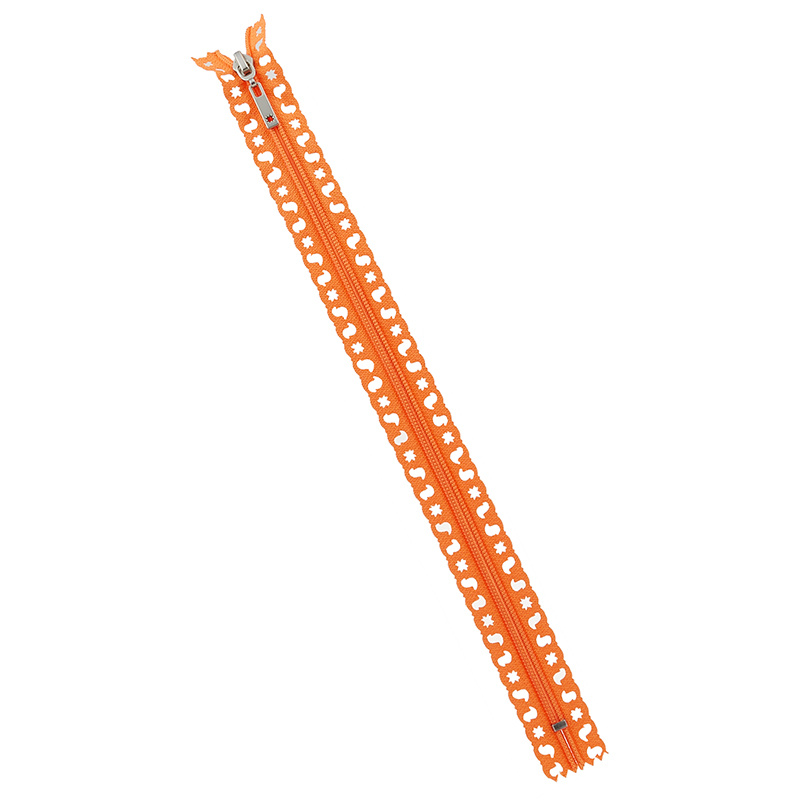 Missouri Star Fancy Zips - 14" Chuck the Duck Orange$2.75Shop →
 Lori Holt Cute Cuts Cutting Mat - 24" x 36"$72.45Shop →
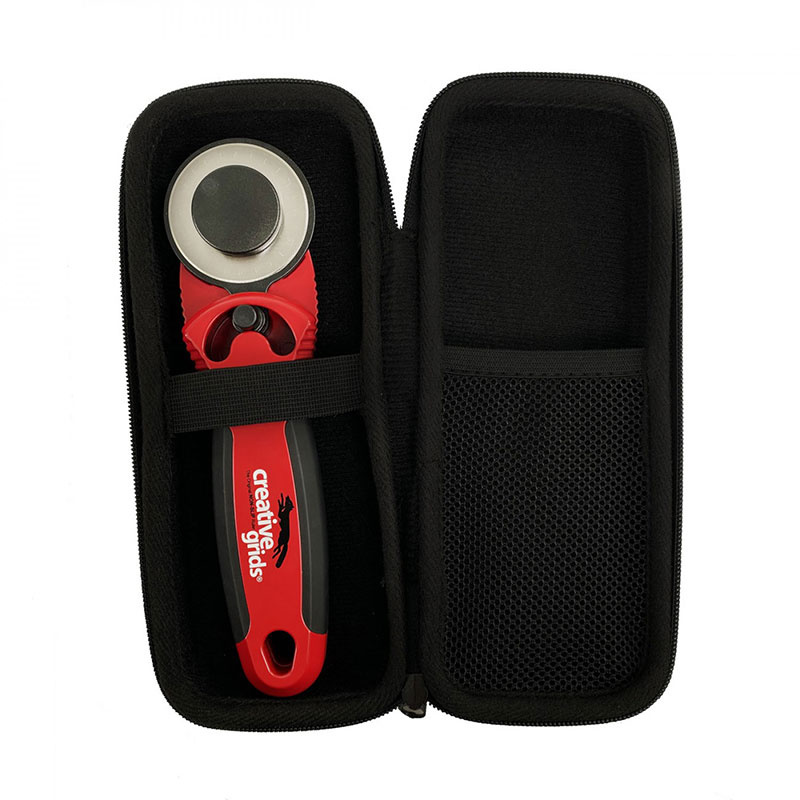 Creative Grids 45mm Rotary Cutter with EVA Case$57.99Shop →
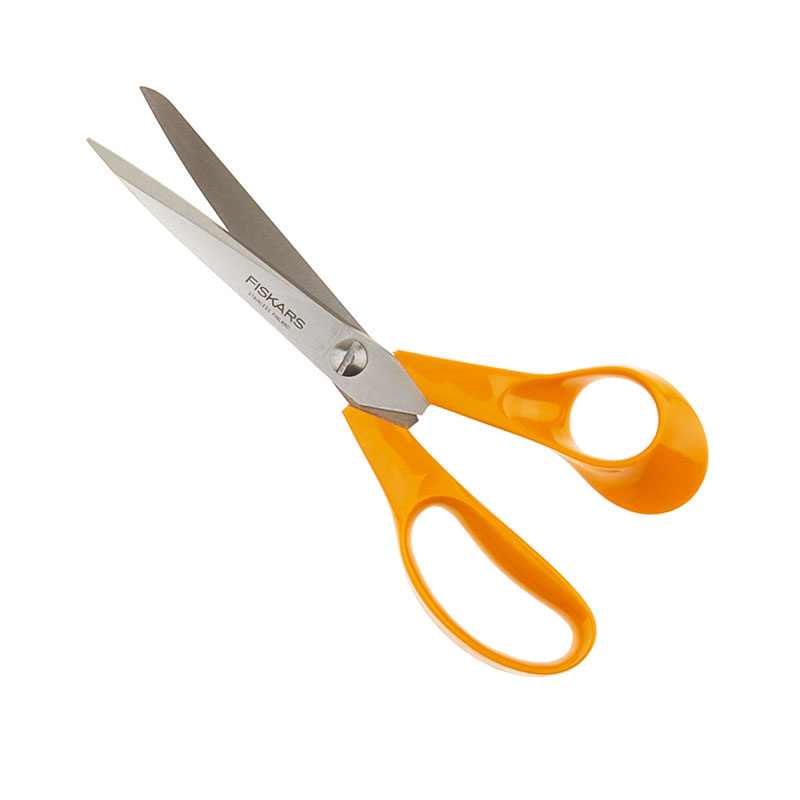 Fiskars Seamstress Scissors 8"$25.75Shop →
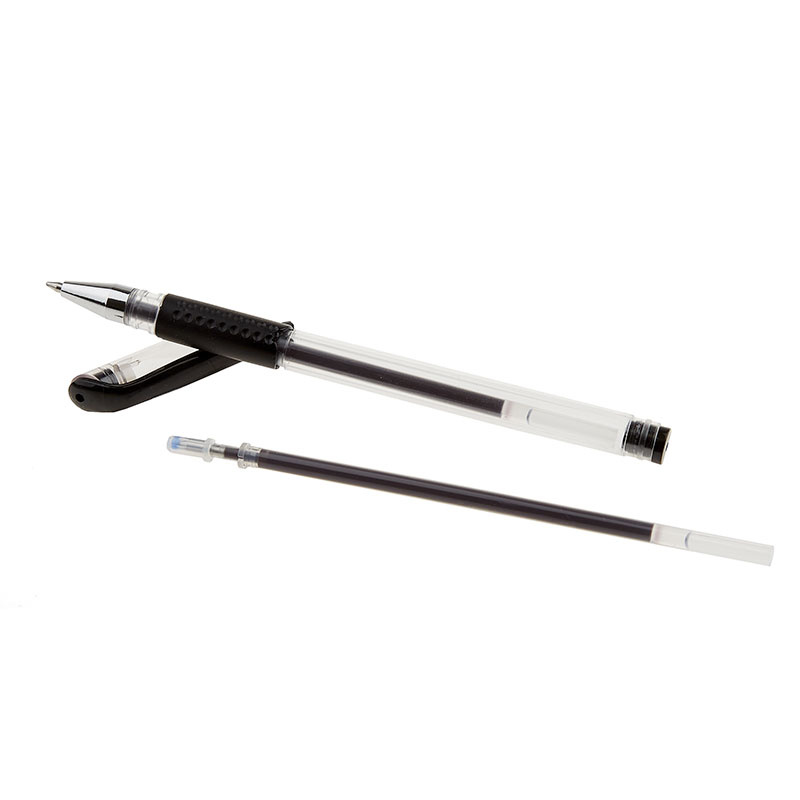 Heat Erasable Pen, Black$2.15Shop →
 Exclusive Missouri Star Jenny TG1600 ProPlus Oliso Smart Iron$199.99Shop →
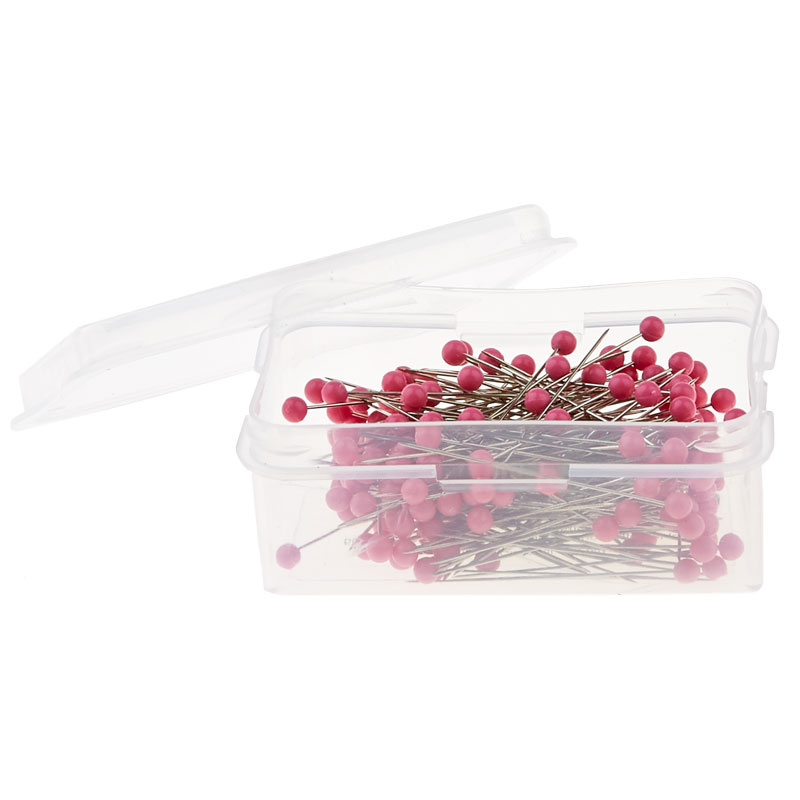 Extra-Long Color Ball Pins$3.95Shop →
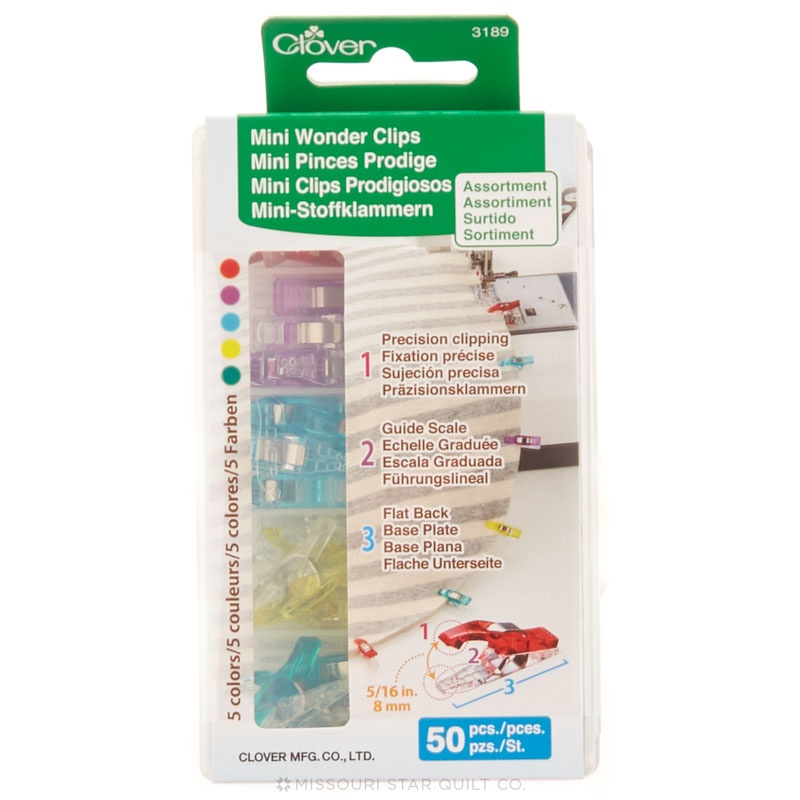 Mini Wonder Clips - 50 Count$29.95Shop →
Common Questions
What is covered in Zip & Roll Bag with The Little Green Bean?
School may be out for summer, but it will be back in session soon. Get those college students ready for dorm life with the this Dorm Project Series, hosted by Missy Luukkonen of The Little Green Bean. In this episode, learn how to create the Zip N Roll bag. This organizer is g...
How long is the tutorial video?
The tutorial video is 00:24:16.
Are supplies listed for this tutorial?
Yes. The tutorial page includes the supplies and materials connected to this project.
Is a transcript available?
Yes. A written transcript is available on the tutorial page.
Video Transcript
Now the Zip and Roll bag is perfect for your student who's heading off to college. They you know need to take their stuff with them like makeup and makeup brushes. Now the inside is lined with an iron-on vinyl to keep it waterproof and help keep everything clean because we all know makeup brushes tend to leave a little bit of a mess especially right on fabric. So the vinyl keeps your pouch nice and clean and then the inside is also lined with the iron-on vinyl, so that you know we don't get all that makeup residue.
This is a super fun project so come along let's go make one. And you guys are going to want to make a bunch of these. They are great for gifts -
if you've got friends and family that travel these would make a great Christmas gift as well.
So let's get started. I have already pre-cut all the fabric and we're going
to start by quilting the top piece. So go ahead lay out your batting and the top piece of fabric for the outside of the pouch. We are going to draw some lines on here. I'm going to take my ruler and I like to use a heat erase pen but you can use any sort of fabric marking pen, whatever works best for you. And we're going to draw some lines on here. And that's going to be the starting point for our quilting. Now I use a little tool that I attach to my sewing machine for the rest of the lines. If you don't have anything like that then I would recommend drawing all your lines on here before you get started in whatever way you want to do your quilting. And you can quilt this using any design that you want. I'm just doing straight lines because it's easy and this is what I like to do, but feel free to quilt the front of this any way you want to.
I have this little attachment that I can attach to my presser foot and it's a
quilting guide so I will stitch along the line that I drew and then I line up
the stitched line with the quilting guide and that way all of my stitches
are the same distance apart from each other. I quilt using this method. Now you can quilt it any way that you want to and if you don't have a guide like this, like I said just draw all the lines on there whatever distance you want them to be resulting you can go ahead and square it up and cut it to 17 and a half by nine and a half. When you're done you can just
set it aside.
Now you're going to take the inside lining and you're going to attach the
iron-on vinyl. This is so easy to do so you just peel off that backing and then you're going to place the sticky side down on your fabric. It's not so
sticky that you can't move it so take your time line it up so it's nice and
straight. Then when you've got that all lined up and in the right place then
you lay your paper back on top of it - you never want to iron directly onto the vinyl it will definitely melt. Iron for about eight seconds in each section and also shut the steam off on your iron. You don't want to use steam for this part. When you're done just let it cool for a minute and then you can remove that paper and you will see that you have now made your fabric vinyl which is so amazing!
Next you're going to take the fabric that you're using for the inside pocket
fold it in half. I would recommend pressing down that top edge at the fold
this way it'll be lying nice and flat before you start top stitching this edge.
When you top stitch, I like to just line up the edge of my fabric with the edge of my presser foot. That helps to make sure that I have a nice straight line all the way down the front of the pocket. When you add the velcro I would recommend using a ruler and marking the spot where you want to add your velcro to before you sew it in place. Make sure
that you stitch all the way around all four sides of the velcro so that it is
securely attached to the front side of your pocket.
Next you're going to lay the pocket on the vinyl lined panel and you're going to just baste it in place along the two short and the one long edge. So leaving that top part open and you're going to want to baste with about an eighth of an inch seam allowance. Here we're just attaching it to the front. Mark the lines wherever you want to make pockets. You can make them be as far apart as you want. Keep in mind what you're going to be putting inside your pouch and then mark your lines accordingly. Top stitch along each of the lines. You just made on the pouch and this is
going to create the pockets.
Now you're going to attach another piece of velcro in line with that first piece just above the pocket, and again make sure you sew along all four edges of the velcro to make sure that it is securely in place. You don't
want that popping up off the bag because this is going to hold the pouch in place that you're going to create.
Now grab the piece that you quilted and flip it over so the batting side is
facing the pocket panel that you just created on top of the batting. Your wrong sides should be facing each other. Go ahead and pin these two pieces together and then you're going to sew them all the way around the outside edge with an eighth of an inch seam allowance.
All right now we are going to make the ties for the bag. So you want to take the two strip pieces that you cut and you wanna press over a quarter of an inch on each end. And then you're going to fold it in half, press with your iron, and then once you've made that line with your iron you're gonna go back and open it up. And then you're going to fold it in to
the line on each side. You're going to go ahead and just fold it in half again and press one more time, this way all your raw edges are tucked
towards the inside. You're going to do this for both pieces of your straps.
Go ahead and flip it over and on the back side you're going to attach the two straps right in the center. So just make a mark in the middle about halfway up and you're going to sew those two little straps in place. One of the straps is shorter than the other - make sure you put the shorter one on the underside, then lay the longer one on top making sure they meet at the end and you can either clip or pin them in place before you sew
them down on your sewing machine.
Once the ties are sewn in place you can clip any loose threads and now it's time to make the binding. To make the binding, you're going to want
to take the two and a half inch wide strips that you already cut and you're
going to lay one face up and then the other one going the opposite
direction face down. Then what you're going to do is you're going to draw a line from one corner down to the other corner and that's where you're going to sew - right along that line and this is how you're going to attach all of the pieces of the binding together to make one long strip. Just sew along that diagonal line for all the pieces that you're connecting together.
You want to have enough binding to go all the way around the outside of your project. This time I didn't draw the line but I just noticed so from one corner down to that bottom corner on the bottom piece of the fabric.
Then you're going to trim off the excess fabric leaving about a quarter of an inch seam allowance and then you're going to press that seam
allowance open with your iron. Fold down one side of the binding, fold
it down by about a quarter of an inch and then you're going to fold it in half again and press with your iron. Next you're going to fold your binding
in half along the entire length of the binding and press it down as you go
to attach the binding. Start by adding it to the back side. I like to start right
in the center, clip it in place to get yourself started (you do not need to clip
it all the way around for this step, because we're just attaching the back
side first) so clip it in place and then. I'm going to show you how I like to
attach binding.
Start by opening up the binding and you're going to stitch down maybe two inches or so and then you're going to go ahead and close the binding
up and the rest of the way around you're going to stitch with the binding folded in half. You just want to leave this opening to tuck in the end when you are done. You want to be sure that you're stitching with a quarter of an inch seam allowance and you're going to stitch down almost right to the corner. When you get about a quarter of an inch away from the corner leave your needle in the down position and then pivot your fabric.
Stitch towards the corner, back stitch, and then remove it. Then you're going to make your mitered corners.
So you're going to fold it up at a diagonal and then fold it back down over itself and then continue stitching. You do this in every corner this is what allows you to flip it over to the other side and get nice clean corners. When you attach your binding on the other side be sure here you do not stitch your ties. You can stitch over that back side for sure but you don't want to stitch them into the binding so again pivot here. Stitch to the corner and that's going to give you a nice clean line to follow when you fold your corner up.
So here is where you're going to fold it up and then fold it back down over
itself and just kind of hold it in place. You can clip it if that's easier for you -
just make sure you keep the clip out of the way of the sewing machine and then again stitch down to the next corner. And we're going to keep repeating this process on all four corners. Then we're going to fold it over to the front side and you'll see how nice and clean that lays, especially when you get into those corners.
So again leave the needle down, pivot, sew towards the corner back stitch and then take it out from under the needle and there you go. This is the easiest method I have ever used to attach binding and it is my go-to. This is how I sew binding onto anything that needs a binding.
So on this last row - we're almost done - so you want to stitch down and stop just before you get to where you started. Then what you're going to do is you're going to leave about an inch and a half two inch long tail and you're going to cut off the rest. Then just open that part that we left open at the beginning, tuck in the binding make sure it's laying nice and flat in there and now you can continue sewing until you get to where you started on that outside edge. Now we're going to flip it over and we're going to clip all the way around with our Wonder Clips to hold the binding in place because we want to keep it down along the other side so that when we stitch from the back side everything is in place where we want it.
Continue adding your Wonder Clips all the way around the edge and making sure you get a nice clean fold. When you get to each of the corners you just want to fold that over so that they lay flat and that they look nice when you're all done stitching. So I like to clip along the entire top edge and then I'll get to the corners and move down each side. So you're going to flip it over to the back and you're going to do what's called stitch in the ditch and you're going to stitch right along the edge where the binding meets the fabric on the side where you've already attached it. This will kind of hide the stitching on this side but it also makes sure to catch the binding on the other side.
So go slow, pivot in each corner with your needle in the down position. This will help to keep everything in place nice and neat and then remove those clips as you go. You definitely don't want to sew over those! So keep stitching this method all the way around and that way your binding
will be securely attached on both sides. If you want to sometimes I've seen
people use a decorative stitch here. That does look super cute you can do it either way, it's totally up to you.
This part is complete so you can set that aside and now we are going to make our zipper pouch. To make the zipper pouch you're going to lay one piece of fabric on the fusible side of the foam and then iron that in place so it's nice and secure on the foam. Now we're going to apply our iron on
vinyl to the other side of the pouch so the other piece that you cut make sure to iron out any wrinkles first and then peel off the backing just like we did before. Then you're going to stick that down on top of your fabric very carefully here and then make sure to put that paper down again before you iron it. You never want to iron directly onto the vinyl - you would have a melty little mess on your hands there.
So grab that paper and put it on top before you press it all in place. Next take the two pieces for the bag and lay them one on top of the other right
sides together you can use Wonder Clips to hold everything in place. Then you're going to sew along the two long edges, then you can turn
your piece right sides out.
Next you're going to want to mark the center of your panel. I like to use a
ruler and a pen you can fold it in half and make a crease whatever way works best for you, but I like to find the center and I just draw a line through the center of the middle the short side and through the long side as well. Then I know exactly where the center of my bag is and that's going to be our guide for attaching the velcro to the bottom. We are doing this on the non-vinyl side. Next we're going to cut the velcro to two inches and we're going to place that right in the center along that middle line
and then we're going to sew that in place along all four edges.
Now it's time to add our fancy zipper. So you're going to lay your zipper right on the top edge of one of the long sides of the pouch. Make sure you have a zipper foot for this, it's really helpful when attaching attaching the fancy zip. At this point your zipper foot should be right along that zipper and catching the panel on the back side, but you're right up at the top. So go slow. It helps to pin it in place before you sew it and make sure you're catching the zipper and the back side as you sew along this edge.
Now we're going to attach it to the other side. So you're going to want to
make sure that everything is in the same spot so you want to just kind of mark where things are so that the zipper matches up properly. Go ahead and open that zipper and then pin the zipper part in place again making sure like the zipper stops match and everything is all lined up. You may want to test it by closing it first before you actually sew it in place, but once you've got that pinned on then go ahead and sew along that edge of the zipper again with your zipper foot making sure that you catch the edge of the fabric and you're on top of that zipper when you sew this part on.
Before we move on, remove your pins and then make sure you cut everything on that back side. Just take a look and make sure it's all sewn in place. Once it all looks good go ahead and pull that zipper part way closed.
Now you want to make sure you leave it open about halfway. All right we're going to go ahead and turn this right side out. Leave that zipper open - it's going to help you to turn everything and then just make sure
everything is laying nice and flat. Push it out with your hand the best you
can - it gets a little bit tight but make sure that zipper end comes out and then you can use your Wonder Clips to flatten your bag and clip everything in place so it's nice and even on both ends.
Now here you can pull it shut just a little bit and just to make sure everything matches up the way you want it. Go ahead and clip it in place and then we are going to just sew a quarter of an inch in seam along both of those sides to sew the pouch shut. Once you have sewn those ends closed go ahead and take your non-fabric scissors and you're going to trim off the excess zipper. Now here's where I wish I would have left that zipper a little bit more open than I did it's going to take me a little bit but I'm going to have to wiggle my finger in there and try to grab the zipper pull
and get this to open up because I zipped it too far shut but I was able to get it open.
So now what you're going to do is you're going to lay your corners flat
and you're going to make a point and you're going to fold them over just like this and then measure from the point up about three quarters of an inch. So you're going to do this for all four corners I like to use a marking pen to just mark along that edge because that's going to be the line where I sew. You want to do this like I said on all four corners here mark it three quarters of an inch up and then you're going to sew straight across to create a little bit of a boxy corner in all four corners of this pouch.
So now I have sewn all four corners in place with just a straight line and
we're going to snip off those excess points there leave about a quarter of an inch inseam. Now we are ready to turn this right side out so go ahead open that zipper the rest of the way, turn it right side out and making sure
you pop out the corners with your fingers. And then you can zip it shut and then you have your velcro on the bottom to attach this to your Zip and Roll bag. Now you can roll it up and tie it shut and it's ready to give as the perfect gift! This would be great to fill it up ahead of time too especially for your college student before they head off. Then when they open it up they have a fun surprise full of their favorite products and makeup and whatever else you want to stick in there for them!
Wasn't that so much fun to make? It was so easy to do! So head to Missouri Star Quilt Company and pick up the pattern Zip and Roll bag. You can find that on their website. The fabric that I used for the one I showed you today is called Flower Power and it's by Moda!