Fun meets functional in cute zippered pouches! Craig Conover joins Misty to make boxed-corner bags featuring Christmas fabric from Sewing Down South's Nutcracker Suite collection. Missouri Star Fancy Zips add a delightful touch to these boxy bags. They are great for storing notions, cosmetics, travel essentials, or any small items. Tie a ribbon around one of these festive bags to use as a gift container and give two gifts in one!
Misty Doan grew up surrounded by sewing and quilting. She loves spending time sharing tutorials each week each week, and when she’s not stitching up one of her fun sewing projects for home decor, most likely you’ll find her hanging out with her husband and three awesome kids or working on a house project.
Fun meets functional in cute zippered pouches! Craig Conover joins Misty to make boxed-corner bags featuring Christmas fabric from Sewing Down South's Nutcracker Suite collection. Missouri Star Fancy Zips add a delightful touch to these boxy bags. They are great for storing no...
How long is the tutorial video?
The tutorial video is 00:16:09.
Are supplies listed for this tutorial?
Yes. The tutorial page includes the supplies and materials connected to this project.
Video Transcript
Hey everyone, I am back with Craig again. Thank you Craig for having me. You're always welcome at my sewing studio. You're always bringing new projects, new ideas, and with our new fabric line out, or our second fabric line with you all, we're really really excited to see what else we can make for the holidays. Well, I have a really fun fancy zip travel tote, so we're going pretty intimidating. It shouldn't be. I promise, it's really simple. This would be the best dopp kit for me. Like to carry I I travel so much during the week, I can just throw this right in my bag and be Be ready to go. Yeah, and a holiday theme. I promise it is really simple, but before we dive into it, will you talk a little bit about the inspiration for your fabric collection? So, I'm very I'm a very nostalgic person. A lot of what I do with sewing down south, especially with our original pillows, evoke some memory or an emotion from somewhere I've traveled or lived. When it comes to the holidays, I think back to all the time that I spent at my grandparents' house. Every time I see these patterns, it it makes me happy. Takes you right back to your childhood. warm feeling of the holidays, so I wanted to design a line where everyone can make things to have those feelings in their own homes. Well, we're going to teach them. It's very very simple, and so let's dive right in. So, you're going to need the pattern. So, this is again the fancy zip travel tote. This is available from us at Missouri Star, and if you want to just get it digitally, you can do that as well. And then, as far as supplies, you just need a couple of fat quarters, and of course I'm using these two great prints from the Nutcracker collection. You need a zipper. I'll be using a Missouri Star fancy zip, and what's nice about these is instead of having to set it in, you actually just get to sew the zipper right on top. Makes it very approachable. And then, I'm going to use some Bosal In-R-Form Plus for our stabilizer inside. It gives it this kind of more rigid shape, which is really nice for this style of Yeah, I like that. Yeah, it's super easy. And so, what I've done to get us started is I've just cut uh pieces that are 12 in across by 21 long of both our stabilizer and our two prints. And so, to begin, we are just going to lay these right on top of one another, and I'm going to put my print fabrics right sides together. Okay. So, we just want to make sure all of our layers are lined up, and then we're going to ac- actually be sewing these two short sides. So, let's put a few clips or pins just to make sure that we're not going to have a lot of shifting on those two ends. stabilizer goes on Just just like this for now. And so, so it is fusible on both sides, and so we have the wrong sides of one fabric touching that stabilizer and the right side of the other facing the fabric. So, this will be my first time making a project like this, so. Does it matter if I use clips or pins? No, whatever you prefer is just fine. More clips are better for me, I think. And we're just doing these short sides, so we just want to make sure the two ends are lined up. Okay. Perfect. And so, now just pop this under the machine and sew a 1/4 in seam on both of those short ends. let's get started. Okay. Beautiful. Sweet. All right, so now that we have those two ends sewn, we'll go ahead and take that clip off, and we are going to open it up between our two layers of fabric and fold it right sides out. So that we're sandwiching that stabilizer in between the two. Wow. And so, you want to kind of like roll these edges because we can't press it until we have it all lined up and ready because it is fusible, that interfacing. And so, I just take a little bit of time, kind of roll it between my fingers to make those two ends lay nice and smooth. And then once we have that ready, you're going to go ahead and take it with a hot dry iron and press it from both the top and flip it over and press the bottom side as well. And so that'll kind of are you feeling for in here? Just that Yeah, you just kind of want to roll this edge. So see that seam? You want that to be right on the end there. Oh, okay. And that's all you're looking for. So if you want to start on one end and kind of push the fabric the other direction. Slow and steady. Yep. But this is another project that really comes together so quick. You can just make it in the afternoon. So it's a fun little handmade gift. So quick. Yeah. One day. First time will take a second. And now that you're using that hot hot iron, you'll notice that it's going to start fusing the fabric to that stabilizer. So they kind of become one piece. I mean, what an incredible gift to have like I guess I call it a dog kit, but a overnight bag or you know, to have a holiday themed one is really Well, and even to know that like you can make it for anyone and and base your fabric selection on what they might love. Uh just all those little details are is what makes handmade gifts so special, right? I love that. All right, you did a beautiful job here. And so now we're ready to attach our zipper. And so the the first thing you want to decide is if you want the nutcrackers or this beautiful green print on the outside. Well, we have the nutcracker made. So do this opposite version. Okay. So to begin, we are just going to lay this zipper right along the edge. And kind of what you're looking for is you want the opening to not be in the way of this end. So you want to just hang it off a little bit and we're just going to put some pins in here Okay. to secure it. And so once we have that first one attached, we're just going to take our uh needle and we're going to sew just as close to that zipper as we can get. You've got kind of a wider foot there, but the beauty of these fancy zips is as long as you stitch across here, you're going to be golden. So now the goal is we're going to feed this edge right under your presser foot. Just keep the zipper head out of the way for now. You don't have to worry about that. And then if you want to switch to a zigzag to really catch this little edge. Beautiful. And so we'll just make our way down this straight side. Okay. Step number one. And pull those pins out of course as you get close to them cuz you don't want to stitch over those. Okay. All right, that's one side. Perfect. So now you can clip those threads. And so just like we did before, we're going to pull this around now. Keep it lined up as best we can so that these fabric edges are nice and straight and then spin it around and pin it. And once you this part is just a little bit tricky to maneuver cuz you do want to keep that fabric lined up. But we will go ahead and line it up, pin it first. And then we can unzip this to make it easier to sew. Oh, got you. Make sure that goes through. There we go. So we'll just take our time here. Put these pins across. Making sure the edges of our fabrics are where we want them to be. That makes sense. All right. And now I can slide this out of the way. And it'll just make it easier for you to put that under there and keep that out of your way while you're stitching. Do you unzip it all the way or not? Well, that's as far as it'll go cuz that's where your stop is. So whichever way is easier for you to approach it, I'd probably just put this under and just make sure I have everything tucked back. So, I just start with that corner. And once you maneuver it under the machine, then the rest of this will be smooth sailing. Once you get going, once you get past that kind of awkward side, the rest of this is pretty pretty manageable. It's kind of like the tender loving care that goes into all these handmade Yes, so. Yeah, so true. Cuz it really is like all the energy that you put into it will stay, you know? It's kind of built into it forever. I think that's so true. When we we put our time and and effort into something, you can't help but feel like the love and thoughtfulness that goes into it. So, it's good to share. And if it was easy and fast, you know, it's just a little different. I mean, it is easy, but it just takes a second. Kind of makes it all that much more worth it in the end. Absolutely. All right, perfect. So, now we can slide our zipper closed. Oops, we might want to trim a couple of those threads. I've got some scissors here. Just cuz we don't want those to get caught in there. And so, then now we want to slide that zipper pull so it's in the middle cuz we don't want to lose this. Okay. And now I can actually just snip through since these are just nylon scissors. Okay. I'm just going to cut it even with the edge of my fabric and get rid of these ends of my zippers. Wow. So, now you just have to be careful cuz you don't want to lose this and it could just slide right off. But, we are going to turn this now so that the zipper's on the inside. There we go. And then I just want to center this up. And I always just kind of eyeball it. But you can use your ruler. And kind of measure. How far over you're going. So we've got like. 5 in on that side. That looks pretty good. And so our first step next is to go ahead and secure both of these open ends. And so when you get to the zipper section, you just want to make sure that they stay close together but not on top of each other. Okay. So we can put some clips in there. And we'll do the same thing on this side. This one's easy cuz it's zipped closed but. So keep the zipper closed. Yes. Not on top of each other. Exactly. I noticed I could have bonded probably a little bit more but oh well. Yeah, I think it looks great. And so then now we're just going to sew with a 1/4 in seam. When you get to this opening, if you want to backstitch a couple of times, that will just help secure it later down the road. Perfect. Um but just a 1/4 in straight down both of those sides. Okay. Perfect. So I'll let you do the same thing on the other side. Okay. And then we can learn to box the corners. Have you ever done that before? over at this [laughter] and I'm like how in the world are we going to get to that? It's not hard. From this. It's fun learning good things. It really is. And then having it recorded, you know, you can go back. Like I have watched our old videos. Uh that we've done before just as a refresher cuz. Oh, it's so true. I mean, I've designed so many projects through the years that like if someone asks me to go and teach at a class or something, I'll have to go back and watch my old tutorials to remember exactly how I do things. It is so good to have that little refresher available. watch, you just get better and better at it. Yeah. Well, it just goes right around. Yeah. Cuz it's not going to go all the way through. All right, perfect. So, you have both of your ends all secured now. Yeah, I'm going to clean this just because Trim up those threads. It looks a little crazy. If [snorts] those raw edges were to bother you, you could bind the sides now before we box the corners. Actually, just the middle section at least you would want to add a binding to or again, just do a zigzag stitch to just kind of help stop that fraying is a great option. So, middle section like right here? Yep, exactly. And so now, the term box the corners, what that means is we're going to fold and pinch these corners. still inside out. We want to be. Okay. Yeah, that's the right way. We're still inside out. And so we're going to pinch these corners so that this seam is running straight down the center. And I'm going to measure down 2 in from the point. And then, do we have a pin or a marking tool right there that I can use? Let's make sure this will Oh, this might not show up well, but Yeah. We'll see if you can see it. Maybe it'll show up enough across these nutcrackers. Can you see that line? Okay, perfect. And so, let's just put a pin here just to keep this pinched. And then you're going to stitch right on that line that we marked, and we're going to do that same 2 in measurement on all four of the corners. Oh, okay. 2 in as you said? Yep. Okay. So, there's the first one. Well, we can trim off that excess or some people like to just kind of hand tack it back to just give it extra support. It's really a personal preference. I usually just trim them off. Okay. Um so, you can just use scissors or whatever Sure. uh, to just cut leaving at least a quarter inch seam allowance so we don't risk those seams popping out. There you go. Your first corner is done. And so now we're just going to keep doing that exact same thing. So we'll move to this other corner. Make sure our seam is running right down the center. Measure down 2 inches from the point. And that gives us our little cross section. And we'll just stitch straight across again. And so we will finish up the last of these corners and then we'll meet you back here when we're done. All right. On our fourth corner. All right. So now we'll just trim that off just like we did on the other sides. A quarter inch left. And now we just want to turn this right sides out through our little opening. We can unzip that. And flip this. There we go. Starting to take shape now. So we'll just poke out all those corners. There we go. And then now your little zipper Oh, yeah. is on the outside. Zipper looks nice, too. I do like the pattern. Yeah, it turned out great. So you've got this great little travel tote ready to go. Wow. Super fun. Wow, just like that. I mean, that didn't that took us no time at all. Yeah, it's another great quick and easy project. Perfect for first-time sewers and great to get shape's not exactly perfect like yours. No. Look, there's no crackers. Yeah, it's It's That's fun to open. You got to the inner lining. Yeah, and then you have a a little surprise when you open it up inside. Super, super fun. Perfect for the holidays. What a gift. No one has No one has this. Exactly. You can fill it with all your favorite treats and [music] goodies and and give it as a gift. This is awesome. Well, there's two styles that you can make with our new fabric from Sewing Down South Textiles [music] and you guys make it so easy. It's really incredible. It's super fun. We love doing it. So, thank you for letting me share this [music] one and I'll see you again soon.

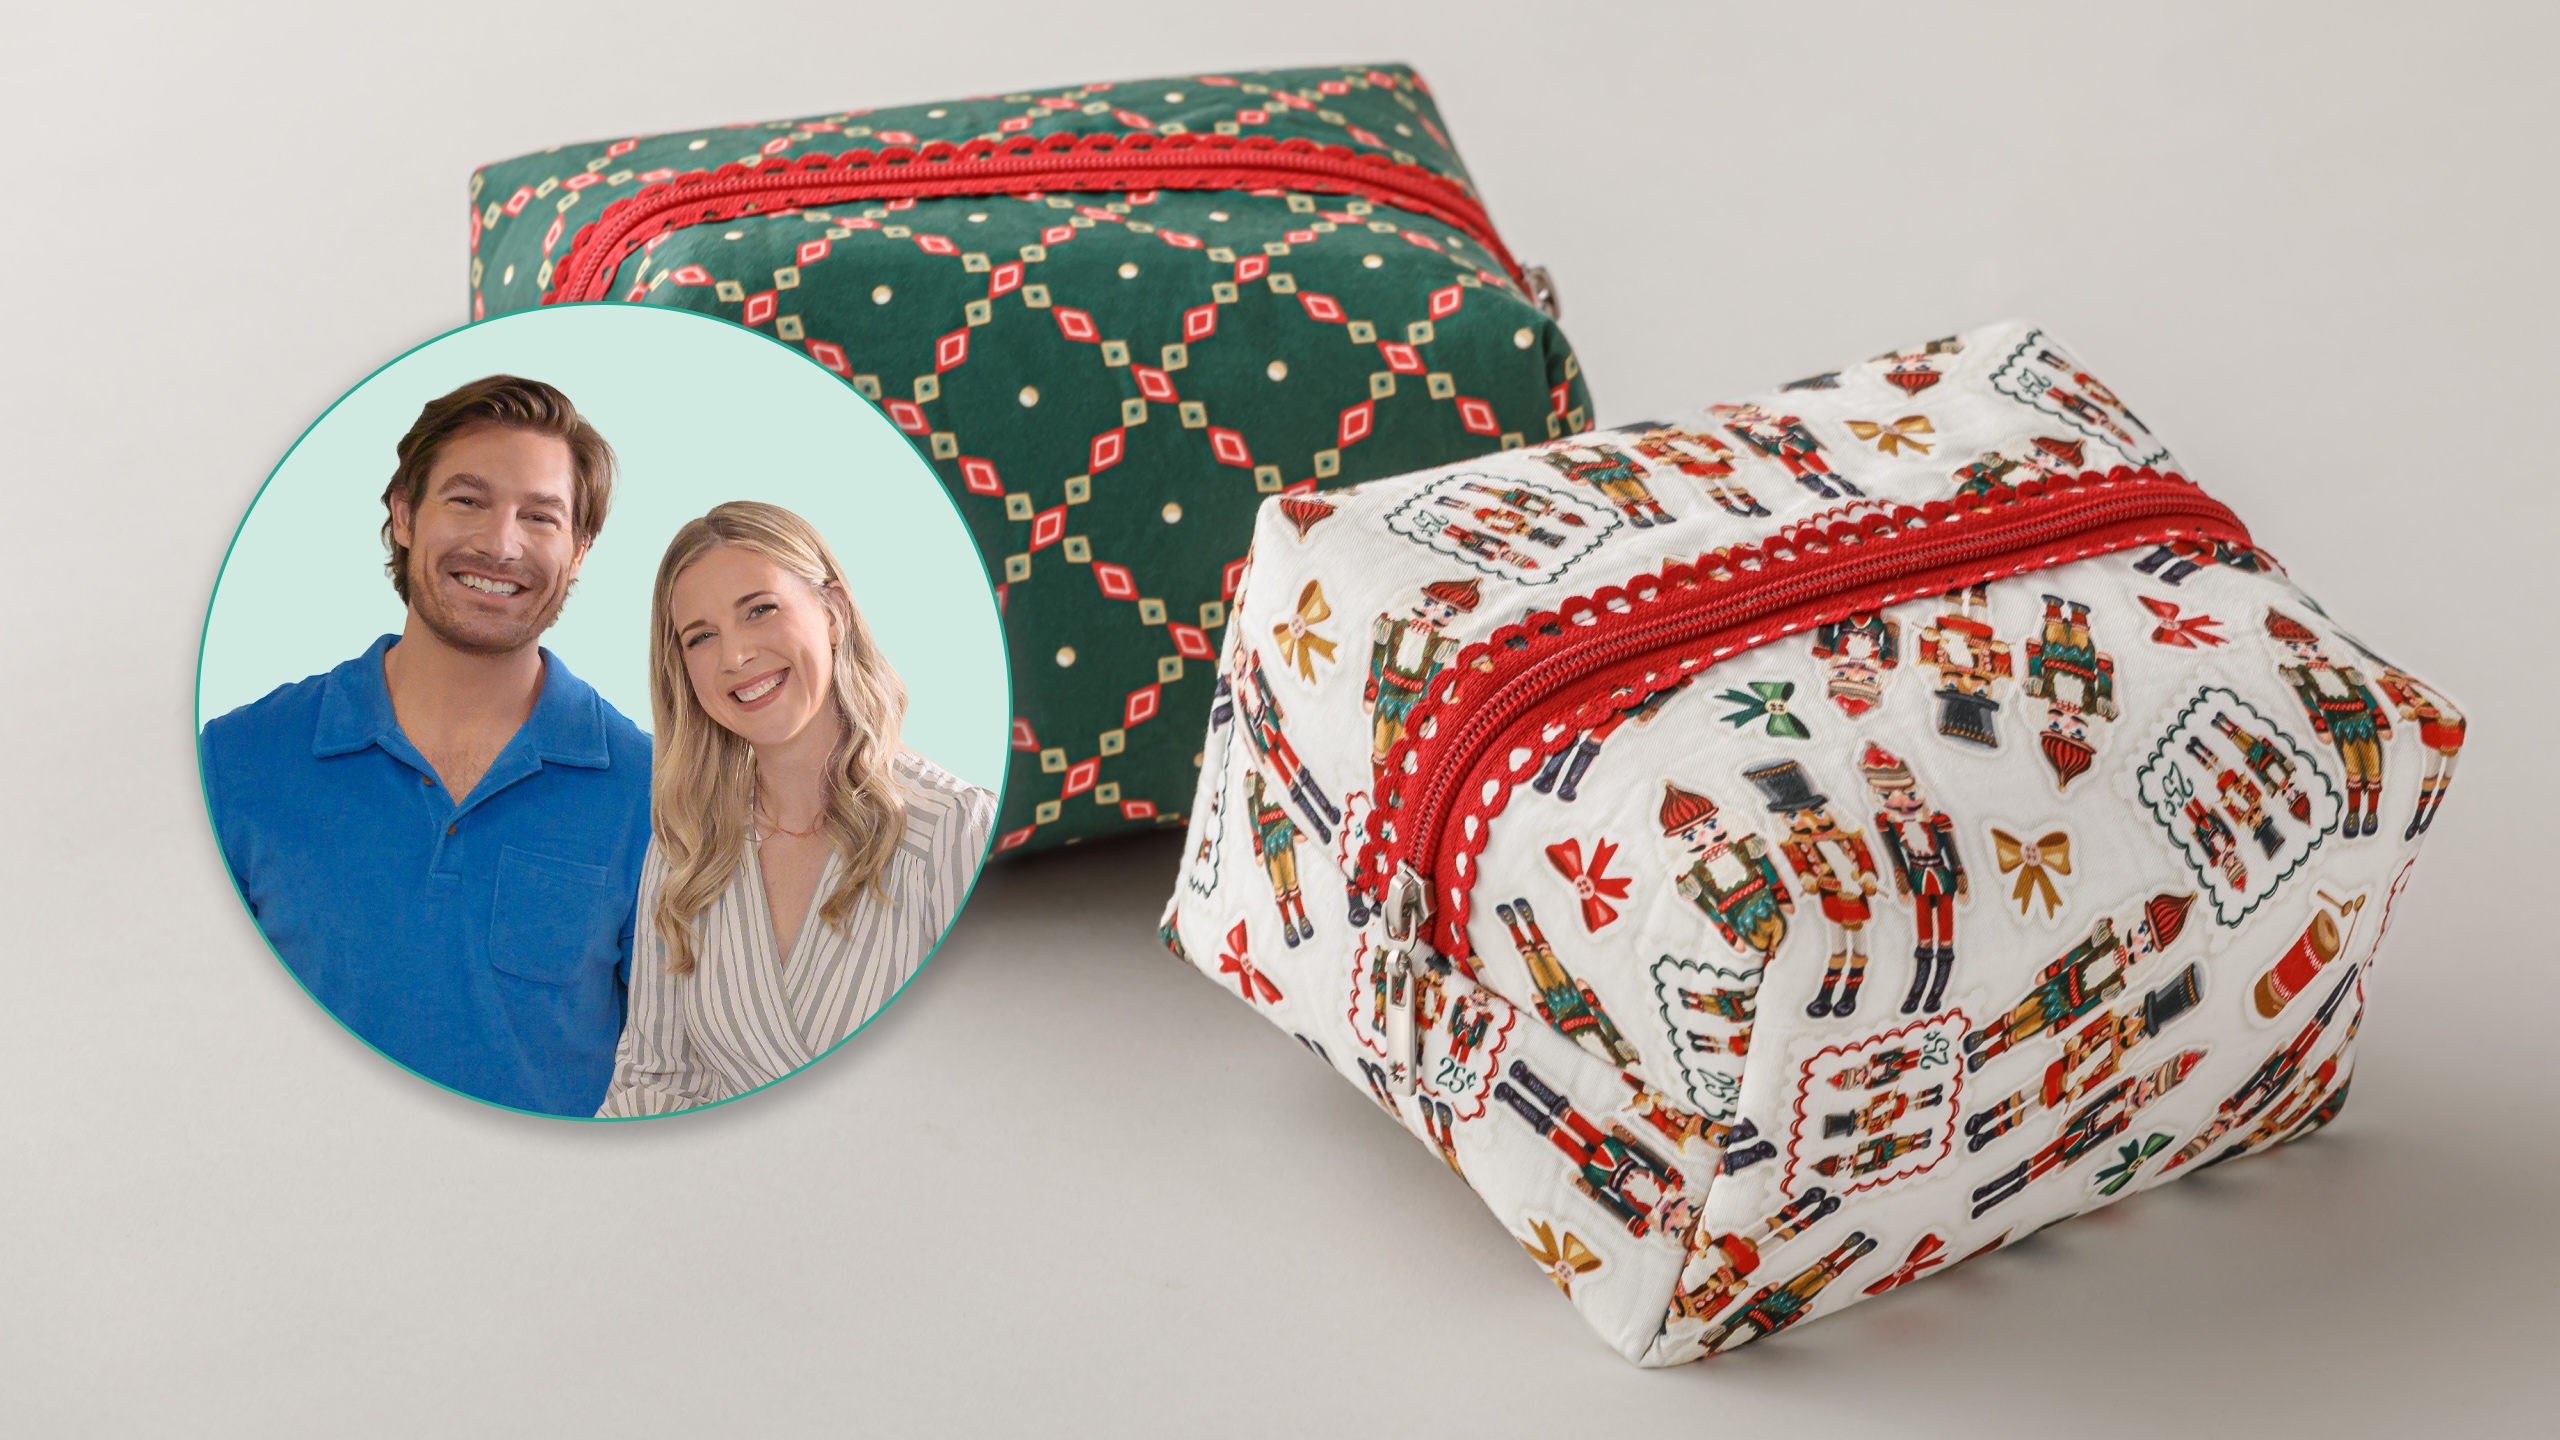

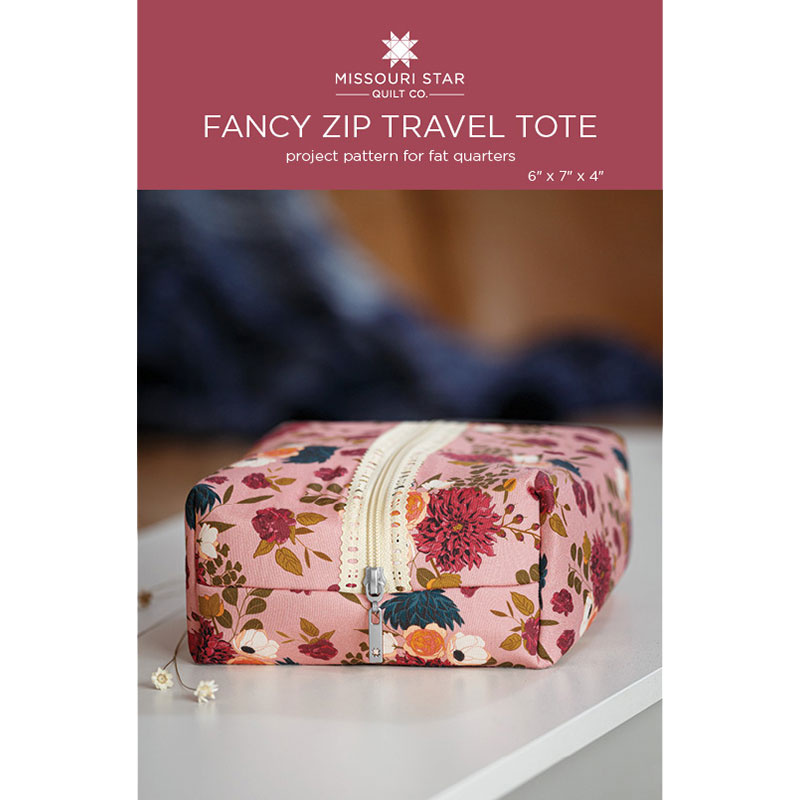 Fancy Zip Travel Tote Pattern by Missouri Star$8.50Shop →
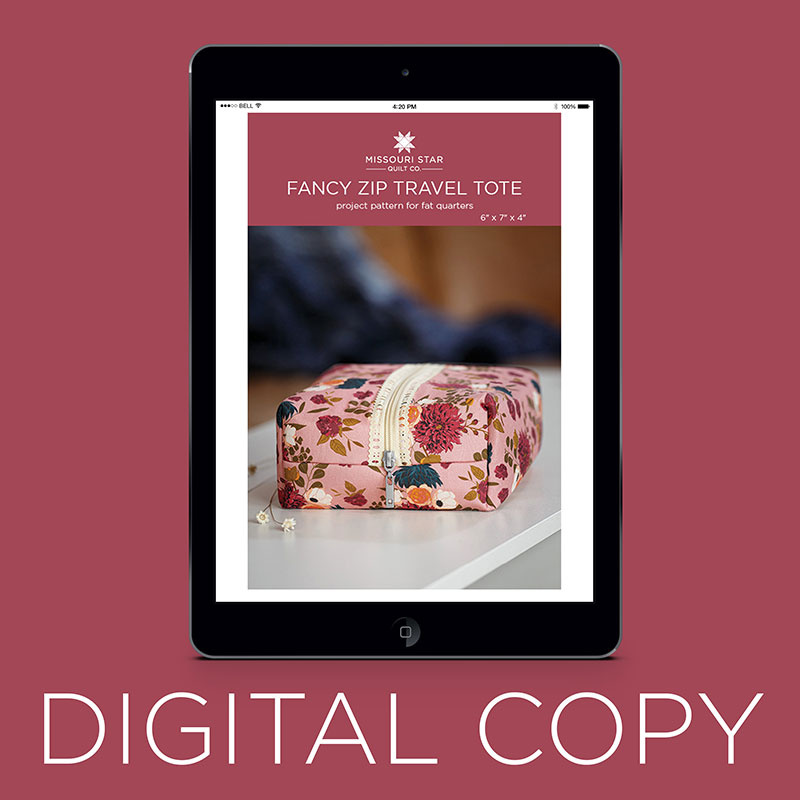 Digital Download - Fancy Zip Travel Tote Pattern by Missouri Star$6.95Shop →
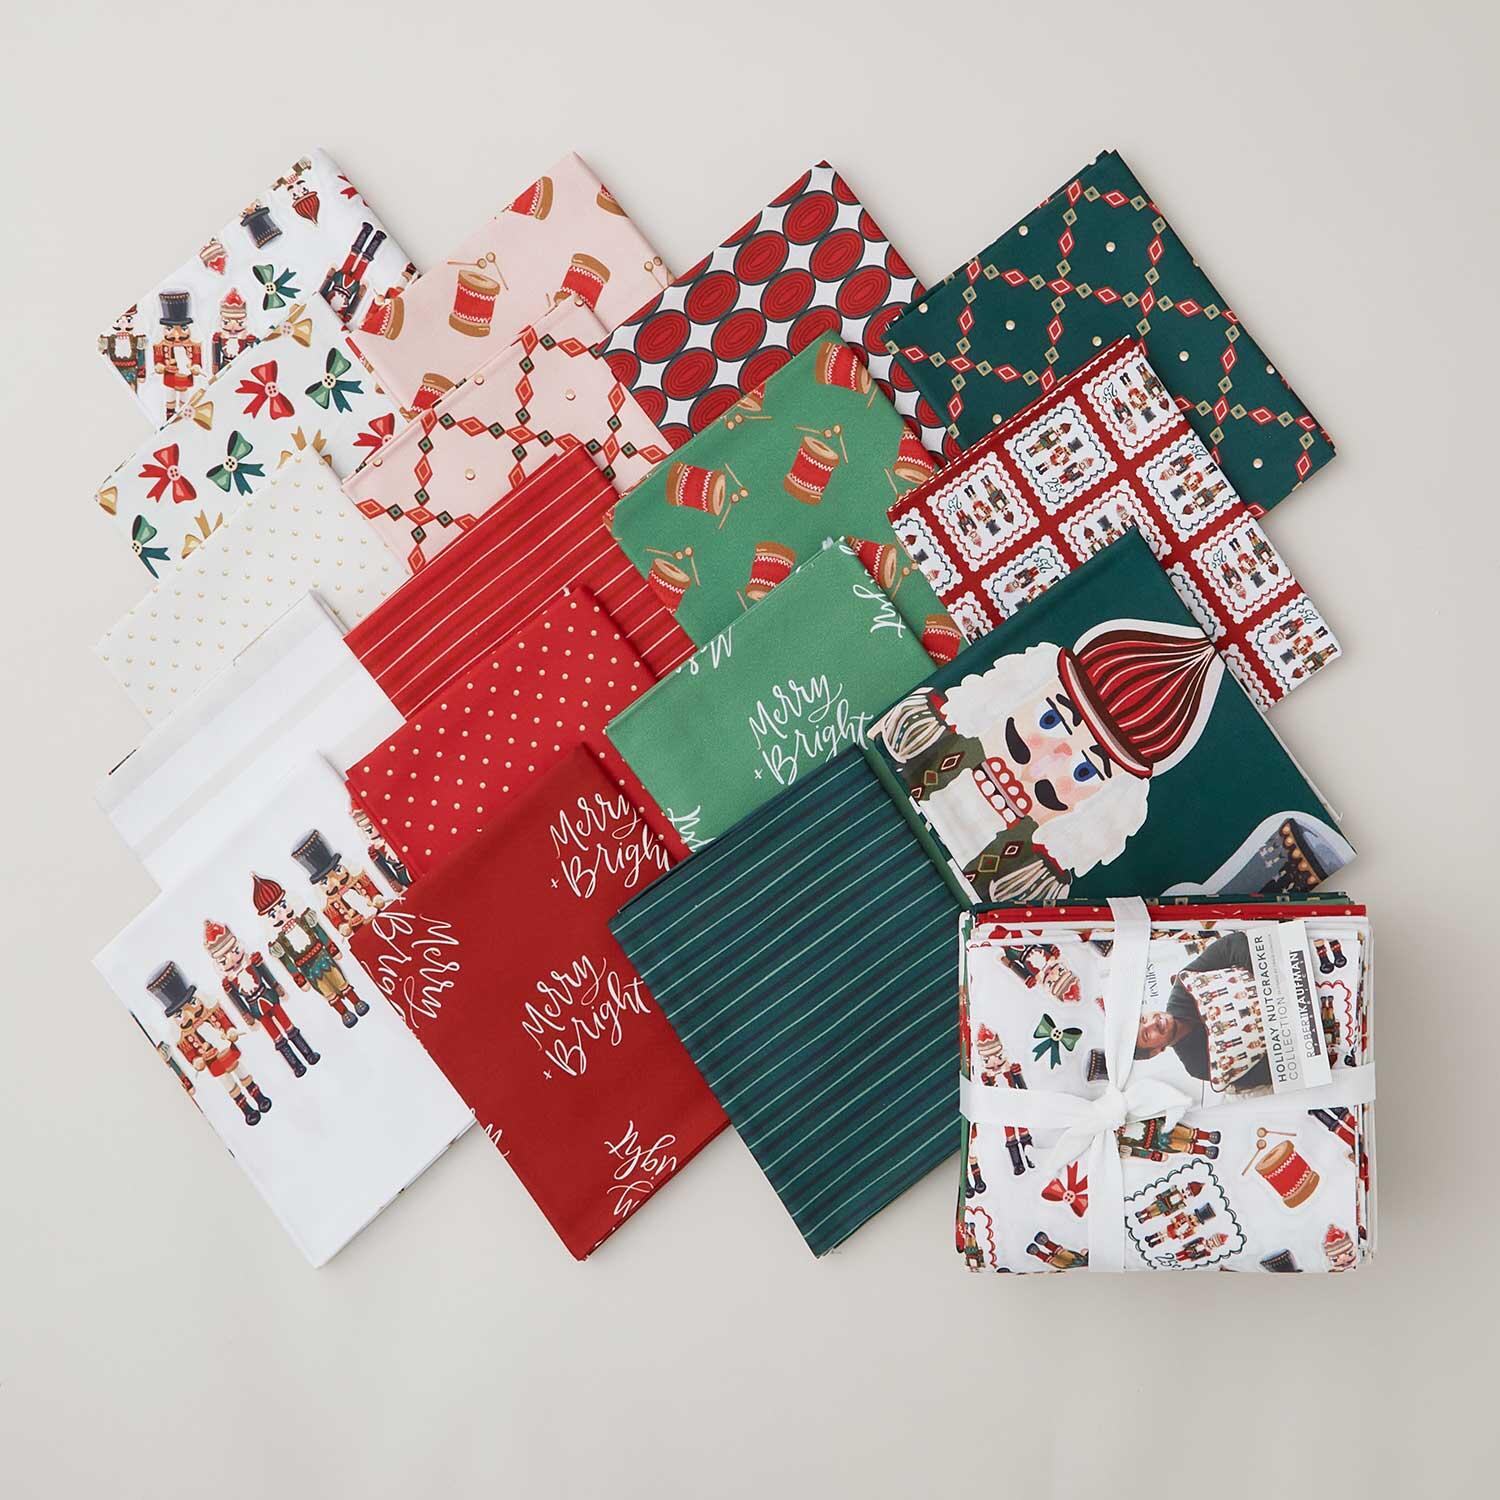 Holiday Nutcracker Collection Fat Quarter Bundle$82.50Shop →
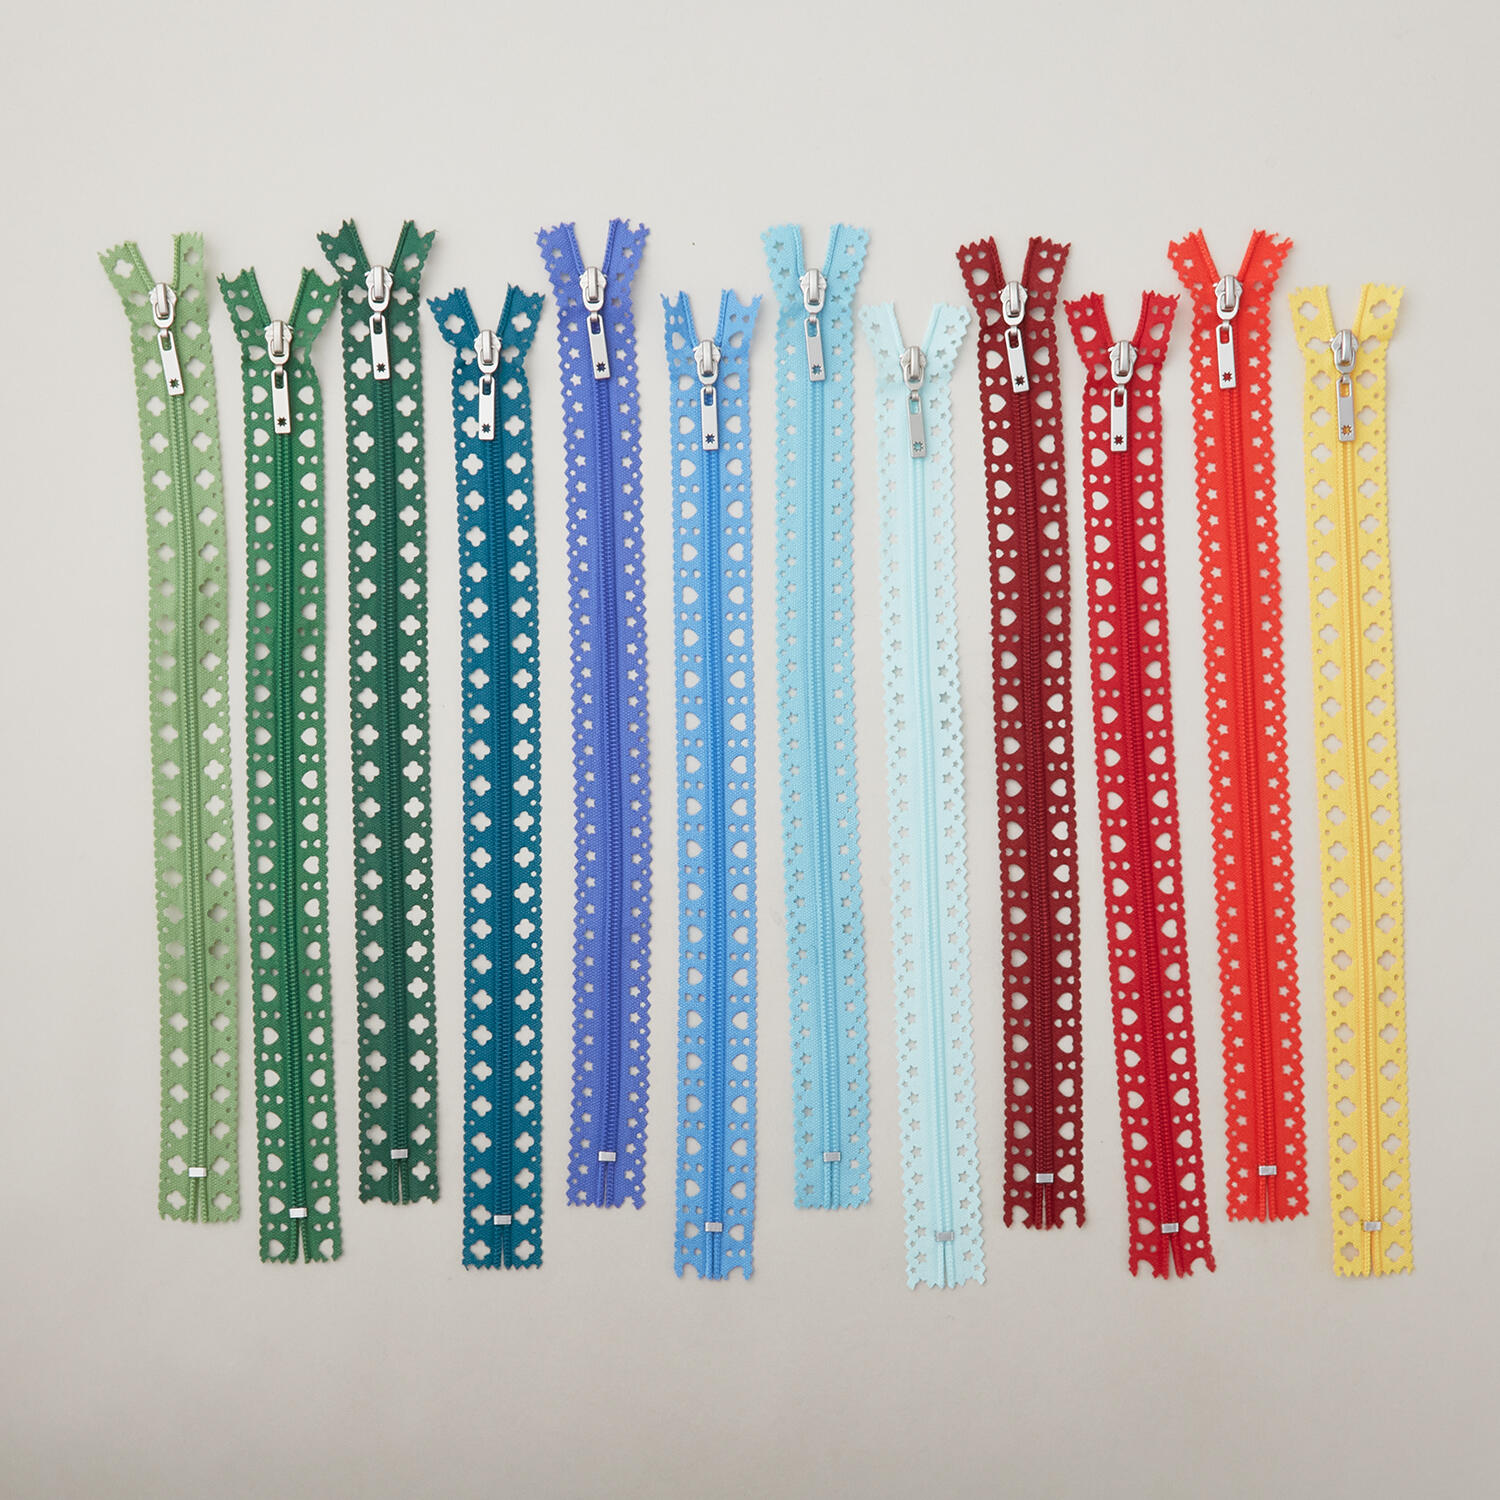 Missouri Star Fancy Zips Christmas (12pk)$29.95Shop →
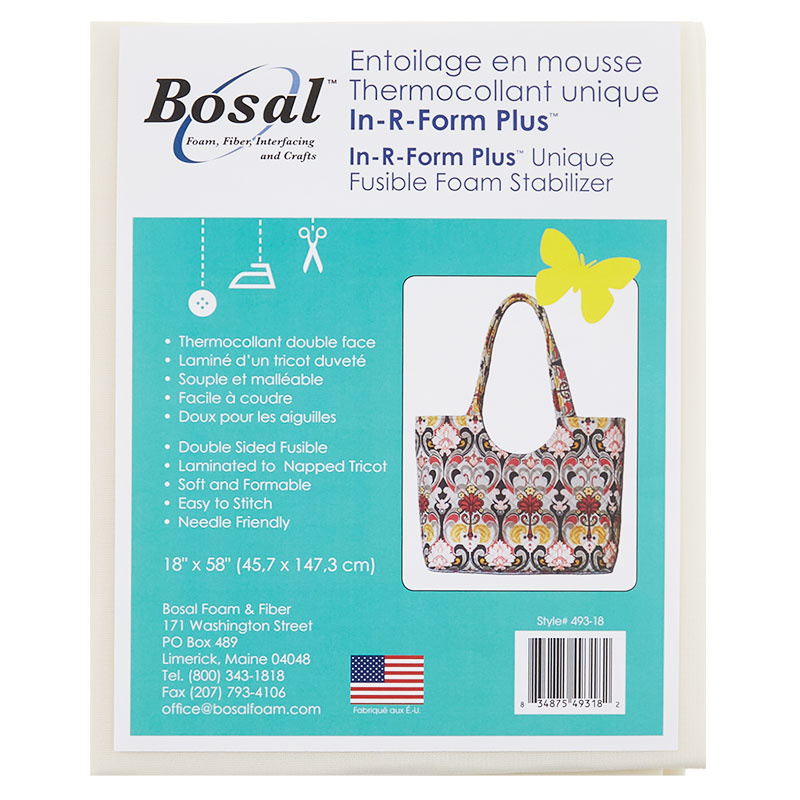 Bosal In-R-Form Plus Double Sided Fusible Foam Stabilizer 18" x 58"$17.75Shop →
 Missouri Star 2.5" x 8" Ruler$11.95Shop →
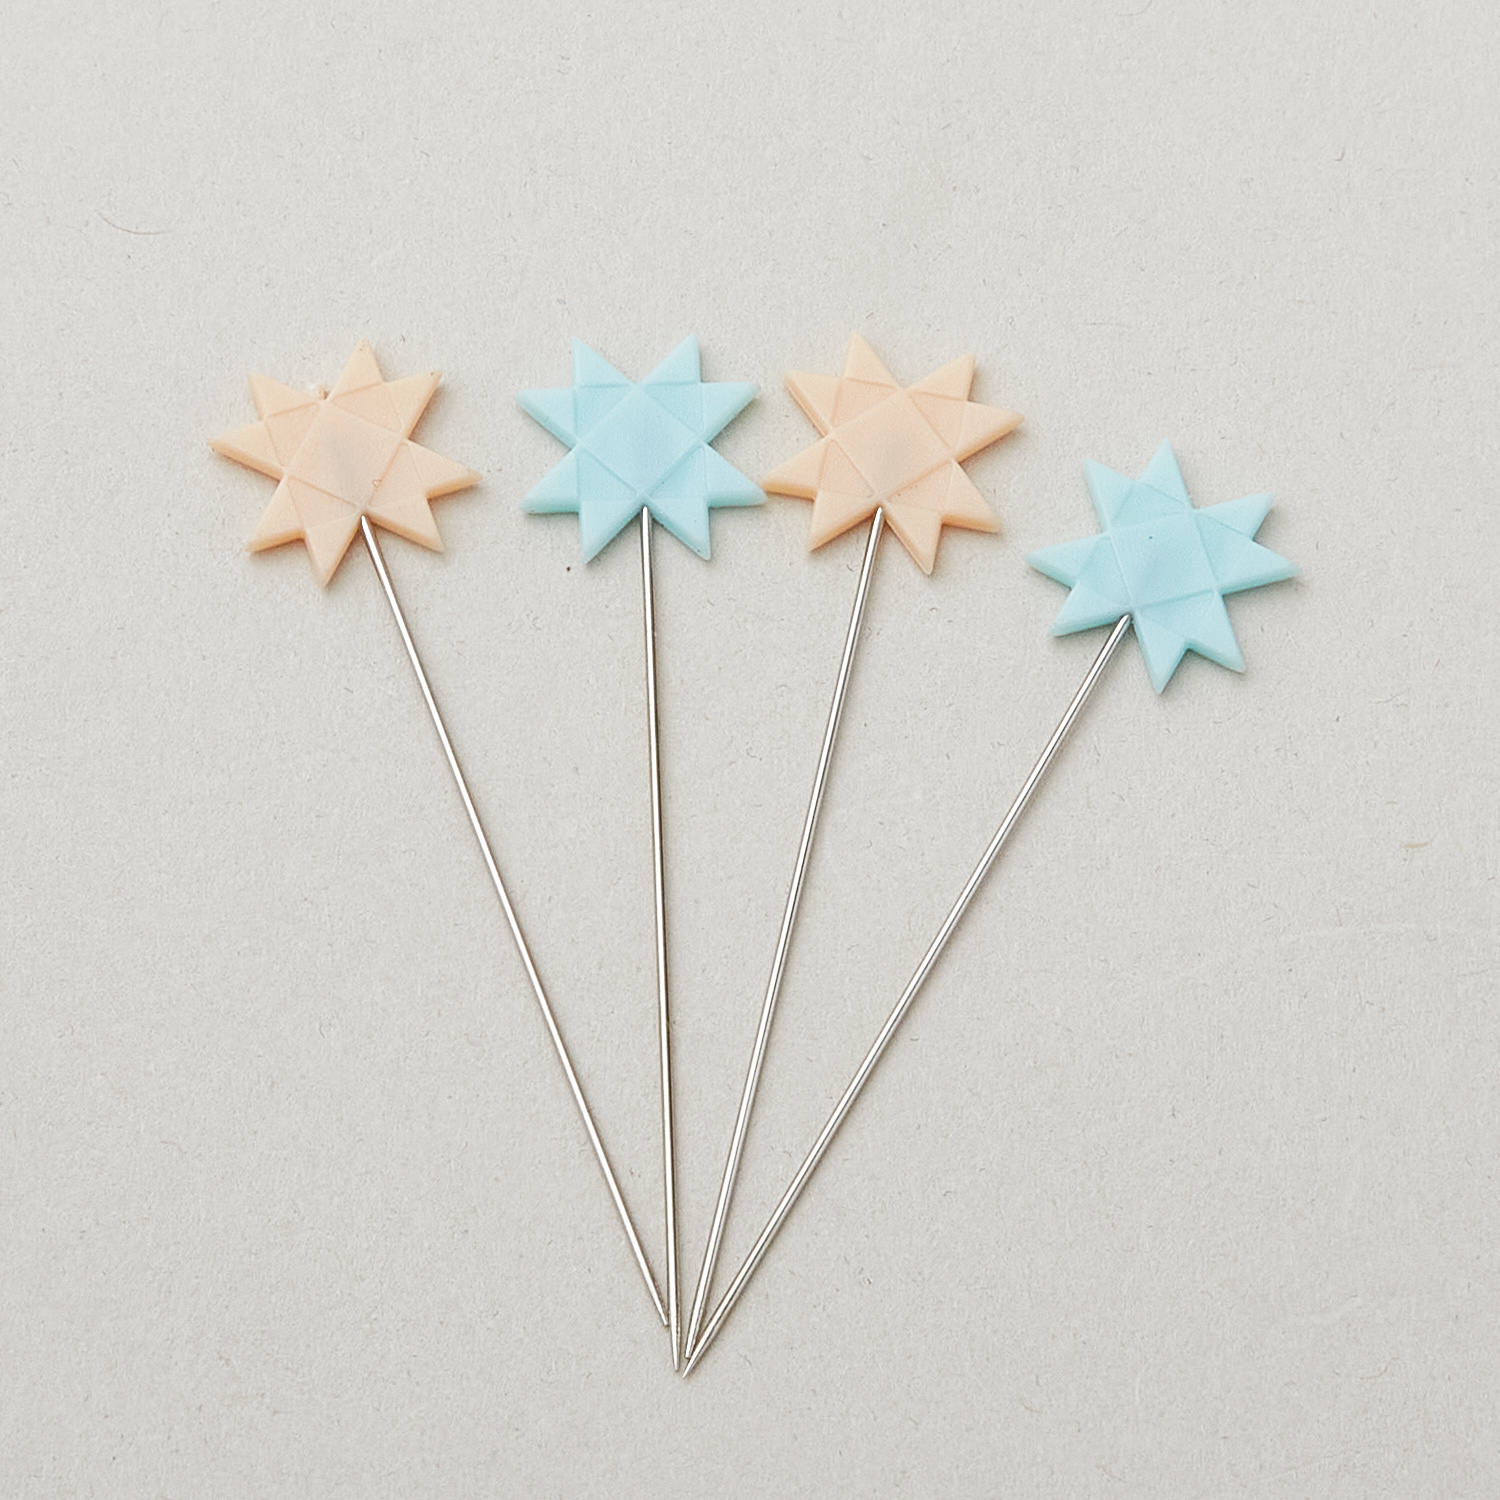 Missouri Star 2” Quilter’s Flat Head Pins (50pk)$7.95Shop →
 Missouri Star 45mm Rotary Cutter - Olga$19.95Shop →
 Missouri Star 8" Everyday Scissors - Amelia$19.95Shop →
 Missouri Star 50 WT Cotton Thread White$7.95Shop →
 Missouri Star + Oliso TG1600 ProPlus Iron$209.95Shop →
 Bernette 77 Sewing and Quilting Machine$1699.00Shop →



