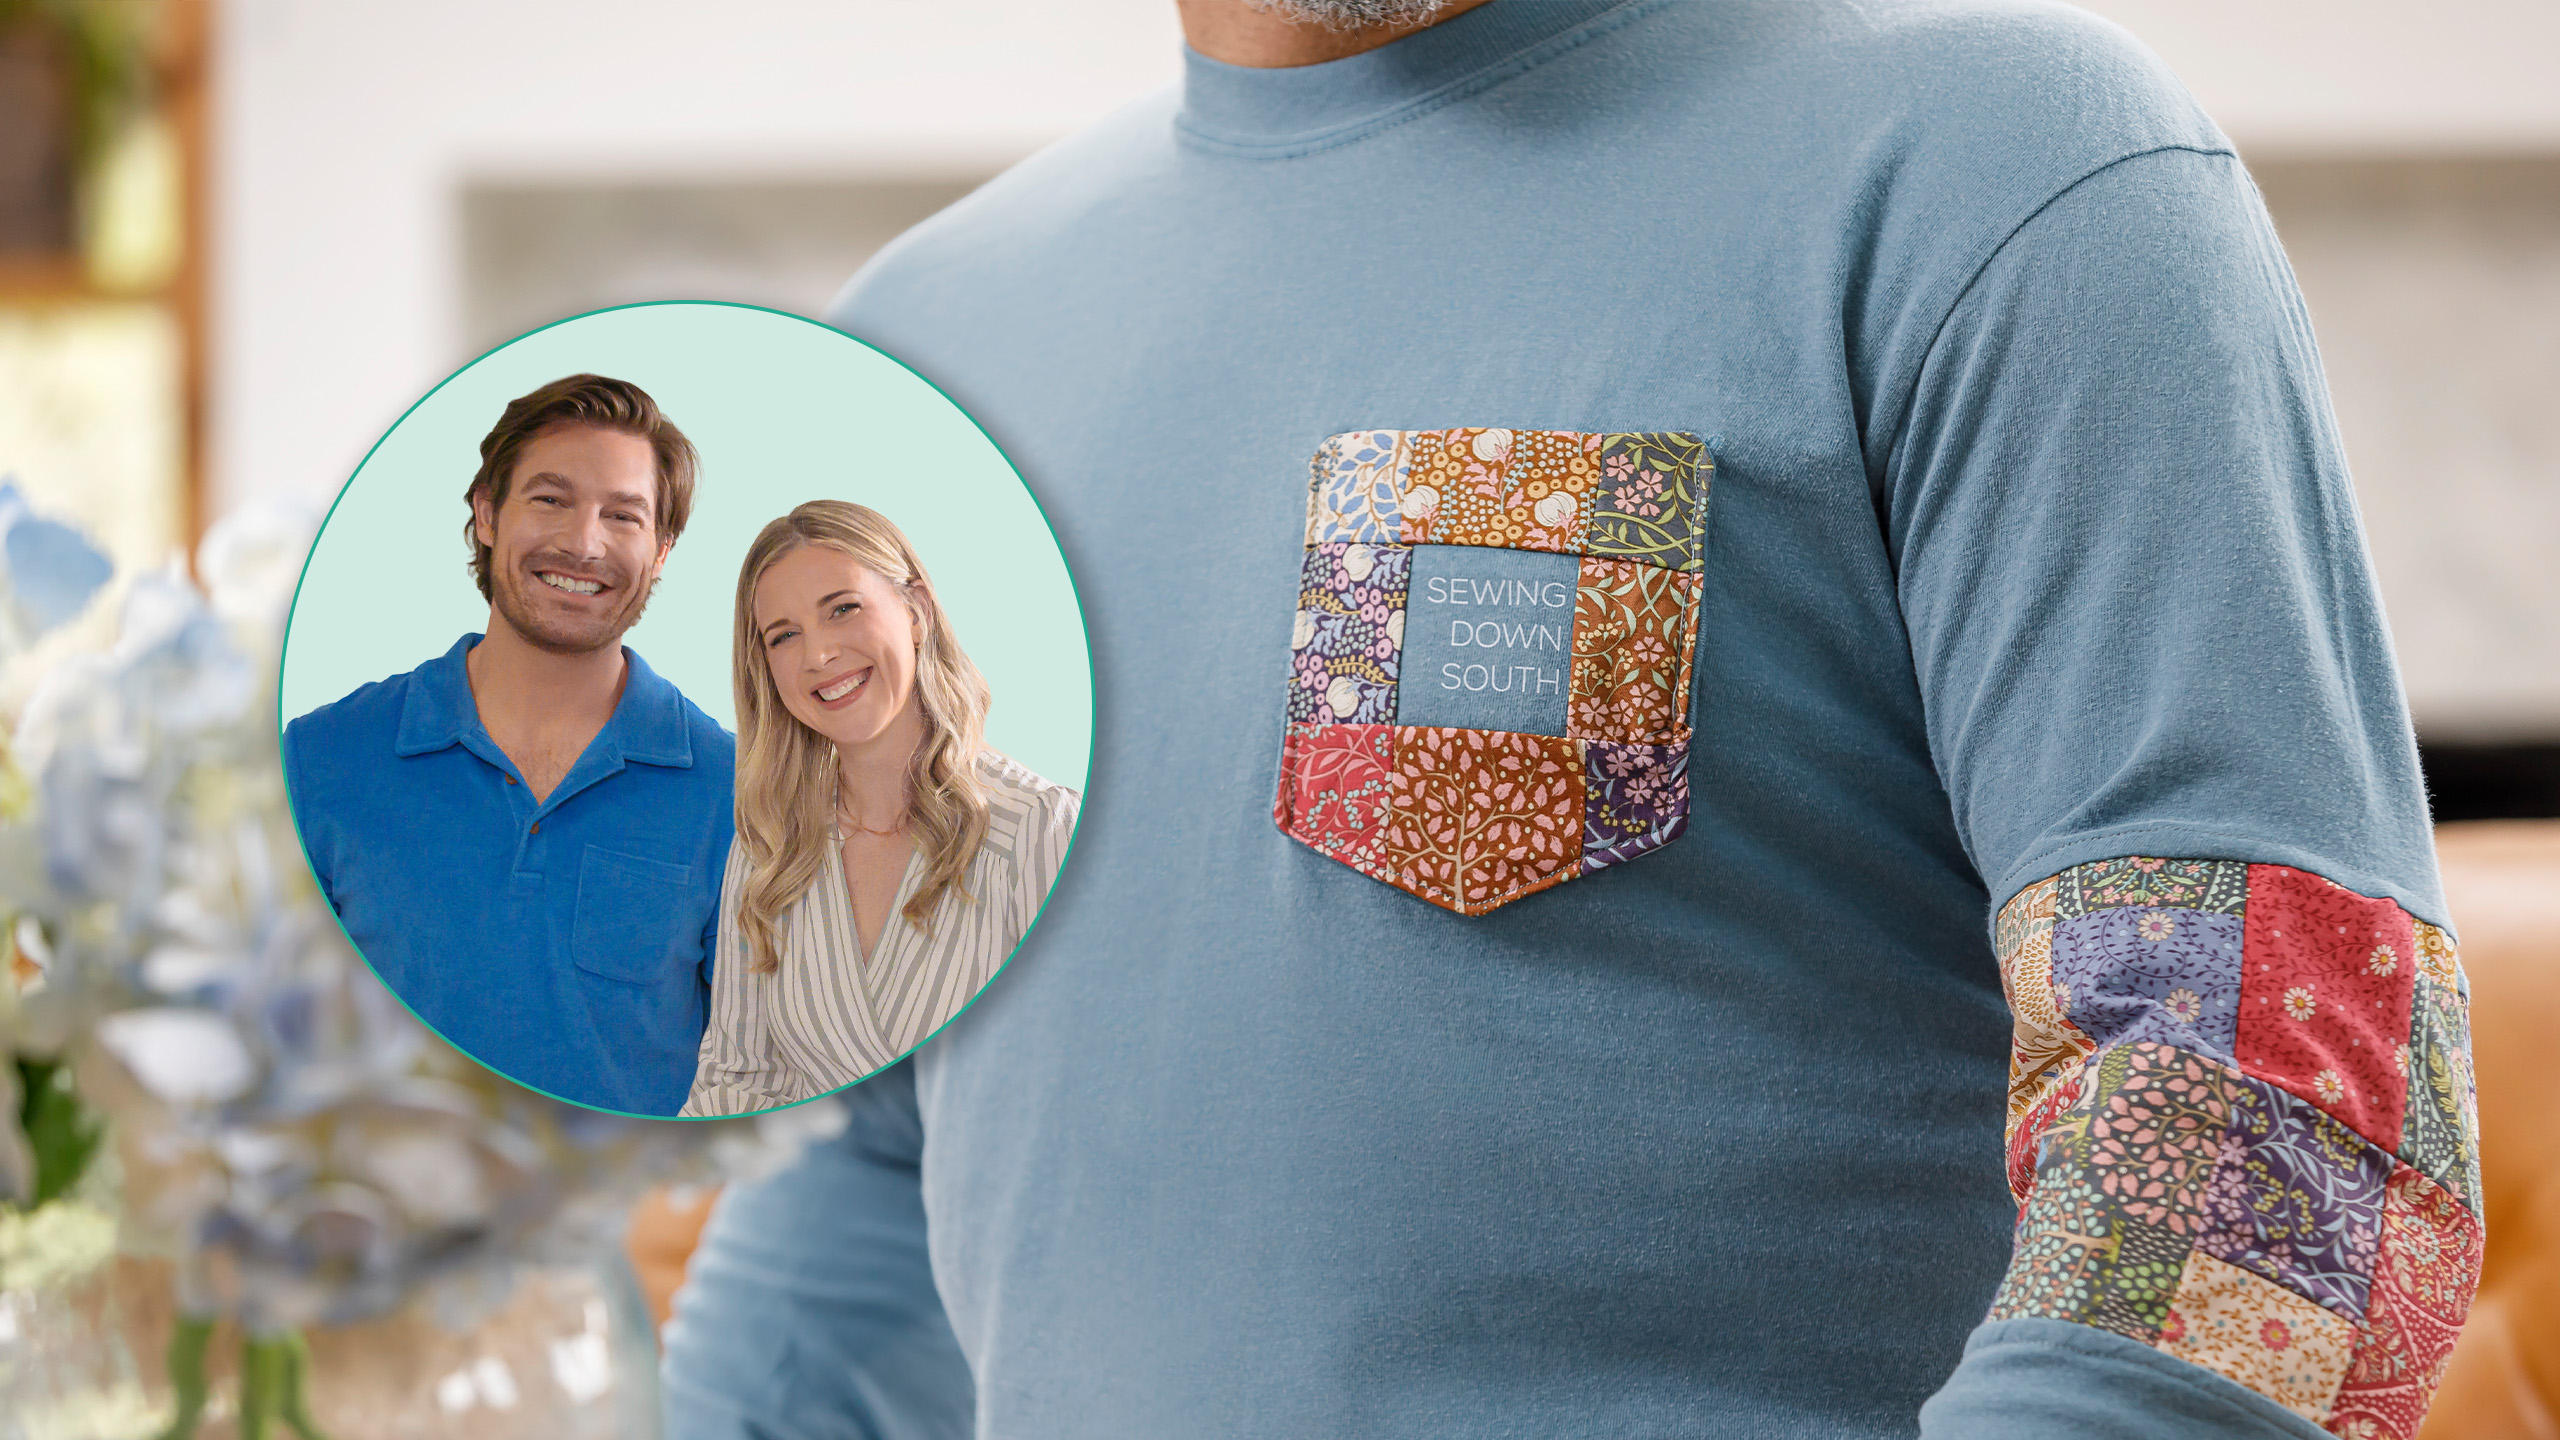
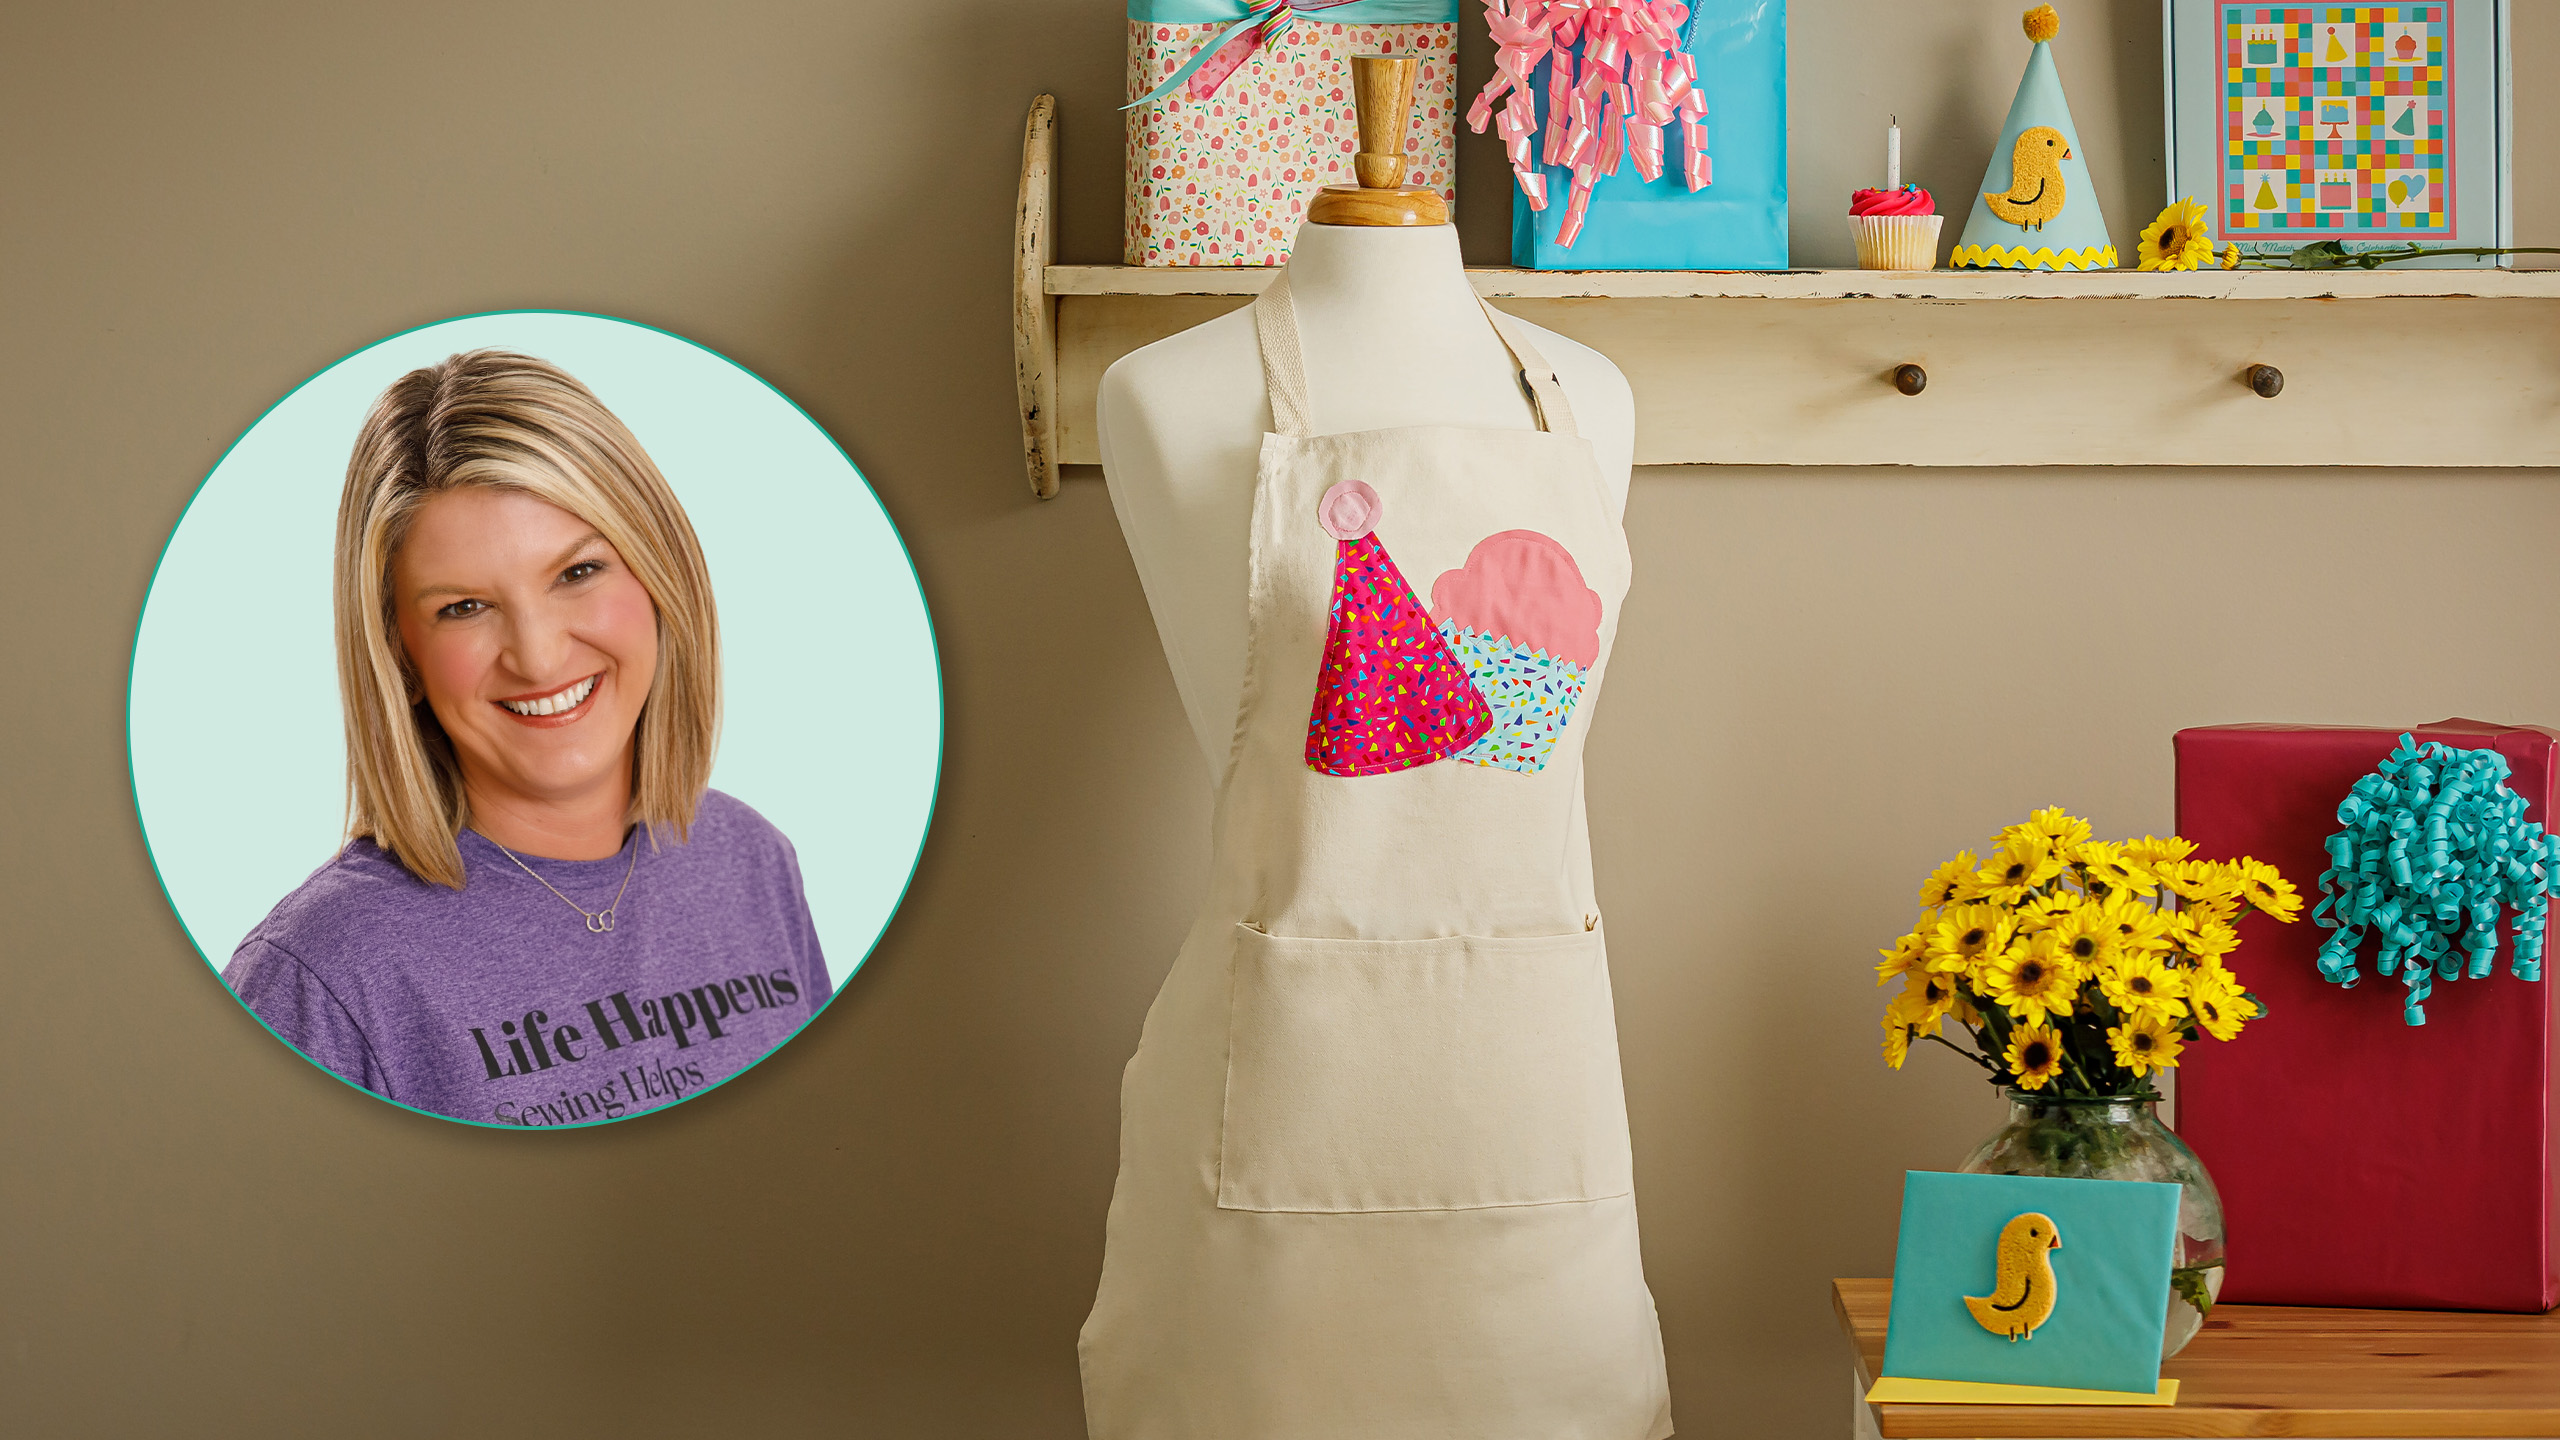
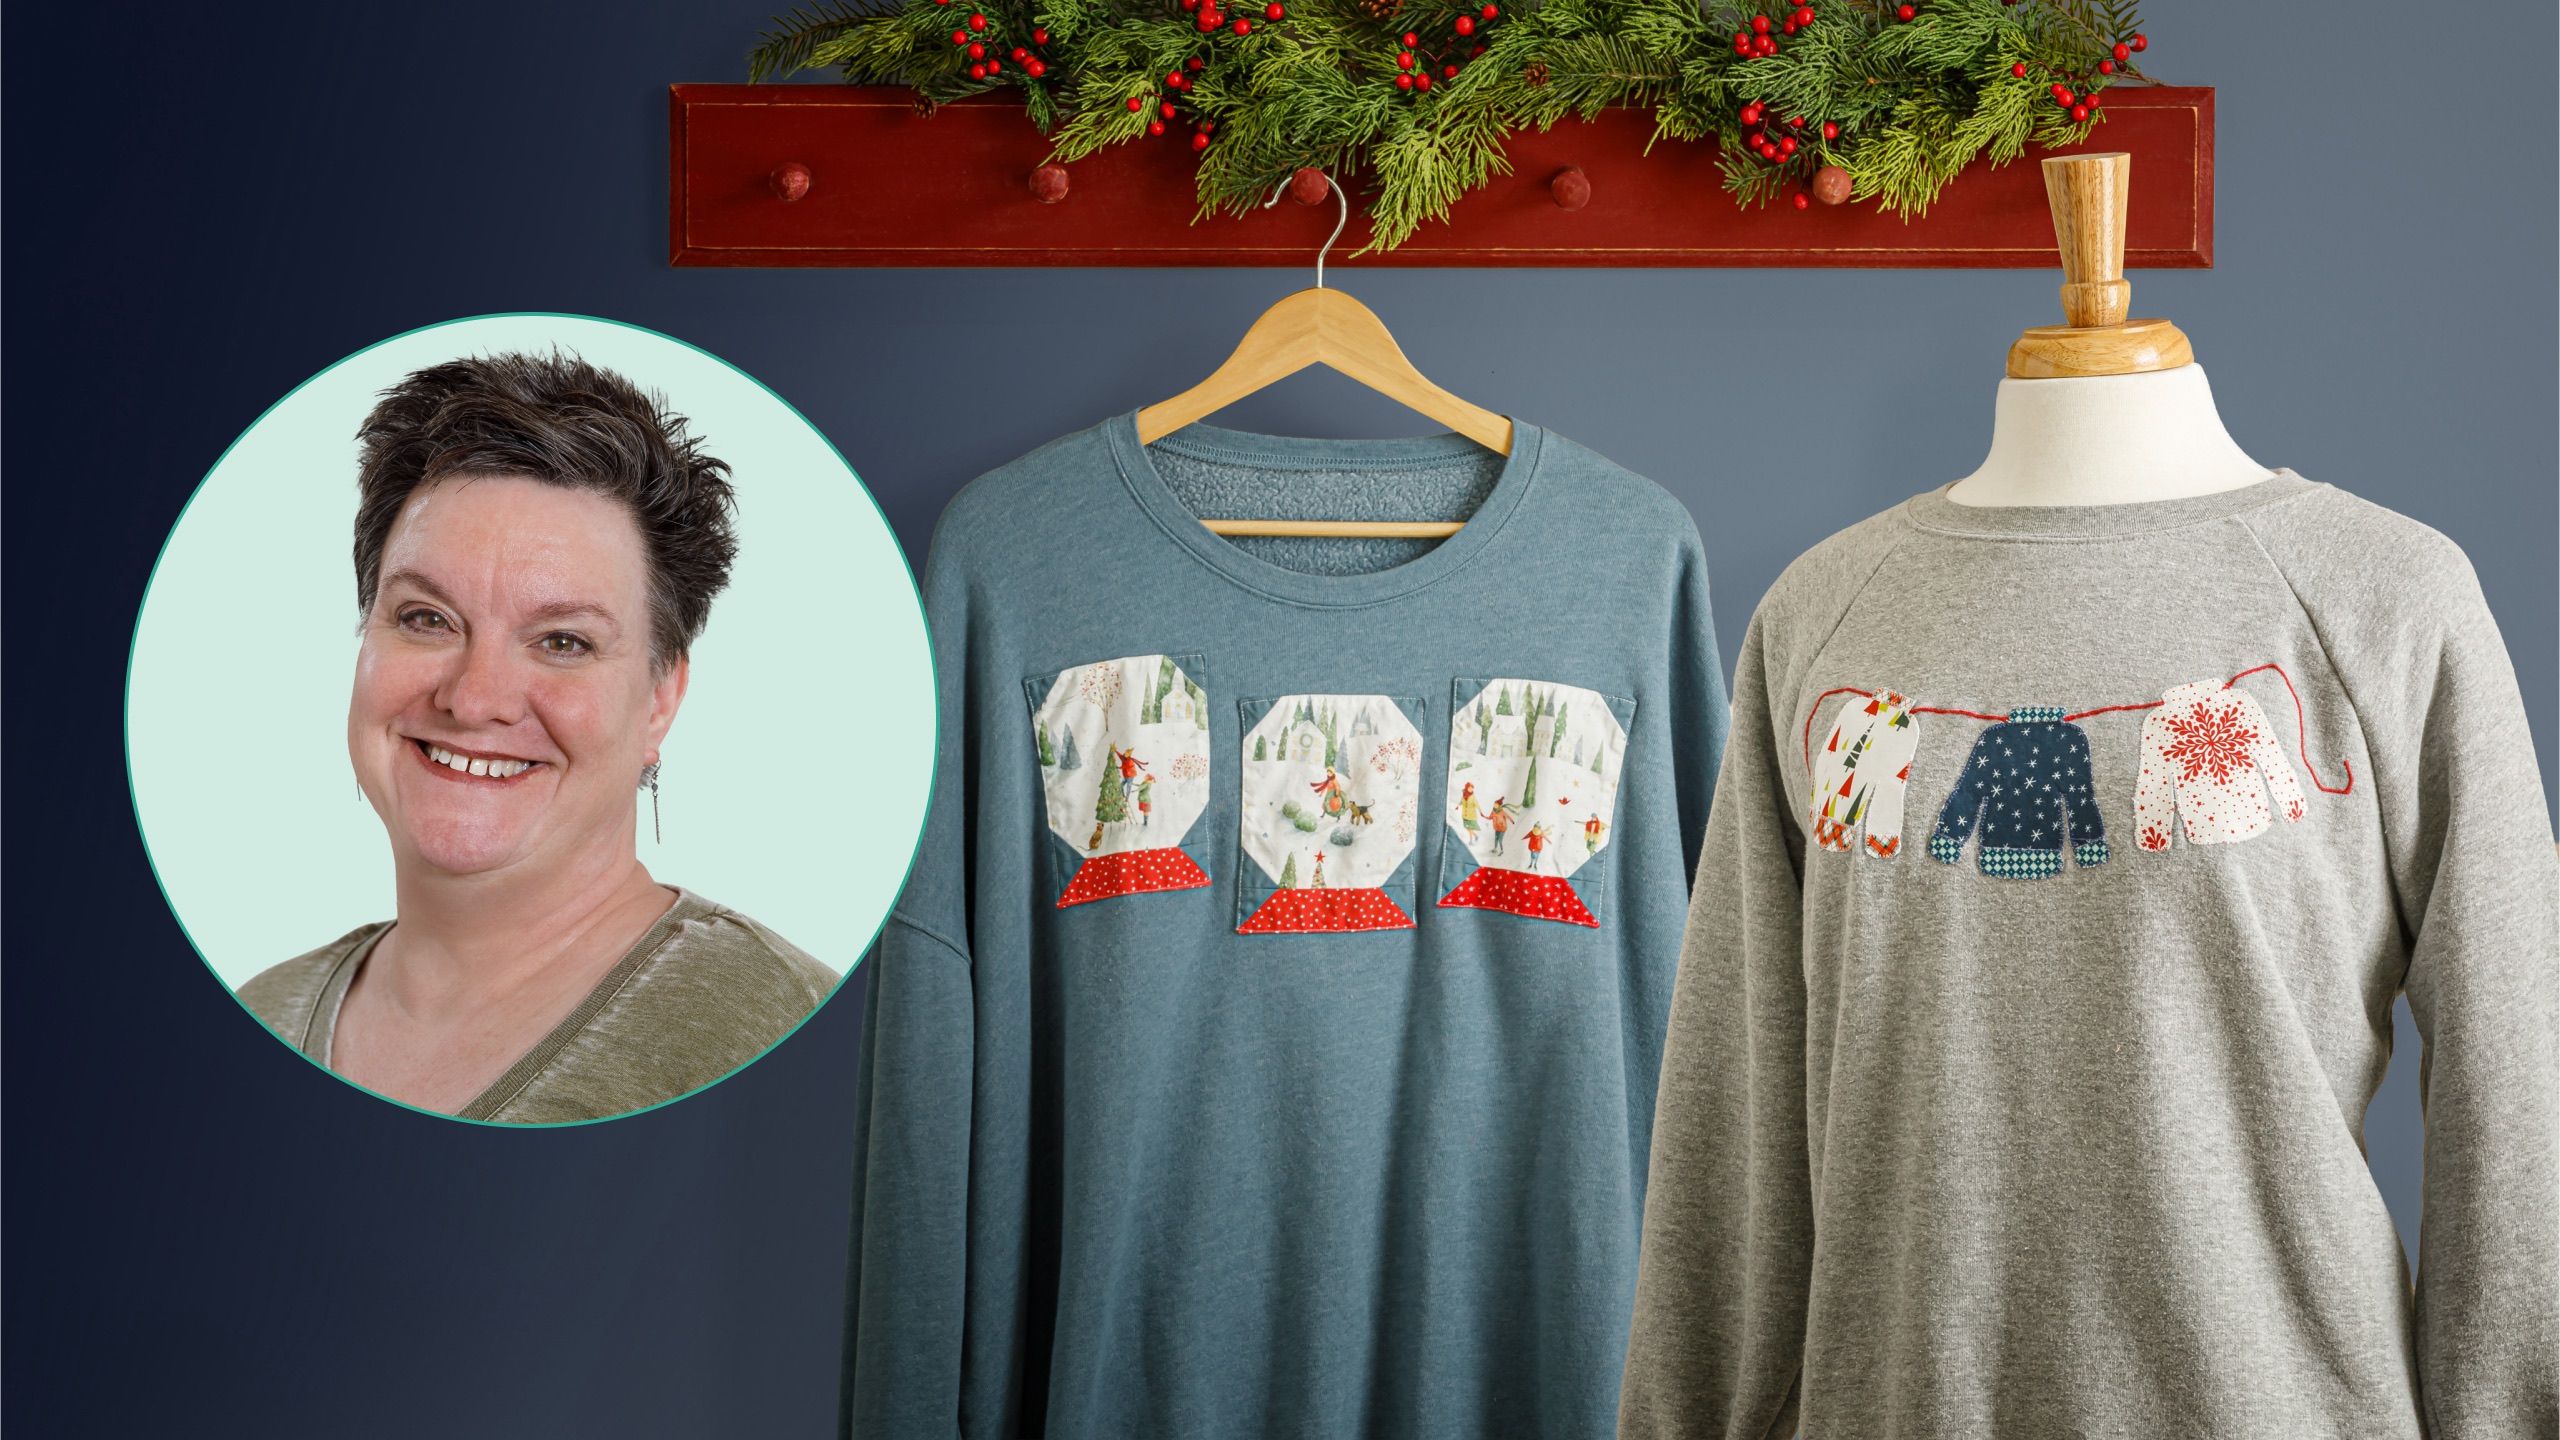
Do you want to turn plain sweatshirts into festive apparel? Appliqué away! Courtenay Hughes uses appliqué and embroidery to dress up warm and comfy tops. Piece and apply fun snow globes or use the Missouri Star Nesting Sn-Ugly Sweater Templates to create cute tops you can wear all winter long. Embellish them for yourself or turn ho-hum sweatshirts into ho-ho-so adorable gifts!
Courtenay Hughes is a talented instructor of quilting, embroidery, and appliqué classes. She teaches at Missouri Star Academy, in both online and in-person classes.
What is covered in Appliquéd Sweatshirts with Courtenay Hughes?
Do you want to turn plain sweatshirts into festive apparel? Appliqué away! Courtenay Hughes uses appliqué and embroidery to dress up warm and comfy tops. Piece and apply fun snow globes or use the Missouri Star Nesting Sn-Ugly Sweater Templates to create cute tops you can wear...
How long is the tutorial video?
The tutorial video is 00:23:24.
Video Transcript
Hey everybody, it's Courtney with Missouri Star Quilt Company. I am here this week to show you how to make um your sweatshirts, t-shirts into your own quilted garments. Uh when I did the Jenny box this past year, I wore a different shirt every day that had to do with the box. So whether it was a quilt block or embroidery or applique, I had a different shirt on. And um a lot of our customers said, "Hey, how did she do those shirts?" So for Christmas in July, I am going to show you how to decorate your shirts up either for yourself or for gifts. Let's get started. [music] One of the most fun ways to decorate a garment is just with embroidery. I did this little squirrel. I used our Christmas peel and stitch pack, but instead of making him Christmas colors, to me, he looked a little Christmas in that pack. I changed out some colors and made it more fall so I could wear it all year round. I love the process. Now, whenever you make a quilted shirt or put a block on a shirt, you want to wash pre-wash your garment, whether it's um and if you can pre-wash if fabric is going on there, you want to pre-wash that, too. You don't want any bleeding later. You want this to shrink. If it's going to shrink at all, you want your shirt to shrink first so it doesn't distort what you just did on your garment. So, how you do the little um if you don't have any of our peel and stitch packs, you can get peel and stitch by the sheet. There's 10 sheets in here. And this will go through your inkjet printer and you can print off an embroidery design onto this peel and stitch. Then you take the sticky part off, which will have your design on it, and stick it to your shirt and then just embroider right through your shirt and the peeling stitch. Then when you're done, you'll rinse the peel and stitch out. it'll come out and it's ready to go. So, it's really easy and fun to use. And again, make sure you use an inkjet printer because someone I know put a piece of peel and stitch in their brand new laser printer at the office and it got stuck and they had to order a new printer and I didn't even get fired yet for that. [laughter] So, it's the heat, the heat and the laser. Even if you don't put it wrong side up, um there is there is a possibility that it could damage it. So, don't put it in your laser printer. Put it in your inkjet. And that is about all I have for tips on the embroidery, but it's just so much fun. Let's go to the next project. So, here we are with my next batch of shirts. On these shirts, I made my own fabric. I took little pieces of fabric, chopped it up, laid it on some interfacing, cut out a shape, quilted it, and then put it on the shirt. So, here I did the bunny, and there's all little pieces on here. And you can see after um I just top stitched it onto the shirt all the way around, and it is fraying on the edges and inside, and that's what I wanted. I love it. I think it's really cute. Um, the other thing as far as what you want to quilt it to, sometimes I quilt it to some lightweight interfacing, especially if I'm just putting it on a t-shirt. If I'm putting it on a sweatshirt like this one here, I put some batting in there, and that gave it a little bit of oomph to go onto the sweatshirt, but I think it would be too heavy to put batting underneath there on a t-shirt because you're I I just didn't want the weight on there. And in this one, I used some even bigger pieces and I made a piece of fabric out of these squares. And I made it big enough that I could cut out my shape. I cut out the leaf shape. I did sew the leaf shape on. And then after I sewed it on, I went around the edge with some chenille it. And I think this is fun how that looks like a frayed edge. Then I did go back in and I also stitched this stitched a leaf shape in there just to hold the applique a little bit better to the shirt. So, I'm going to show you how to make your own fabric for these applique shapes. So, this is some featherweight interfacing that I have here, and I drew this ornament onto it. Okay? And I just used a Sharpie. And then I take these little pieces of fabric [snorts] and I just start filling in my shape. And I make sure that there's greens and there's different colors. You can see what I did there. It's just all different colors. Okay. Once you get this all filled in, then you're going to iron it. Now, I do this on my ironing surface because if I would try to pick this up and take it to the ironing board, someone would come in there into my room and the wind would blow or the cat would jump on it and the pieces would go everywhere. So, I want to do it on the space where I'm ironing it. Okay? So, just keep that in mind. So, to iron it down, you need something between the interfacing and your iron. So, I have an applique pressing sheet. love these babies. And you'll just press for I I don't think I press very long. You'll just have to look at the instructions on the applique pressing sheet. Probably 5 10 seconds. Then you want to wait for it to cool. So, usually I lift up the whole thing and just let it cool. And then once you peel it back off, everything else will be um will still have the dots on it and your pieces will be ironed to your shape. Now, what you want to keep in mind too, some not all of them may have stuck because one may have been on top of one another. So, it's no big deal. Um, once you go to quilt it, then you can just it'll come you'll stitch it down and it'll be safe in place. Okay. So, once you get that all ironed on, then you'll come back and lay your ornament back on your shape [snorts] and draw around it again. And then I quilt it. I don't cut out the shape yet. I quilt it just um I did not use anything fancy. I just used the edge of my quarter inch foot and did it vertically and horizontally. You can do whatever you want. Then once I have it stitched down, I'll cut it out on the line that I on the lines that I drew and then it's ready to be stitched to your shirt. I just thought these would be really cute on some little kid shirts for Christmas this year. I know some little kids that might do that. So, that's a fun way to make your own fabric. The only problem is is now you can start collecting all these little pieces that you didn't think you were ever going to need. So, you're welcome. You'll be gathering more scraps. So, let's go on to the next project. Any quilt block you can throw on a shirt. You can throw it on a denim jacket. You can throw it on a t-shirt. You It can be quilted. Doesn't have to be quilted. It really doesn't matter. So, this snow globe block was in um last year's Jenny Box. So, I just made some snow globes and put those on a shirt. There is no batting or anything underneath those. I just turn the edges under um a quarter of an inch twice and top stitched them on. Easy peasy. I did the same thing with this. I found this quilt pattern with the elf the elf boot and I just absolutely loved it. So, I did the same thing. I just made the block, turned the edges over, and then I went through and top stitched it onto the shirt. Very easy, very fast. Then, um, some of you might know, you may not know, I love Lone Stars. I teach Lonear. It's my favorite quilt block in the whole world. So, this shirt I made out of some extra fabric I had left. I made the quilt block. I decided not to put the pieces in there because I just wanted the pink. I didn't want anything just detracting from that. So, I just left it pointy. I put the quilt block. I laid it down on some fusible web. I quilted it. Then, I laid it face down on some fusible fleece and um a backing fabric sewed all the way around the edge once. And this is kind of a representation of that. Okay. So, I have my quilted piece here. It's a butterfly or my quilted piece of fabric. And this was already quilted, so that was cool. And I traced around my fabric on the back side with a piece of um with a Sharpie or whatever tool you want to use. I laid it face. I do have backing on this. So, I laid it right sides together [snorts] with my backing fabric. Sewed all the way around it. [sighs] [snorts] I made sure I cut into the little places where there's nooks and crannies, making sure you don't go through the stitching that you did. And I would put your stitch length a little smaller than what you normally would. So, that's what my piece looks like. I cut it out. And then what the beauty about this is, you don't need a piece. You don't need to leave a opening around the edge. You just cut the lining or the backing fabric because you're not going to see it because it's going to be against the shirt. Okay? And then you turn it right side out, press it, and then top stitch it onto your shirt. You can just top stitch it. You can use an applique stitch. However you want to get it on the shirt is fine. With this method, you don't want to do anything too intricate because it might be hard to flip and turn if you've got um like the sewing machine that's behind me. I probably would not use a flip and turn method on that because there's just too many parts to go in and out of. But there's our butterfly and that's just ready to be applied. You can add you can embroider some little antennas on there and put a body on if you want. Then this is what I have another lone star ready to go. And I thought this looks so good on the black. I did um I laid my block um with the wrong side against the right side, so the bumpy side of some fusible interfacing and I went ahead and ironed it to it using my um using my pressing sheet. I quilted it so you can see all of my quilting lines. And I'll flip it over and you can see how I quilted it on the back. And then I cut out my interfacing all but here just so you could see what that looks like. Cut my interfacing out. Now I'm ready. I will probably put um I'm going to use a piece of black fabric. Do right sides together. Sew a quarter of an inch all the way around. Flip and turn it and get it onto the black shirt. The one thing that might help um sometimes when I do flip and turn and you I don't know if you have this problem too, you don't always get it the back fabric all the way around and you can see some of that backing fabric sticking sticking up from the front side. I try to use either the same fabric that's on the top of the block or the piece that I'm doing or the fabric that matches the shirt and then you won't be able to tell. So, I'm going to put this on a black shirt. So, I'm going to put it with some black fabric and then you'll never know that I didn't totally get my edges all the way to the back real nice here. I did um I think I did one of the pinks. Yeah, I did a pink so it doesn't look too bad. Um you don't really see it that much. And this did shrink up pretty good. The fabric was pre-washed as well as the shirt, but the batting was not. So, it shrunk up a little bit and I think it's just fine. Um, you can also cut apart old quilts and make pieces. I know some of that it's a dirty word, but um, cutter quilts they call them. Just cut out pieces and blocks from those and applique those on a shirt to be so pretty or on a denim jacket. Denim jackets are big. Doing that with those. So that's all the information I have on this process. Let's go to the next one. So this is a little bit has to do with the last little segment, but I wanted to add something a little bit more to it. This is again just appliqueing a quilt block to a garment, but I fussy cut. And what fussy cutting is is when you go to a certain point in your print and you cut that out several times and it makes a design. So, with this one, this is a real pretty um it's called Winter Song by Northcot. Um it started off with all these little cardinals on it and I just loved it. And this one is the new Tula line that came out. Um I love um I love leafy sea dragons, which is basically a seahorse and the seahorse was in there and I fussy cut those and it kind of made this design in there. So, I just want to show you how to fussy cut and you'll have to English paper piece, but that's okay. Um, a little bit of hand work. Six blocks. No big deal. Okay. So, I have my little winter [snorts] song fabric laying here. And these are our 3-in um diamond templates. And I thought those will work great on a shirt. And they do. They take up quite um just enough room. So, I cut myself a piece of template plastic that exact same size as the diamond. Okay. And when I'm going to go on here, I thought, okay, I like that configuration of where my bird is. So, I in this case am going to use a Sharpie. And I'm going to go around each, not all of them, but I'm going to put his head down here and his body down there. [snorts] And that should be enough. Sometimes you need to get a little bit more detailed. Now, my other problem when I do this is where's the edge of the plastic? You can't see it. In comes glow tape. This stuff's awesome, you guys. Uh, let me grab my scissors. [snorts] And I put this on the edge of my template. And then I cut off what I don't need. [snorts] And I go all the way around just like I did here. And that's now it's great. I can see where the edge of the template is. I can see what I'm doing. I also have my little lines drawn. Now, the other thing that happens is look how that's moving on here. And if I were to go around and try to draw, I'm going to have to draw a quarter another 1/4 in or 3/8. 38 is probably a little better. My quarter was a little tight on this. So, I have to go 3/8 inch out from all the way around. And my template was moving. So, come to the rescue. my by Annie double-sided sticky tape. Make sure I have it on the right side. It'll go on this side. And I just put two little pieces. Well, that one wasn't real little, but doesn't need to be that big. On the back side of my template, and then you rub it nice and hard with your fingernails. And then you peel it up and the tape stays there, but it's not permanent or anything. And now when I stick it on, it stays in place. Look at that. So now when I bring my ruler in, I put my ruler on. I go 38 inch out from where the edge of my tape is. I still have some tape on here from when I was doing something else. Get that off. See, it just comes right off. So, when you're ready, if you need to use the other side, just get that tape off there. So, I'll go 38 of an inch out from the outside of the plastic and draw my line and go all the way around. And that's how big to cut your template, which is I have it cut right here. Then you'll do that six times. Keep in mind what you're when you go to buy fabric, if you're going to do this, how big the repeat is or how many things can you fussy cut at in one, like a quarter yard, half yard, whatever. I bought I I don't I think I grabbed a yard of the Tula and I um the repeat is a lot bigger. So, I'm going to get I'm going to put a lot more holes in that which is totally fine. It's fun. Have fun with it. But I had to watch. I almost didn't have enough um of my sea my seahorse to go all one direction. So, that's why some are facing one way and some are the other. So, it just kind of depends on what motif you're trying to fussy cut. So, keep that in mind when you're if you think you want to do this, just get more than you think you're going to need. And I'm not going to go over how to English paper piece, but you'll put this on the back. And the other thing that I do when I'm ready to put my because you're not going to know exactly where where you need to go on this [snorts] to put to put your thing to your template to make sure that it matches all the time. So, what I did, I can see through this, or you could use a light box. I flip my template over. And then I would not use a Sharpie for this. Use some kind of pen that erases or goes away. And now, now that it's in place, and then you can move your tape to this side, to the right side, so it stays in place. And then go around it. And you don't have to even really go around the whole thing. You can just go around the corners so you have kind of registration marks. And that way you'll know exactly where to put your paper template. And when you're beginning a paper piece, then you'll know exactly where it is and they will all come out to be the exact same. Okay, so have fun with those. I cannot wait to see what you create using the fussy cut technique. And let's move on to another technique. Last but not least is reverse applique and applique on your sweatshirt. Reverse applique is a lot of fun. It um and it goes quickly as well. So on this shirt I put this um I thought it looked like Christmas lights kind of behind the behind the shirt and cut it out. And I'm going to show you how to do that in just a minute. But you can see how it fuzzes up once it gets washed. And that's all great and that's been fun. This is one of my favorite ones to wear. I am going to show you though what not to do if I can find the hole, but I'll go over that in a minute. So, here I have a little t-shirt and I drew on there with um with a fricxion pen. I drew my four stars and I have this one already done, but I thought I'd show you how I do it. So, I take my piece of fabric. I measure this and see how big it is. And then I cut a piece of fabric a good inch or two bigger because that's how I am. And then I'll slip this up underneath there. [snorts] And I make sure I kind of feel with my hand that there's fabric behind all of the spots, all of my points, so I know it's there. You can also pin this ahead of time. You can just do some pins around the edge so you know where your edges are and you know where to go. But usually I just kind of reach in there, make sure it's nice and flat. [snorts] And once I know it's nice and flat, I'll come back and pin, which is what I did here. I have a piece of fabric there already pinned. So that's ready to stitch. And I do go um a smaller stitch length, usually closer to like a 1.8 is you want to you want to hold that on there. Well, here you can't hardly see it, but I did actually um I did actually stitch around here because I used the I used a gray thread so I didn't want it to show. And in this case, I stitched on the outer I stitched about a no, not even a quarter inch away from my drawn line. So, here are where your options come in. You can either stitch away from your line that you drew or you can just stitch right on it. Totally up to you. It's not going to make a bit of difference. Um on some of the shapes that are more intricate, I will stitch um I will stitch on the line and then then your shirt will fray up to the line. So, it's just it just all depends what you want to do. Then you pull this apart. And make sure you don't have like I have this the back side of this in my hand and my t-shirt. And you want to make a little snip in that shirt. And then go back and trim all the way out. Trim your shirt away so it's away from the center. And then this will peel back. Now you have to watch. This has too I think this shirt has a little bit bigger of a weave on it. And I got a little too close. [laughter] So, you want to make sure that you give yourself enough room when you trim. Don't trim too too close, but you I mean, you want to trim enough, but um like I said, I think that was part of my problem is this shirt has a looser weave and than a sweatshirt does, and I think it pulled a little bit. So, I just need to go back and restitch that or put a piece of fabric back there and stitch it. Not a problem. But I keep forgetting to do it. [laughter] So, [gasps] so that is reverse applique. And then we go right into regular applique. So, this the shirt I have on, it's using our sweater template. This is using our little sweater template. I you want to make sure when you're putting the fabrics on like these um with the little heart and with the snowflakes, that kind of stuff. You do want to make sure that you pre-wash your fabric um because it'll it will shrink differently than um than your shirt will. This I just put um regular fusible web on the back, a lightweight heat and bond light fusible web. Um Missouri Star also has some light fusible web and I just kind of fussy cut the designs out of some fabric and put it on the shirt and applate. I used a little bit of a zigzag. I used a tiny little zigzag on that. This I used an applique stitch. It's like a little button hole. Looks like a little button hole stitch. But the possibilities are endless, right? You can use anything you have at home to make shapes and you can just have a lot of fun with them. So, I've shown you embroidery on shirts. I've shown you machine applique, reverse applique, how to make your own fabric, how to put quilt blocks on shirts, and I think you guys are going to go nuts with these. I cannot wait to see everything that you do. Please post your creations so we can see them and take a look at them. Thanks for watching the video. This is Courtney with Missouri Star Quilt Company.


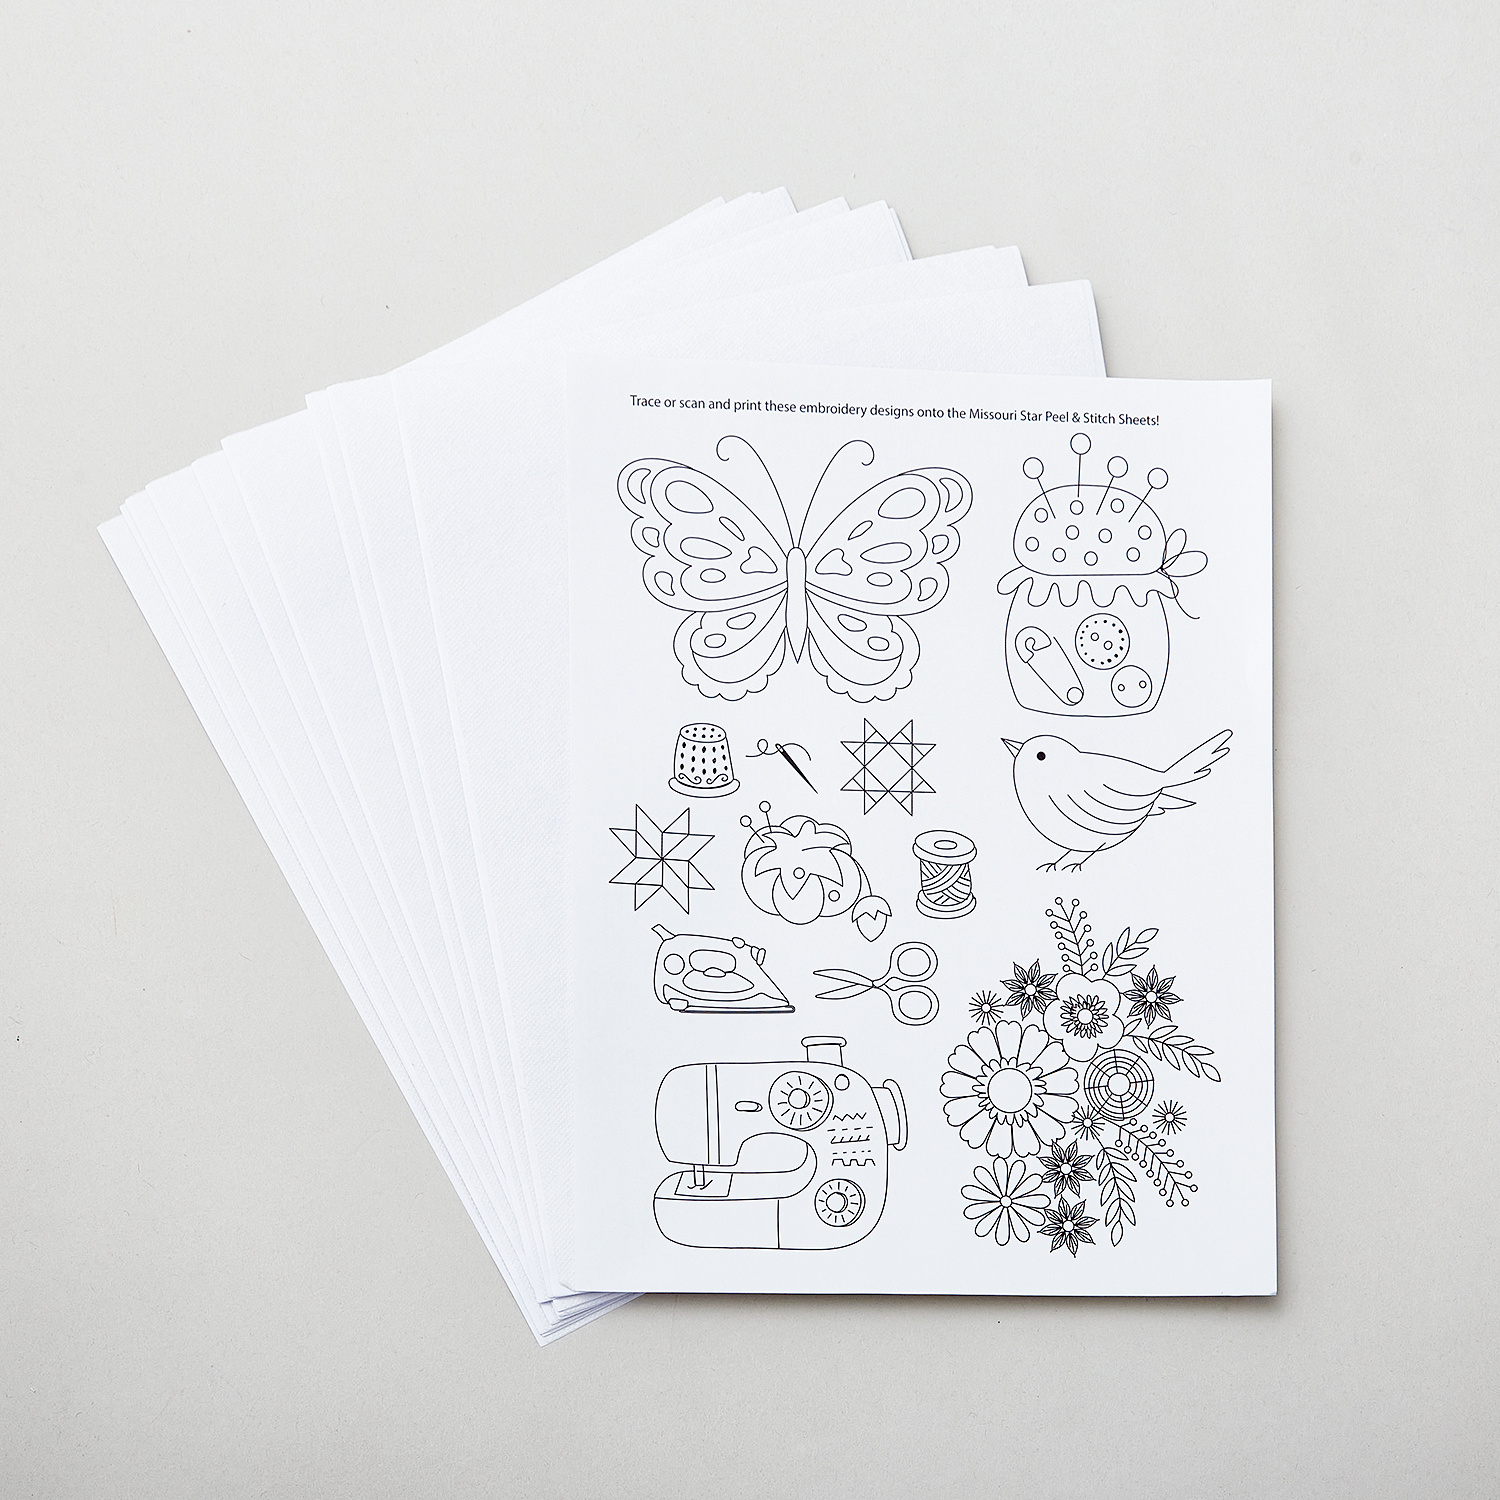 Missouri Star Peel & Stitch: Printable, Wash-away Transfer Sheets 10pk$15.95Shop →
 Heat N Bond Feather Weight White Yardage$2.25Shop →
 Missouri Star Sew Light Fusible Adhesive - 17" x 2 yards$4.95Shop →
 Pellon One-Sided Fusible Fleece White Yardage$10.45Shop →
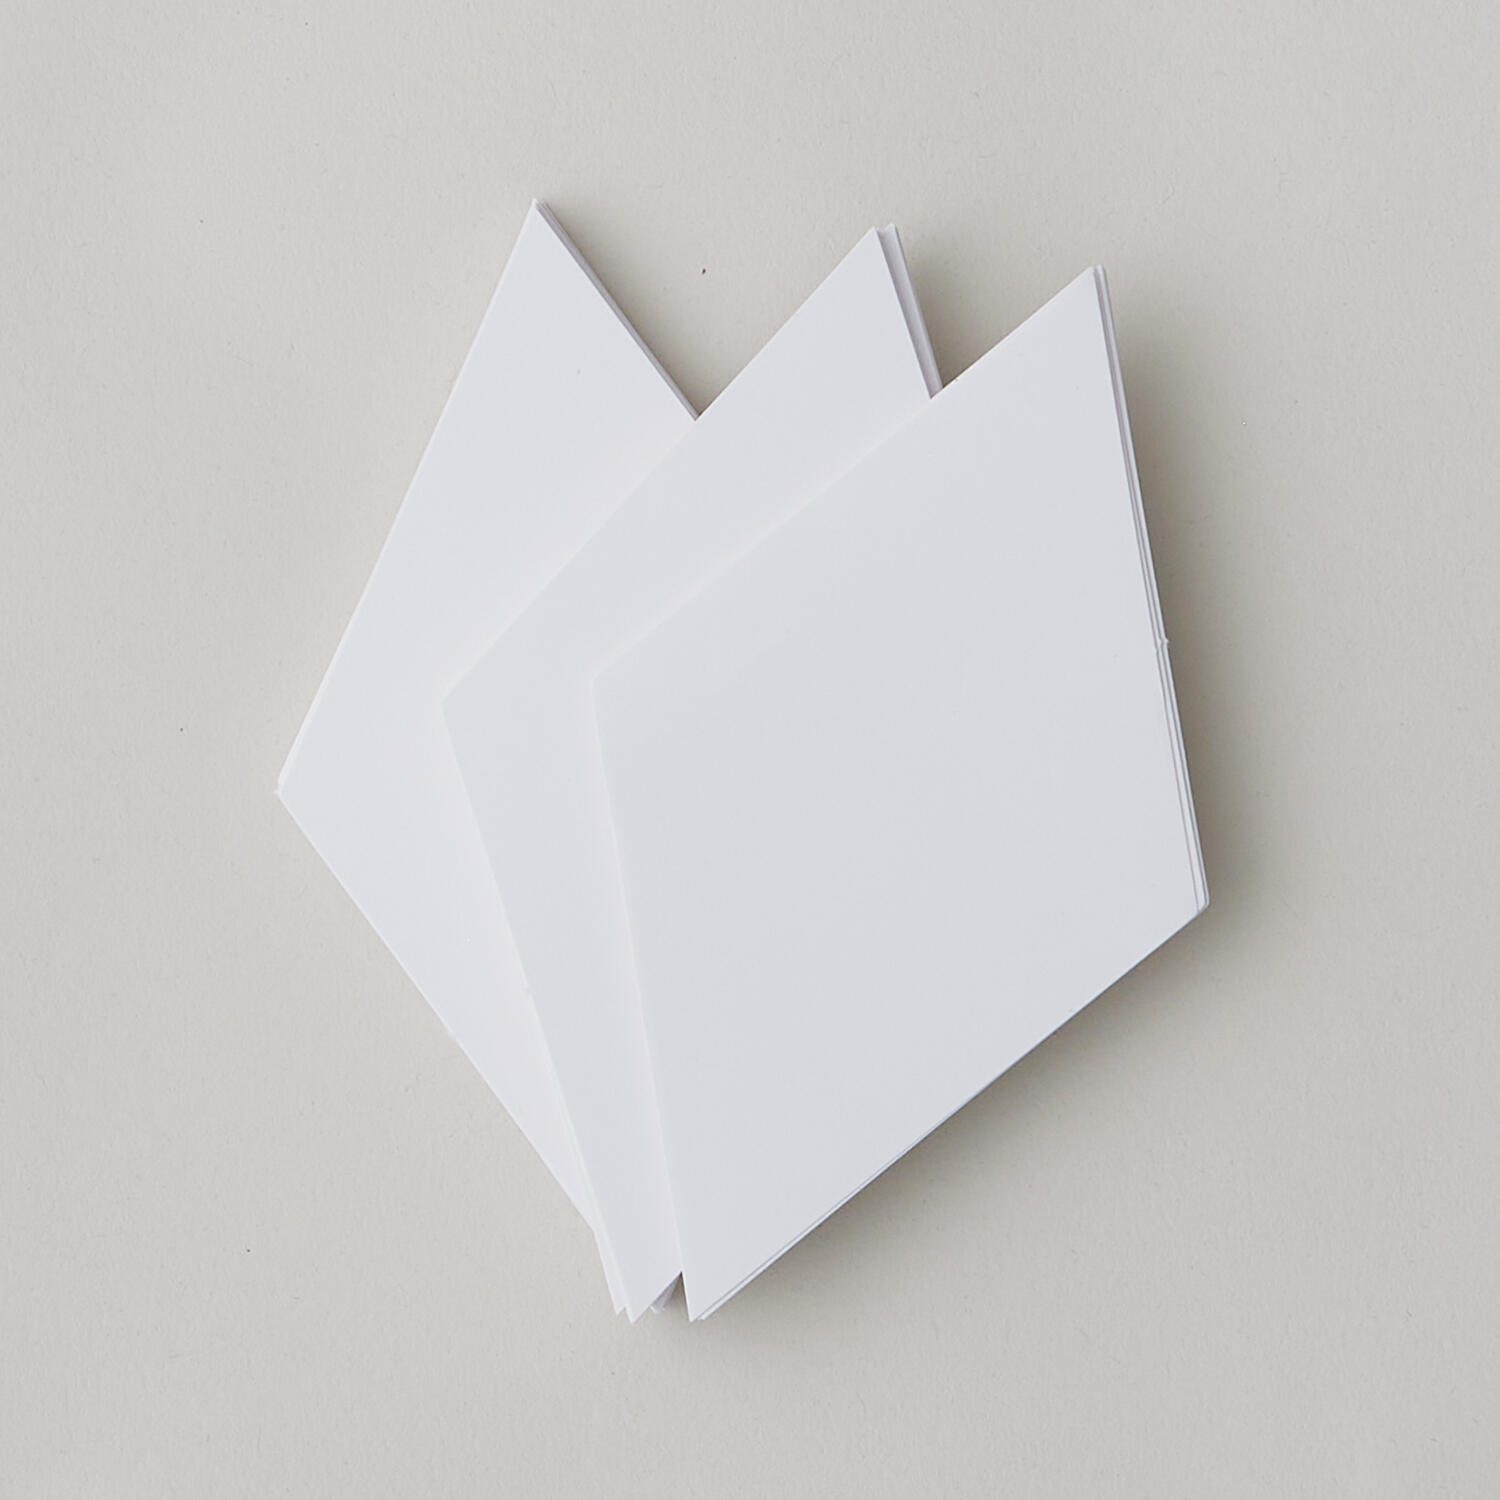 Missouri Star EPP Paper Pack 3" Diamond$10.95Shop →
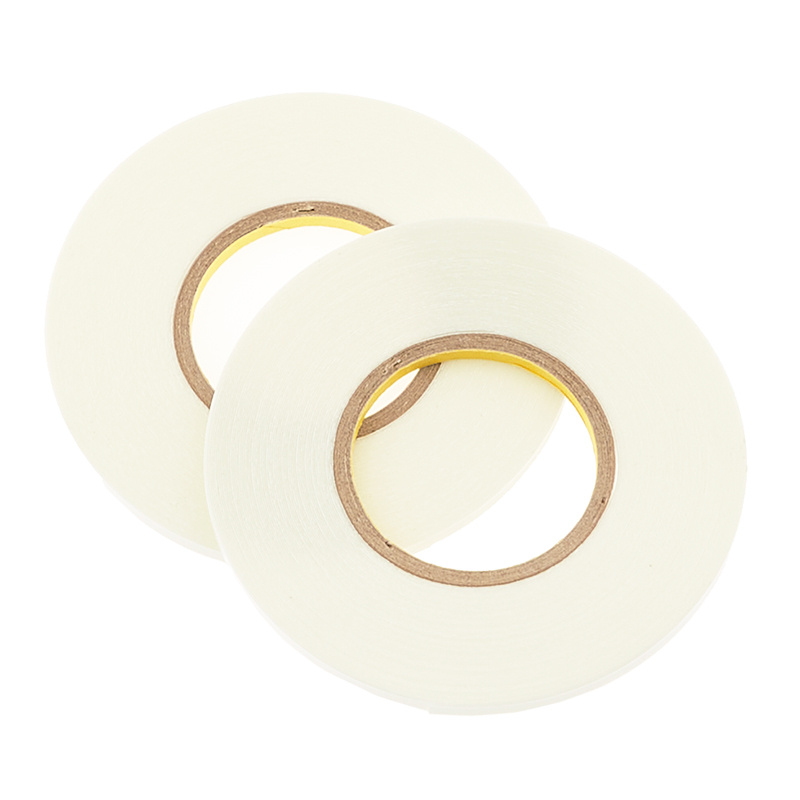 ByAnnie Double-Sided Basting Tape$8.75Shop →
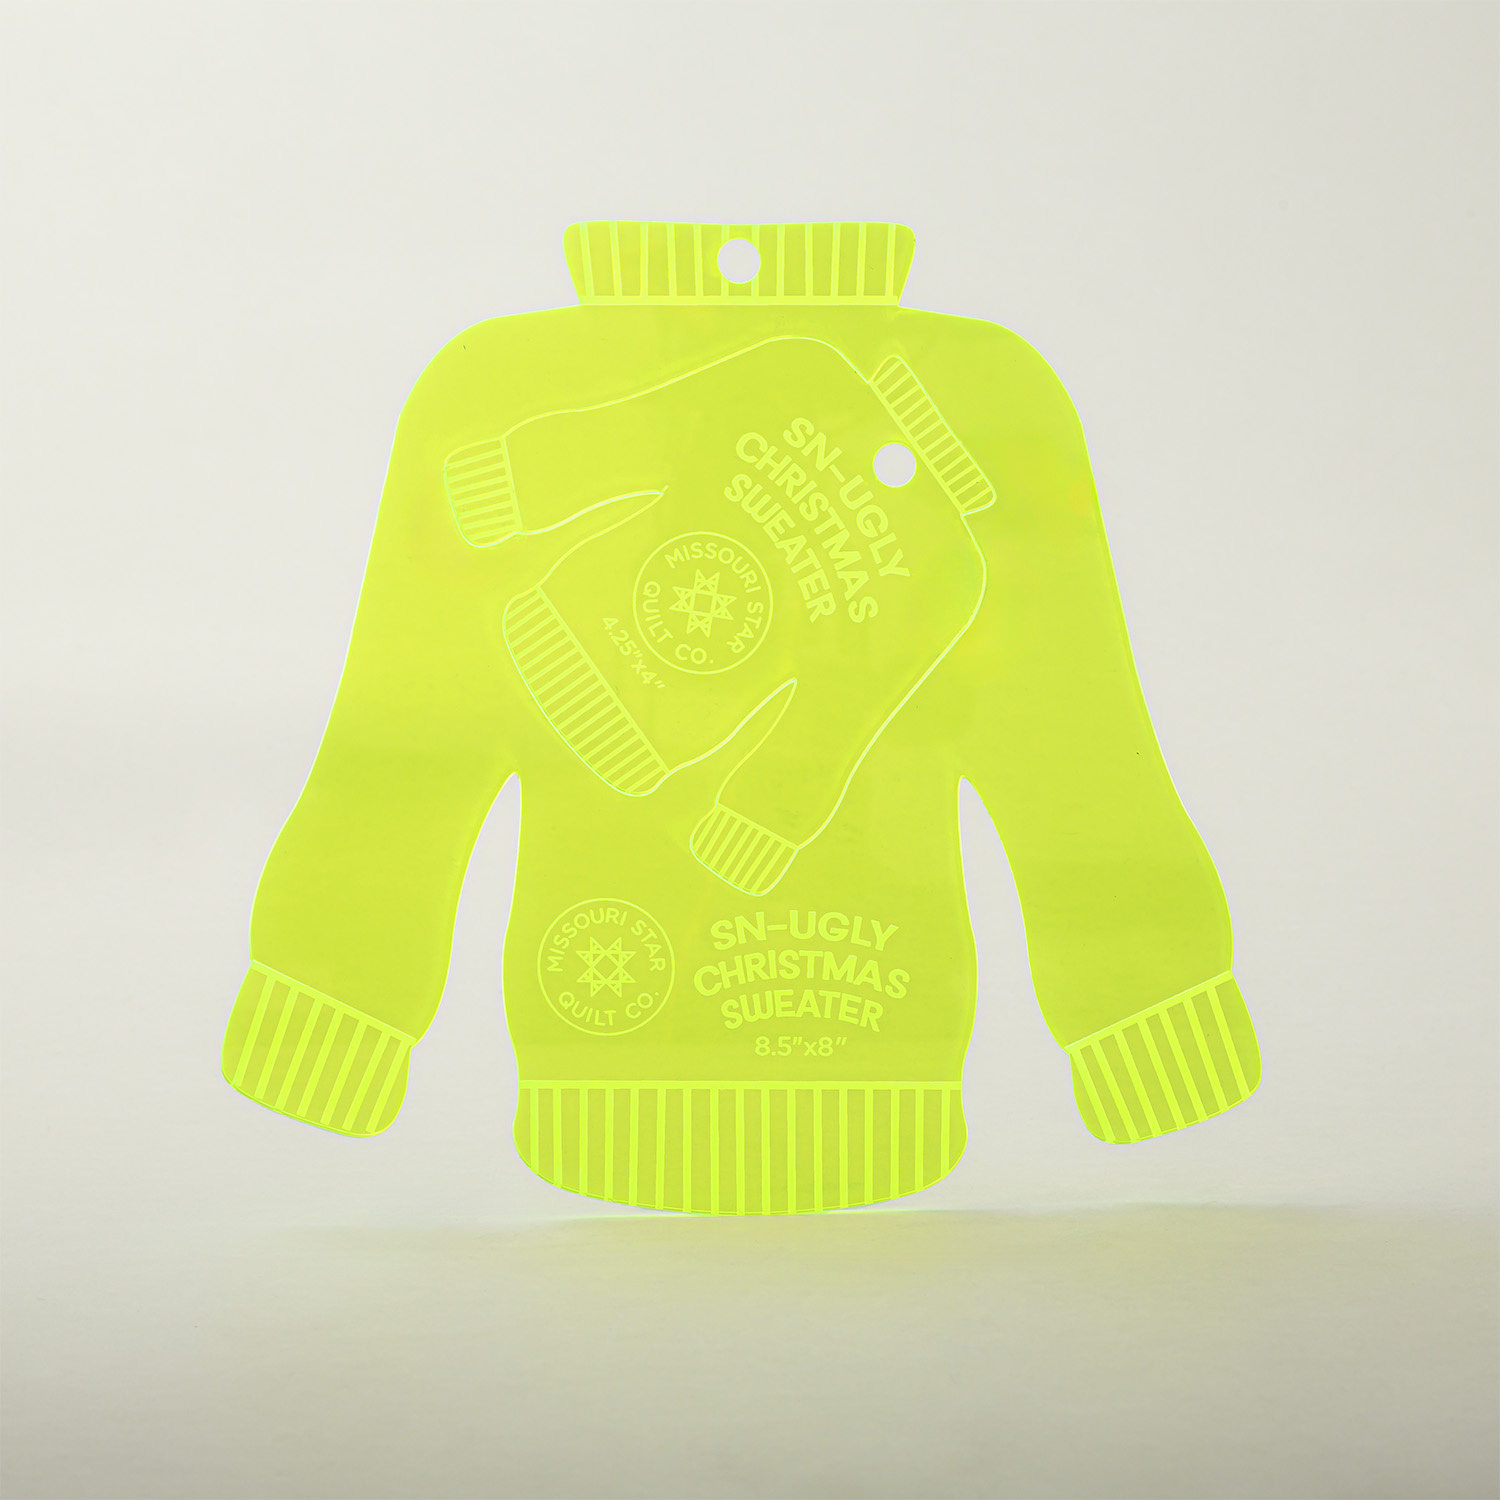 Missouri Star Nesting Sn-UGLY Sweater Templates$12.95Shop →
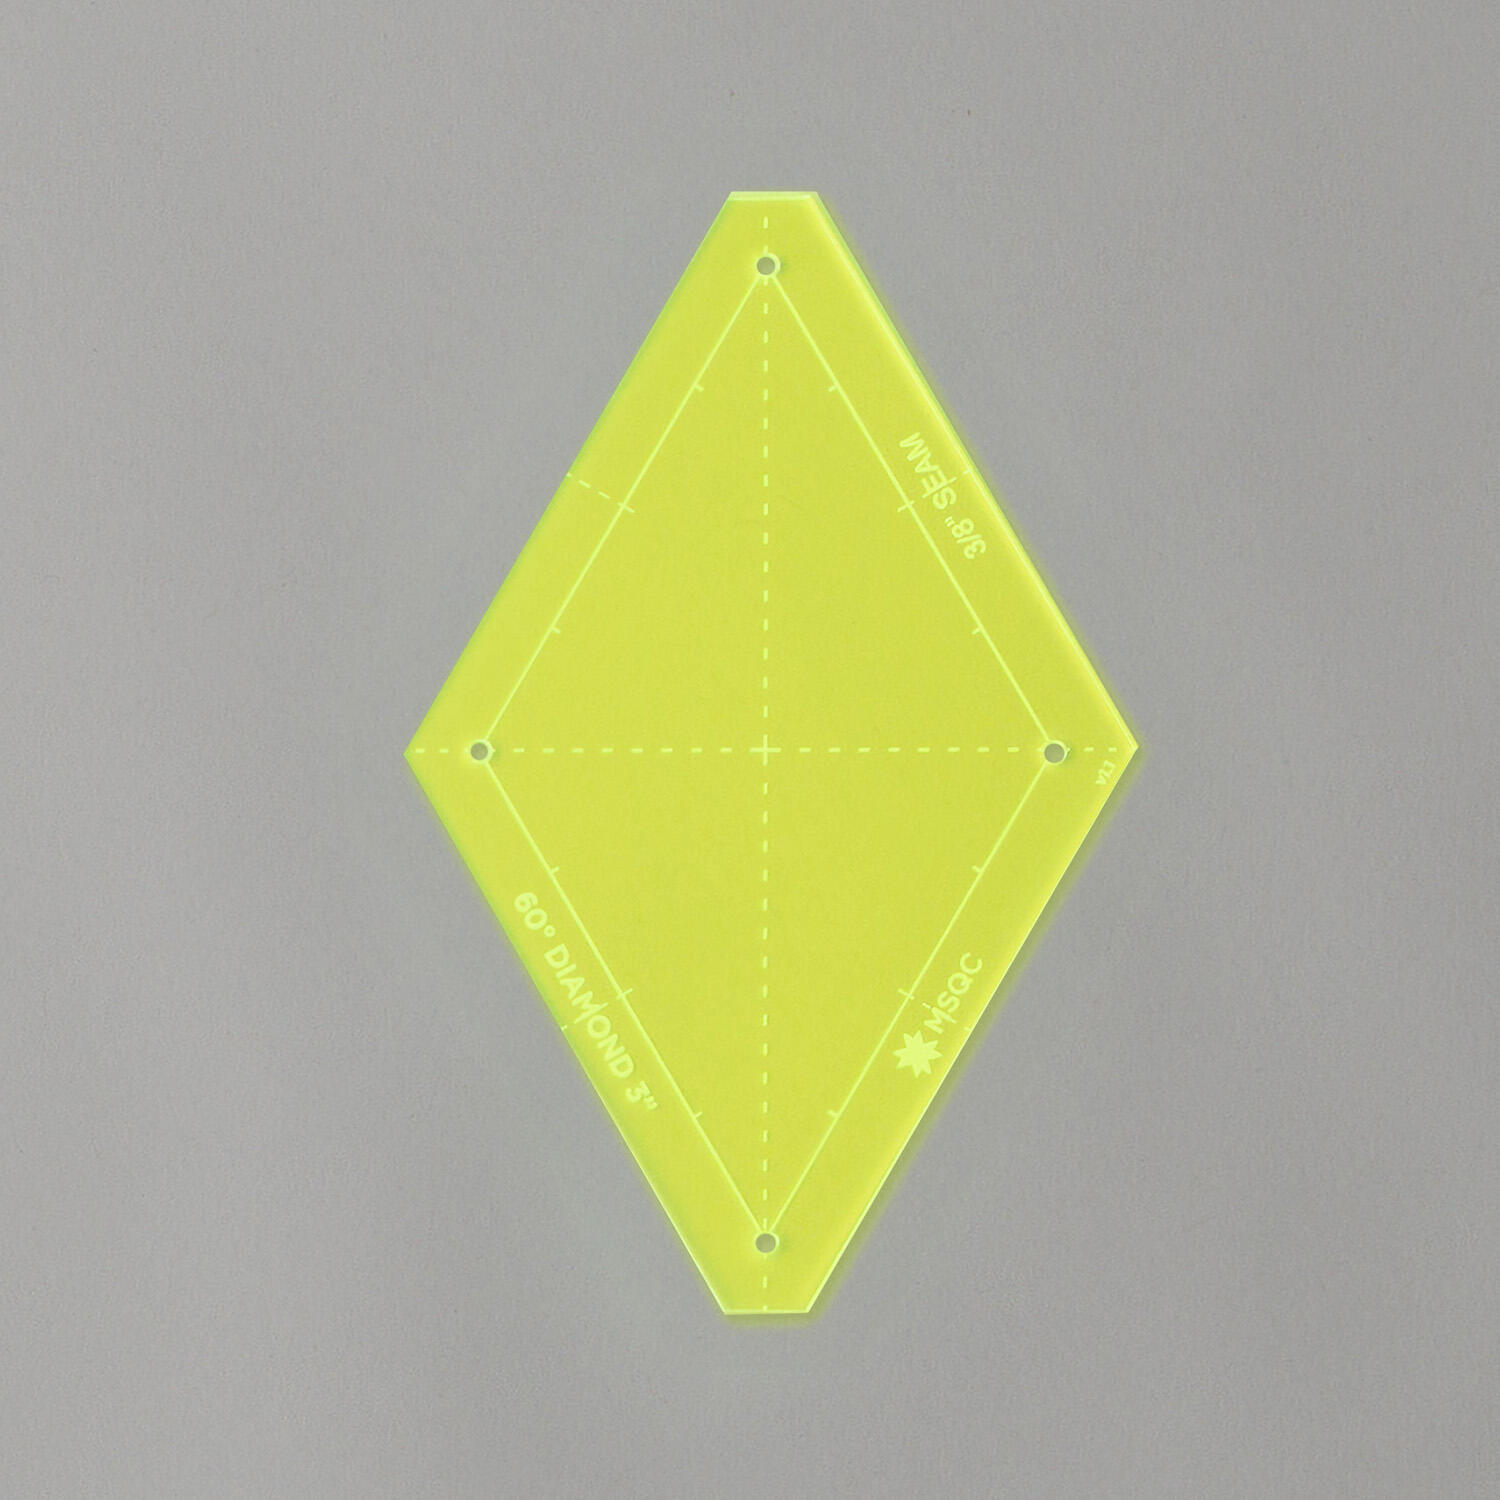 Missouri Star EPP Template 3" (60°) Diamond$10.95Shop →
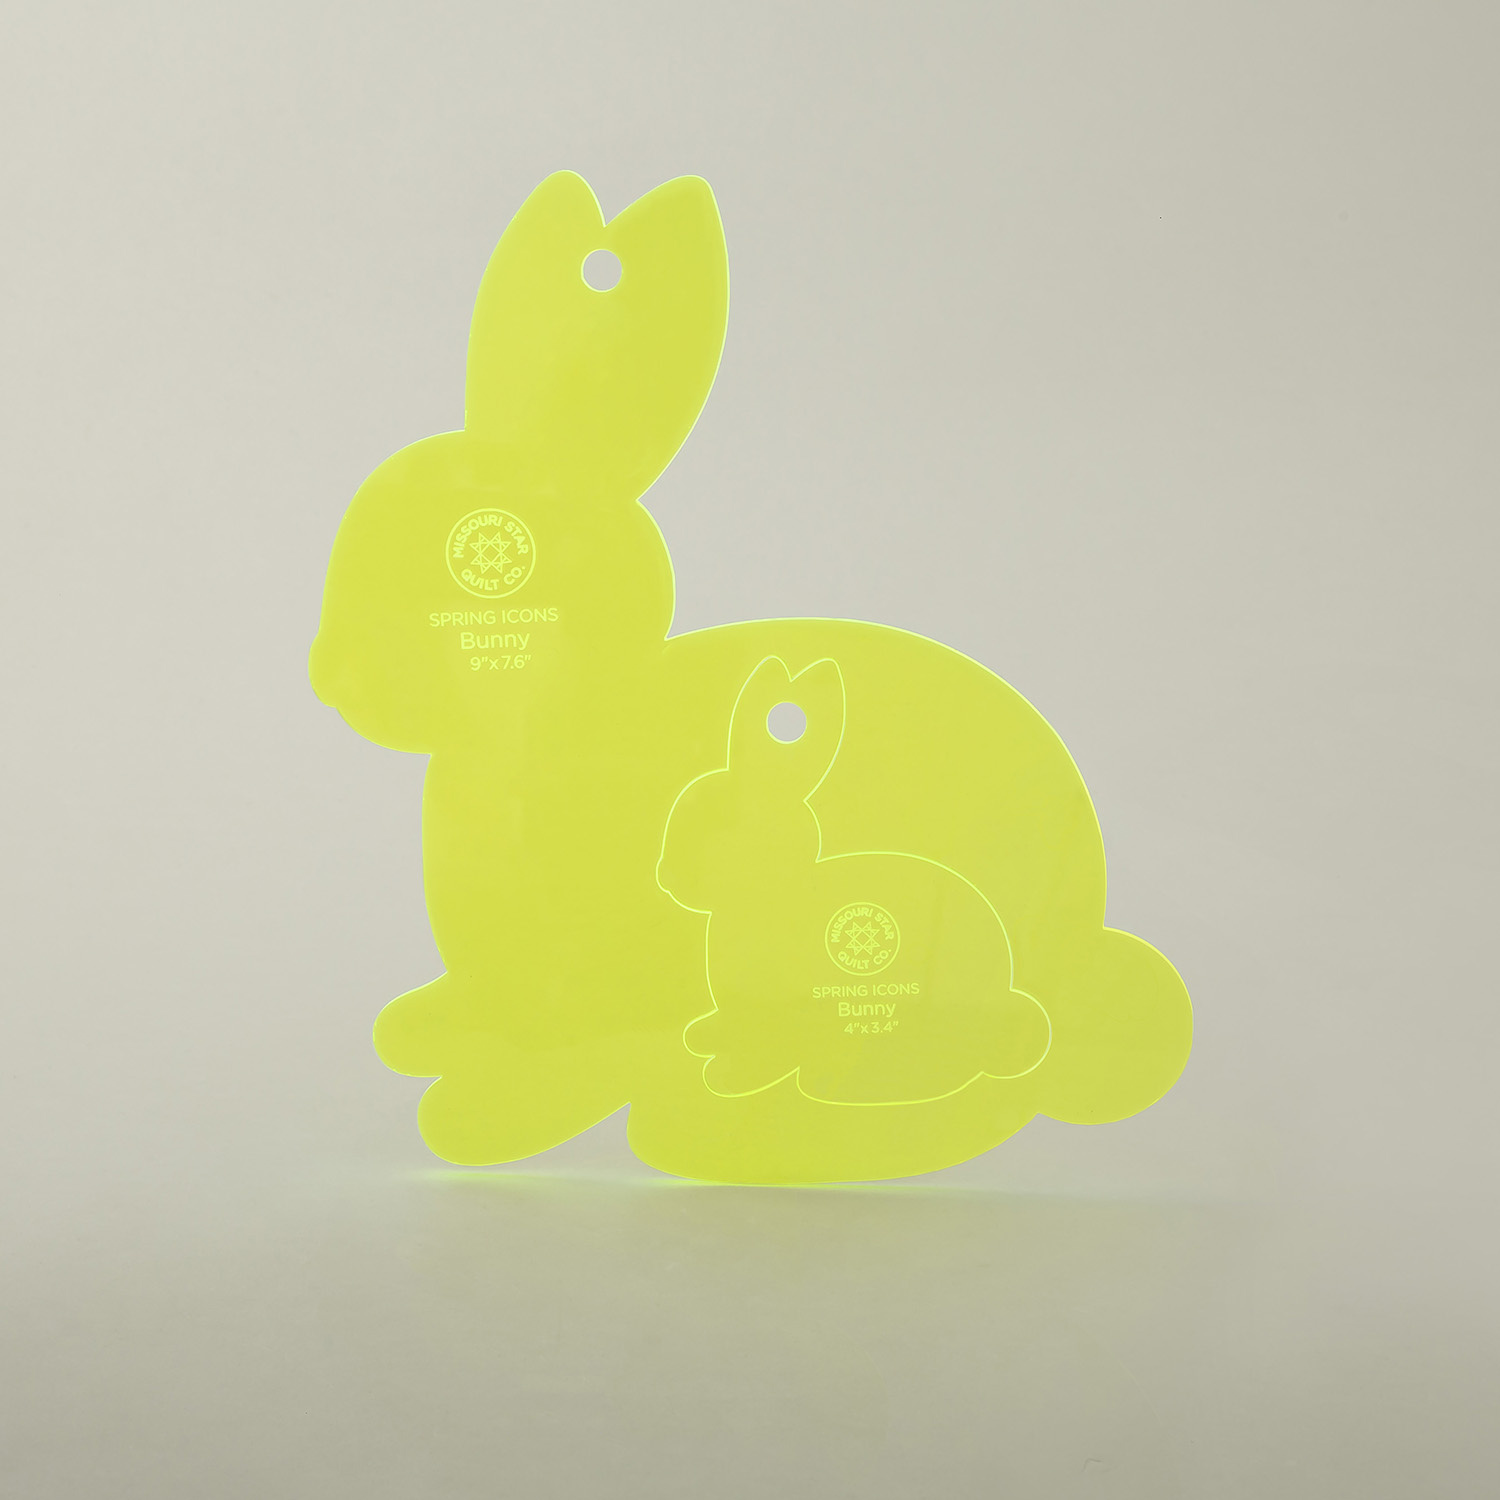 Missouri Star Nesting Rabbit Templates$12.95Shop →
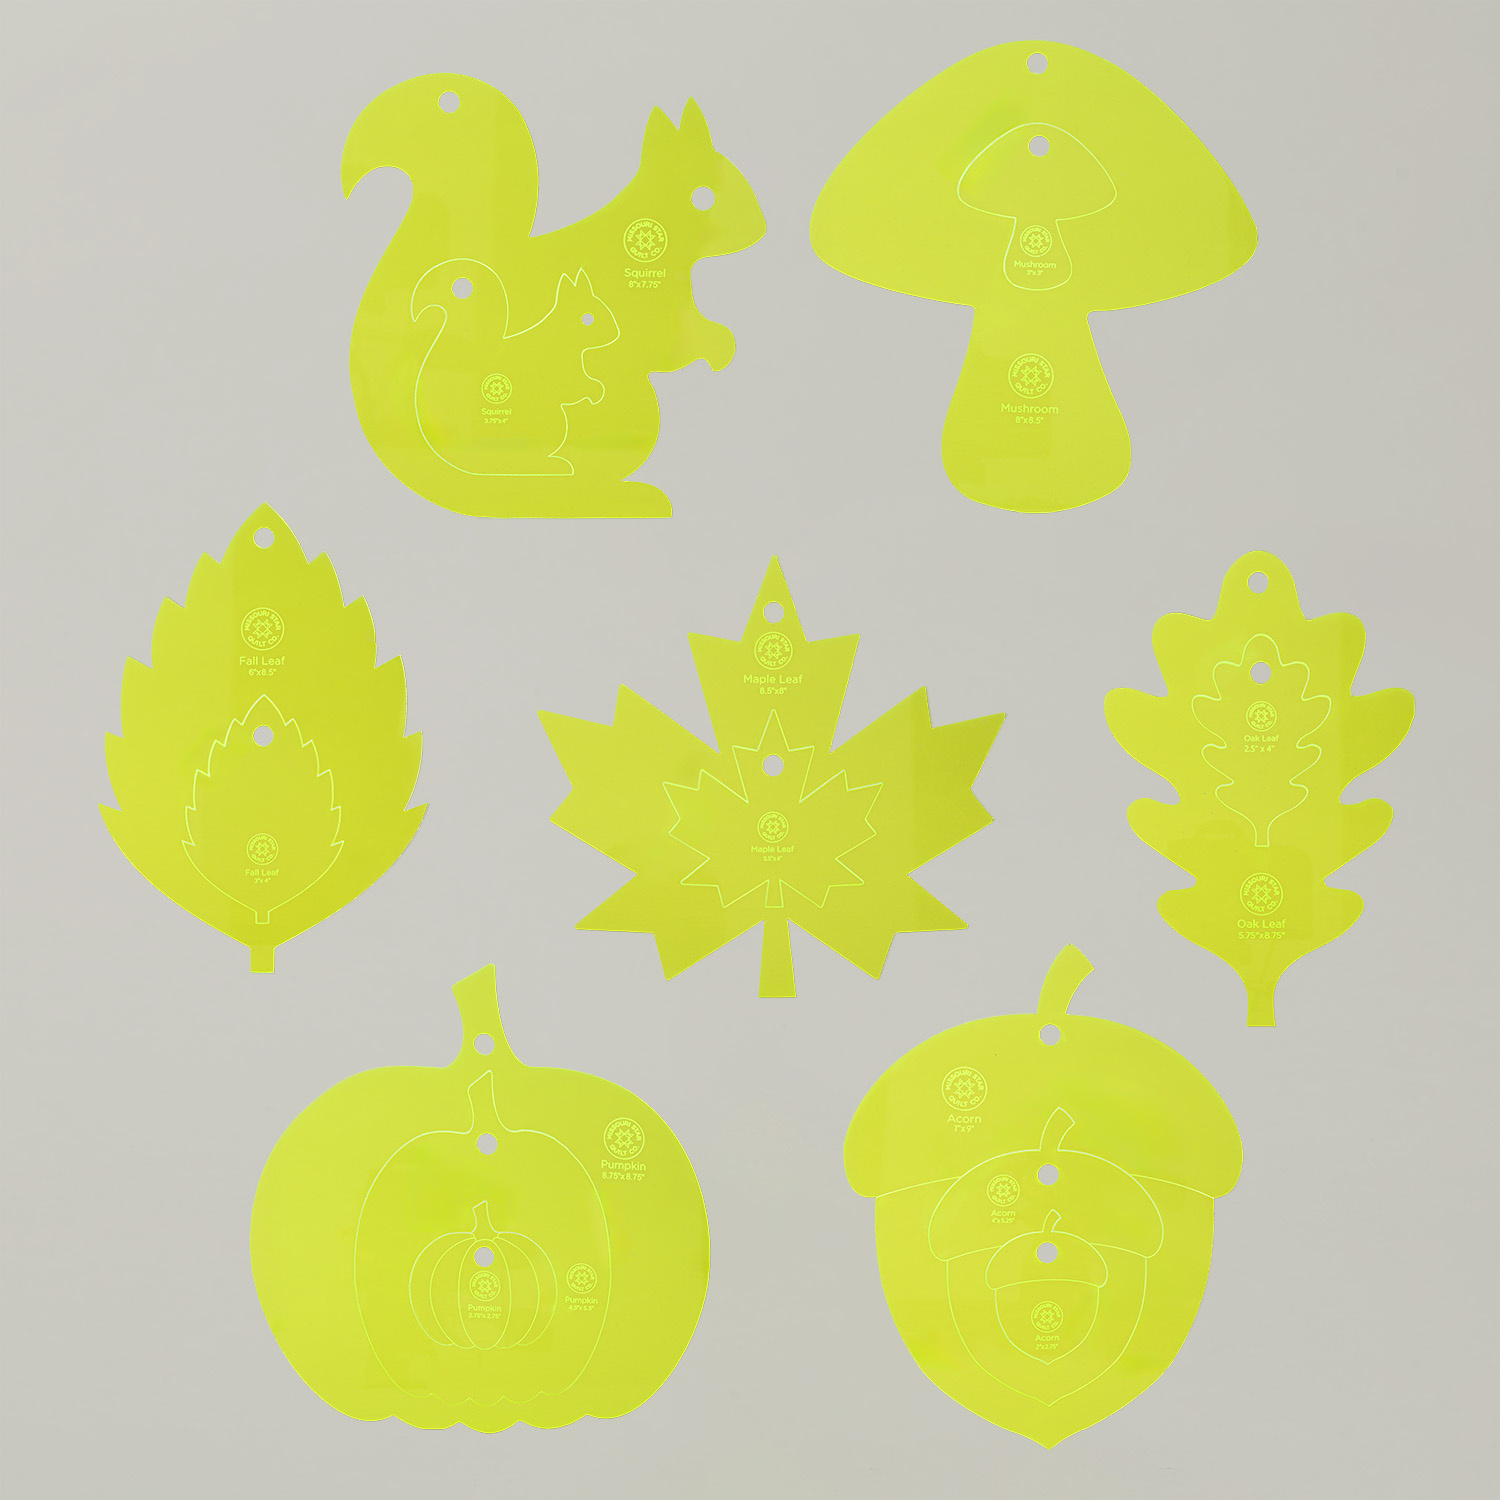 Missouri Star Fall Template Bundle$69.95Shop →
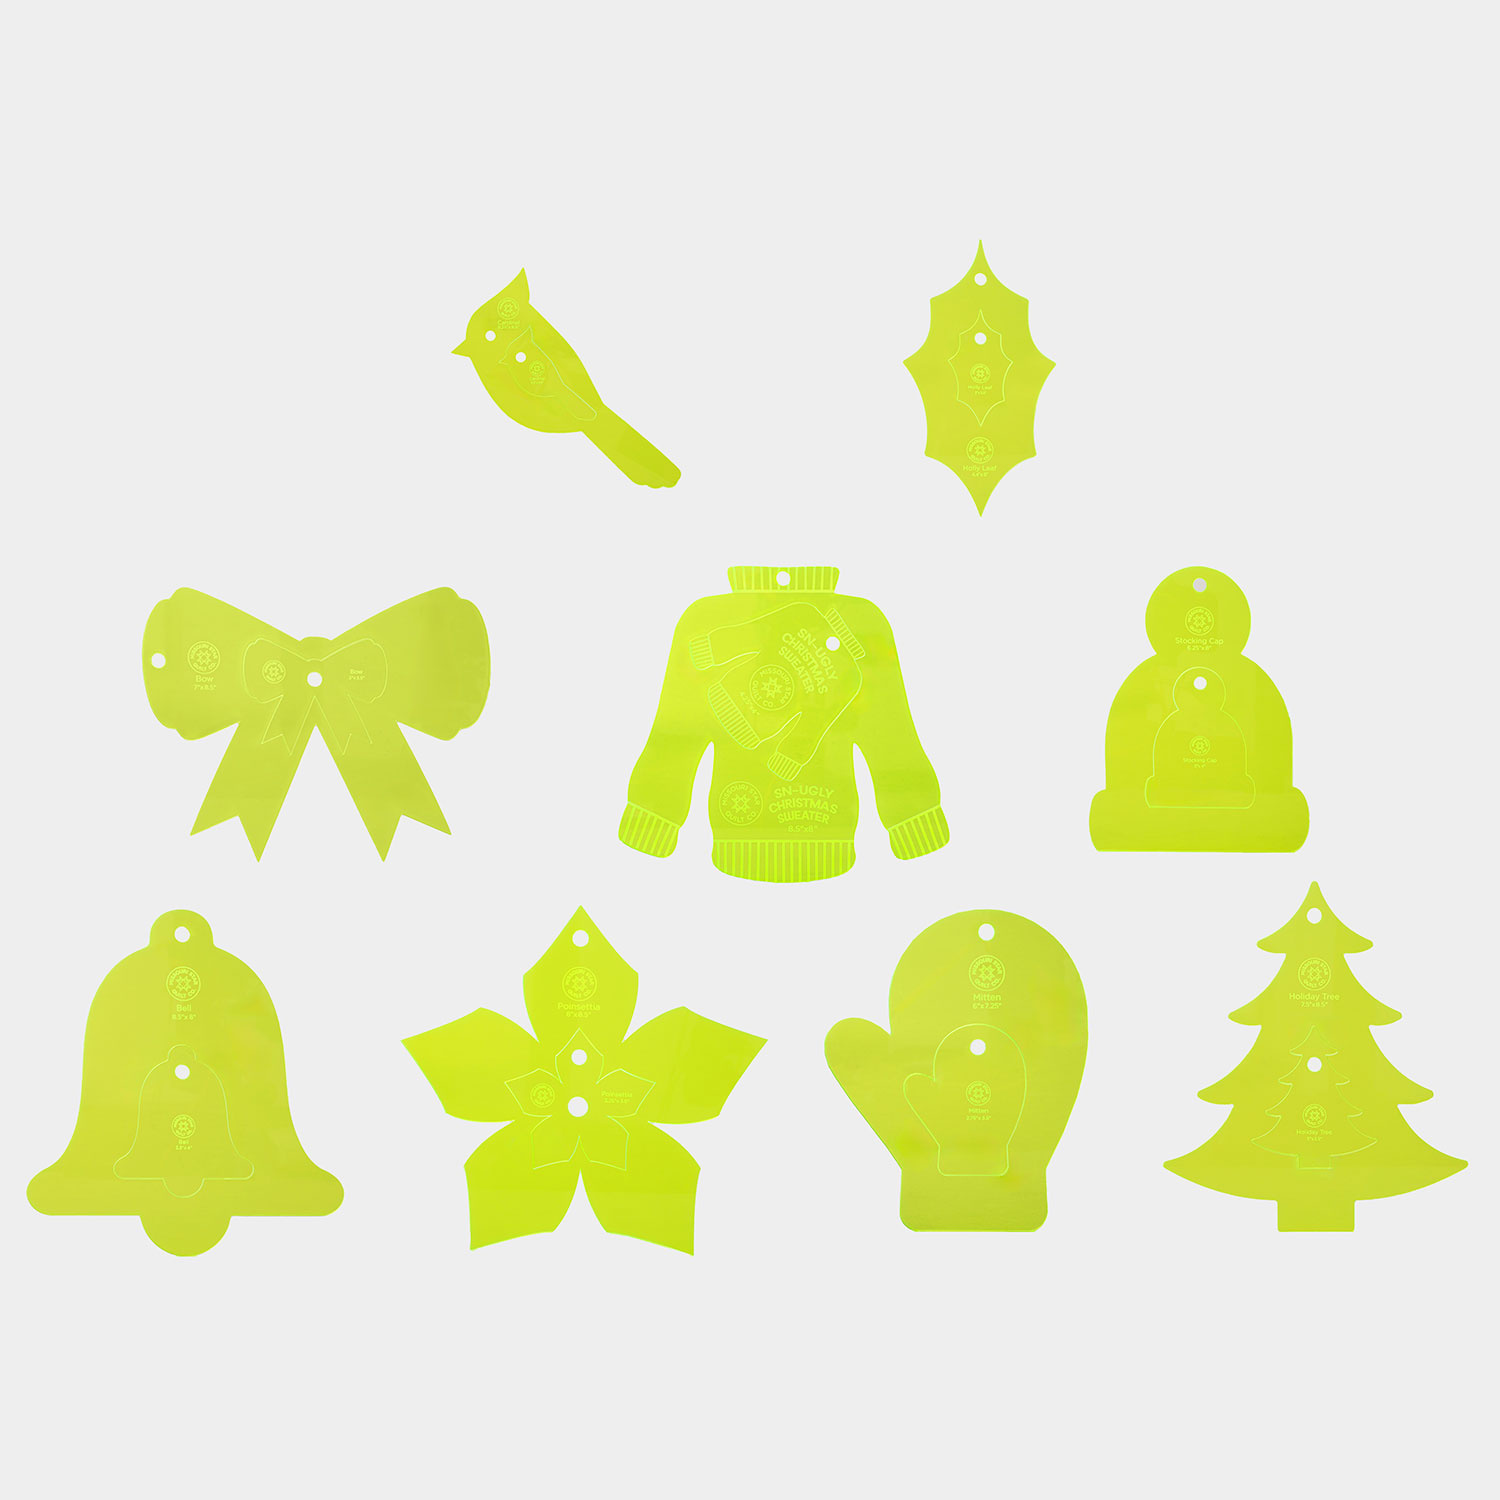 Missouri Star Christmas Template Bundle Set 2$89.95Shop →
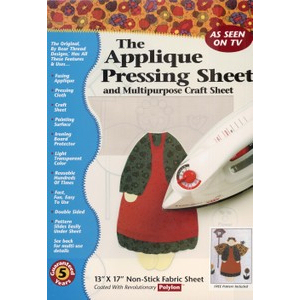 Appliqué Pressing Sheet 13in x 17in$15.95Shop →
 Missouri Star + Oliso TG1600 ProPlus Iron$209.95Shop →