Faux Leather Pillow Set
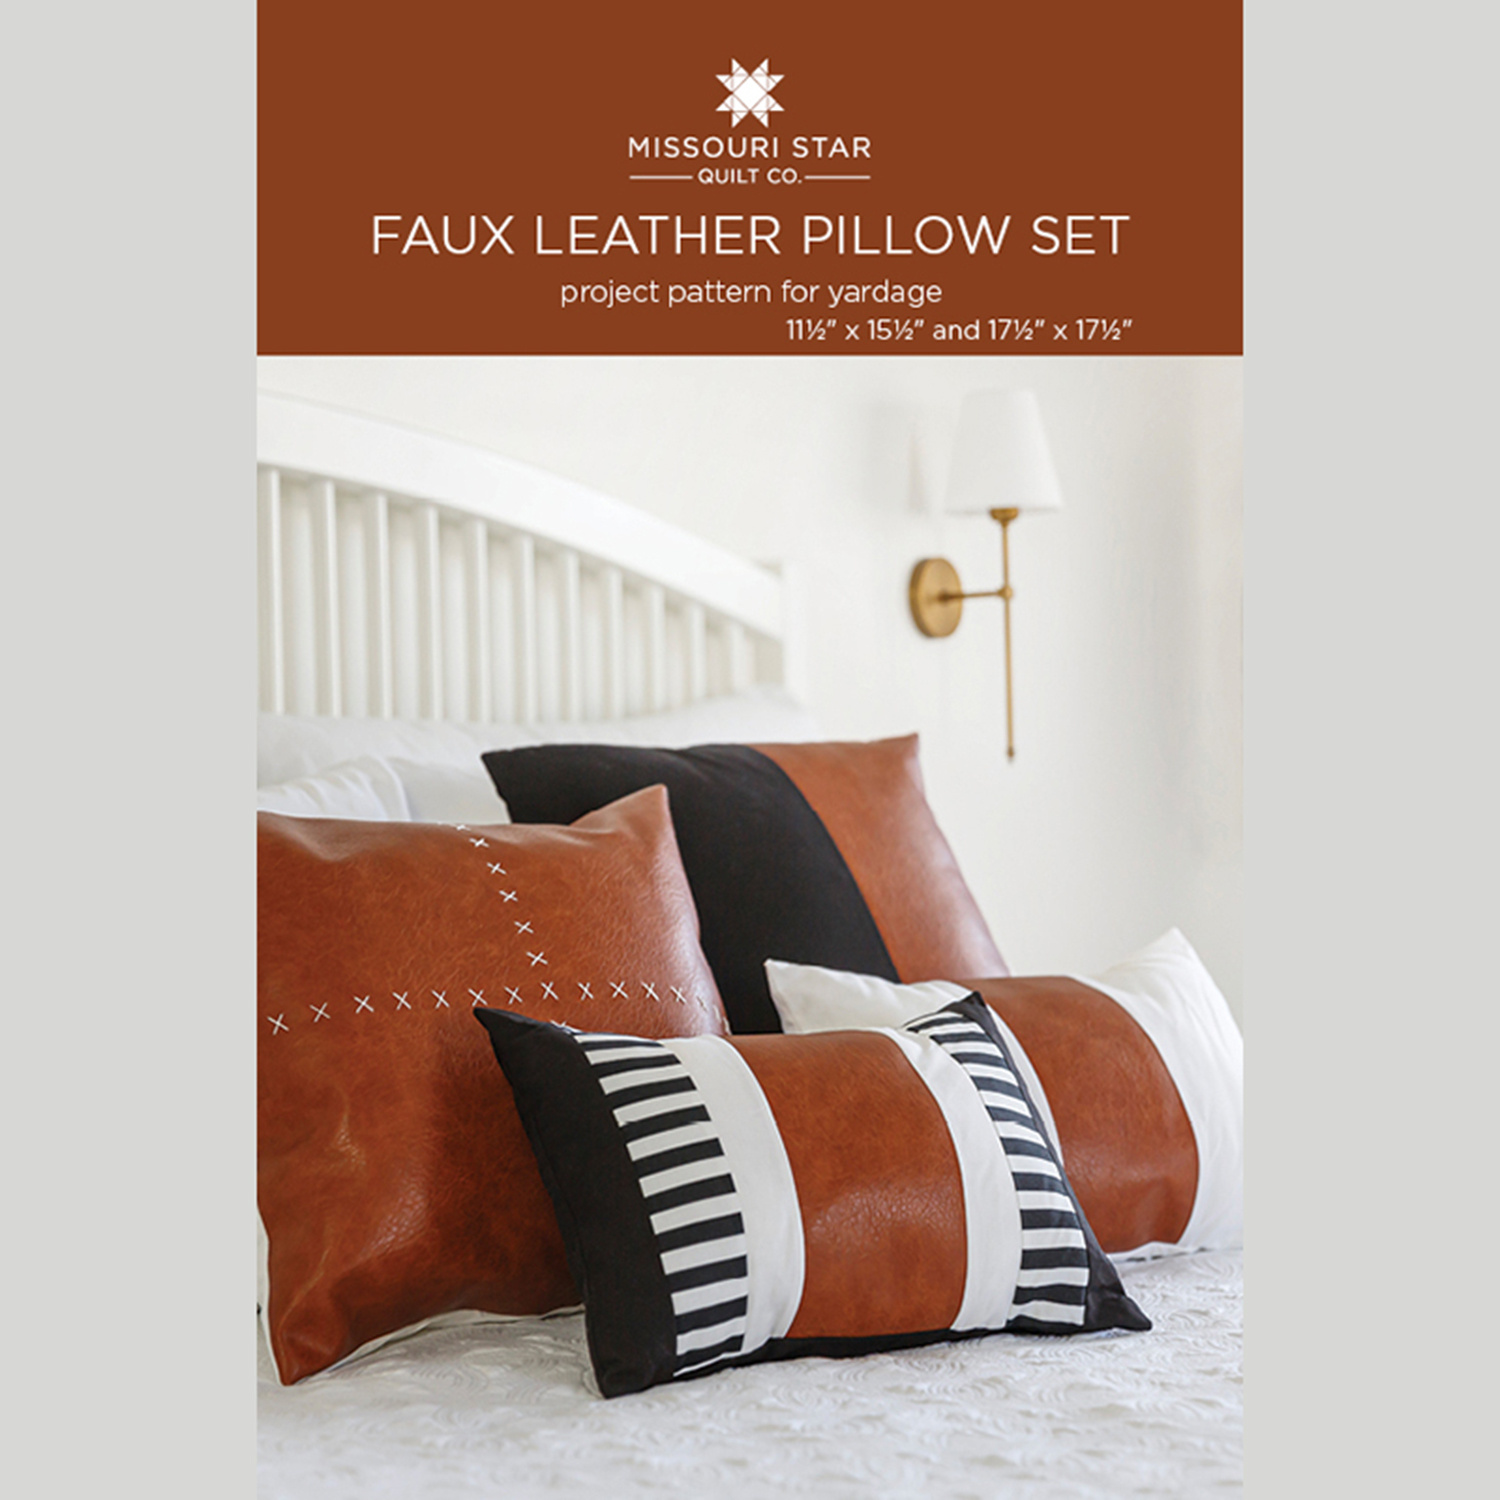
All of the comfort of couture! Sew along with Misty as she creates these stylish pillows. The Faux Leather Pillow Set includes four pillows in two sizes in a simple color scheme. These pillows are great for adding comfort, style, and color to any home!

Instructor
Misty Doan
Misty Doan grew up surrounded by sewing and quilting. She loves spending time sharing tutorials each week each week, and when she’s not stitching up one of her fun sewing projects for home decor, most likely you’ll find her hanging out with her husband and three awesome kids or working on a house project.
Shop this tutorial
 Faux Leather Pillow Set Pattern by Missouri Star$8.50Shop →
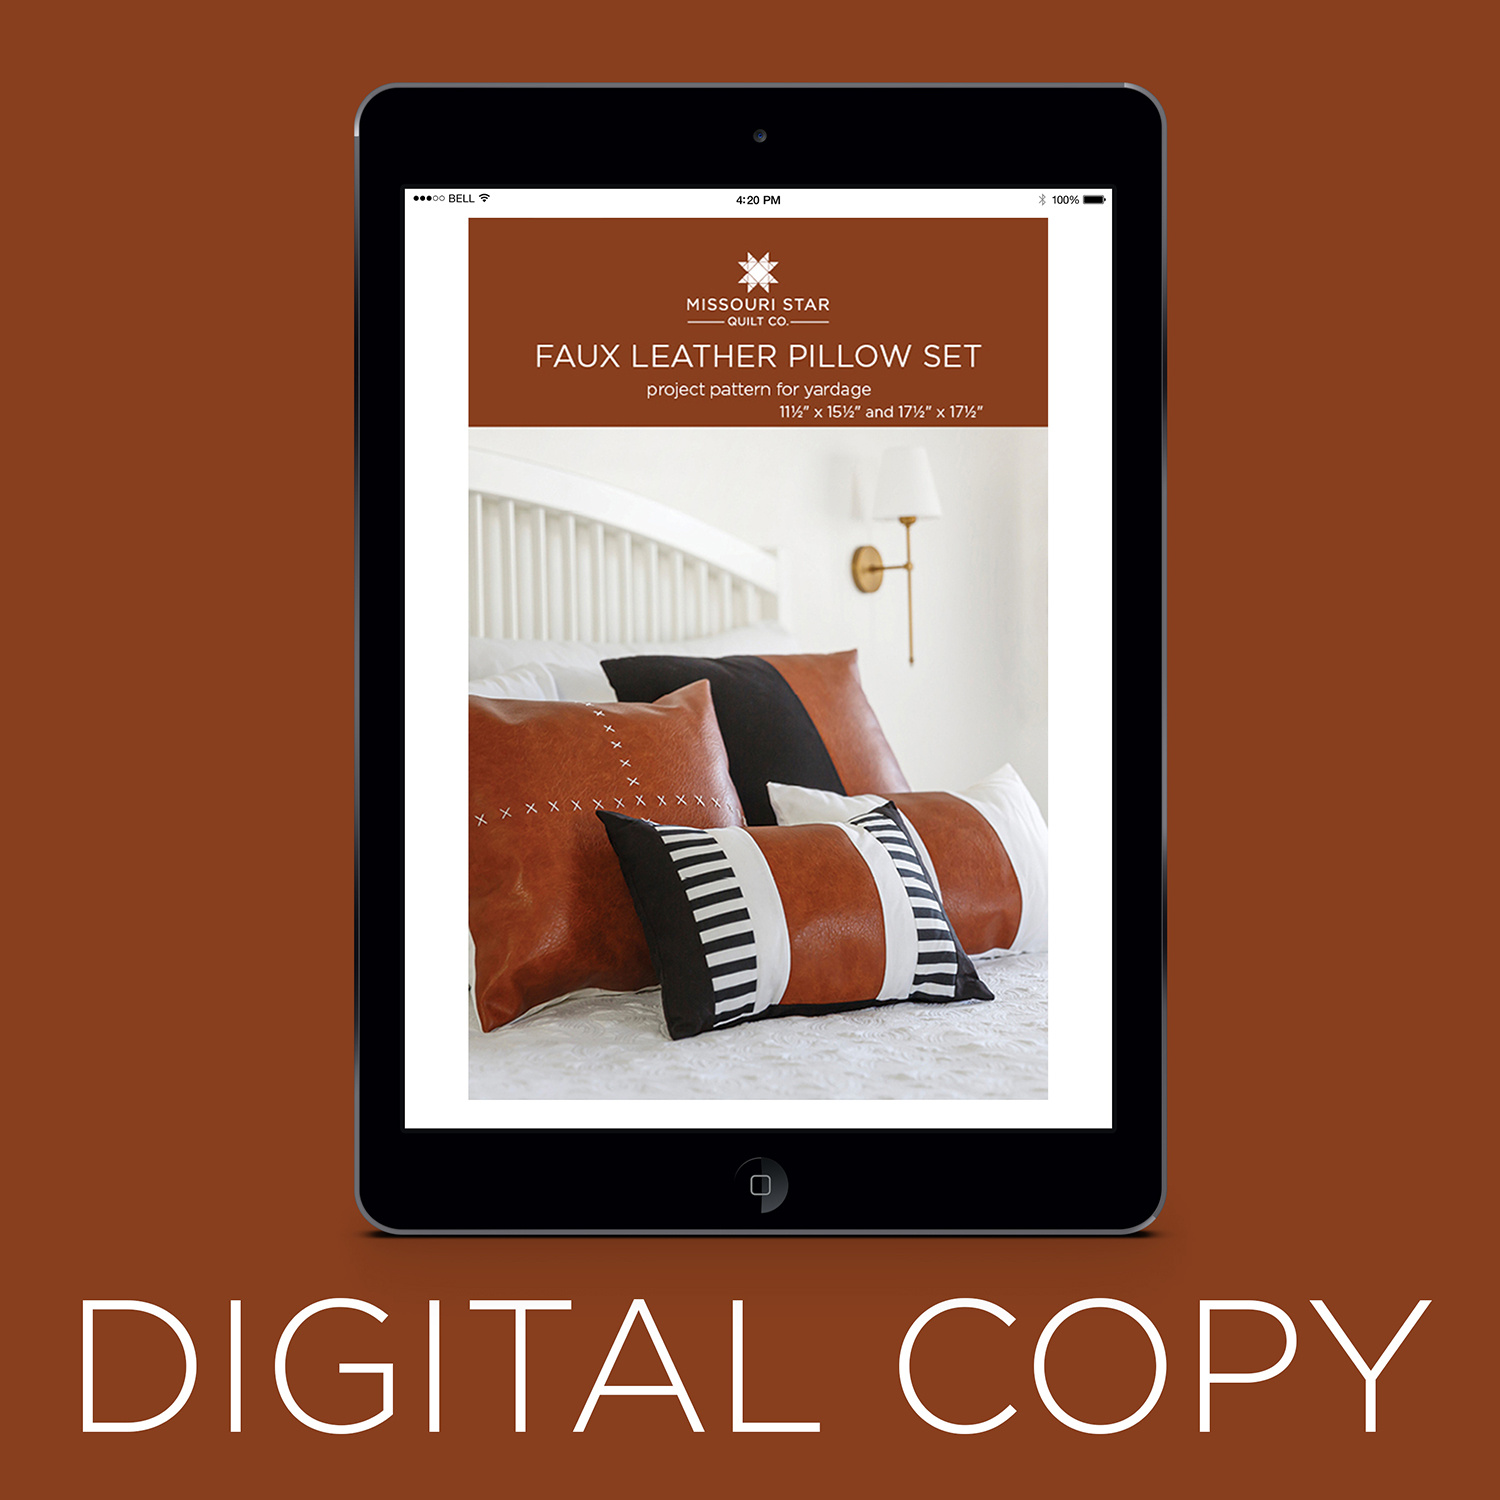 Digital Download - Faux Leather Pillow Set Pattern by Missouri Star$6.95Shop →
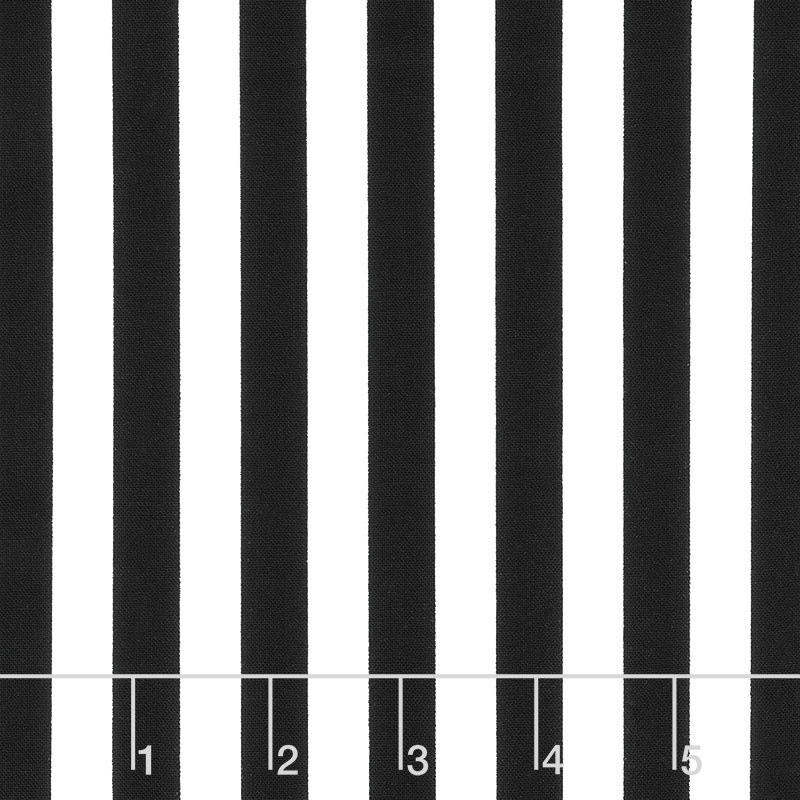 Linework - Tent Stripe Paper Yardage$12.64Shop →
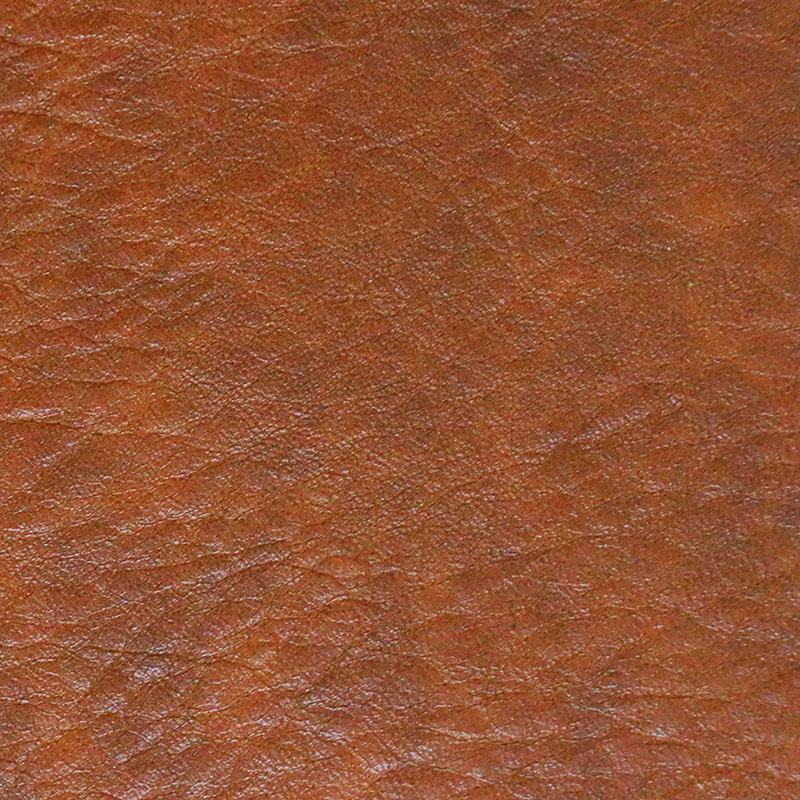 Hazelnut Legacy Faux Leather - 1/2 Yard Cut$11.45Shop →
 Designer Essential Solids - Black Yardage$8.24Shop →
 Designer Essential Solids - Arctic White Yardage$8.24Shop →
 Poly-fil® Premier™ Ultra Plush Pillow Insert - 18" x 18"$24.95Shop →
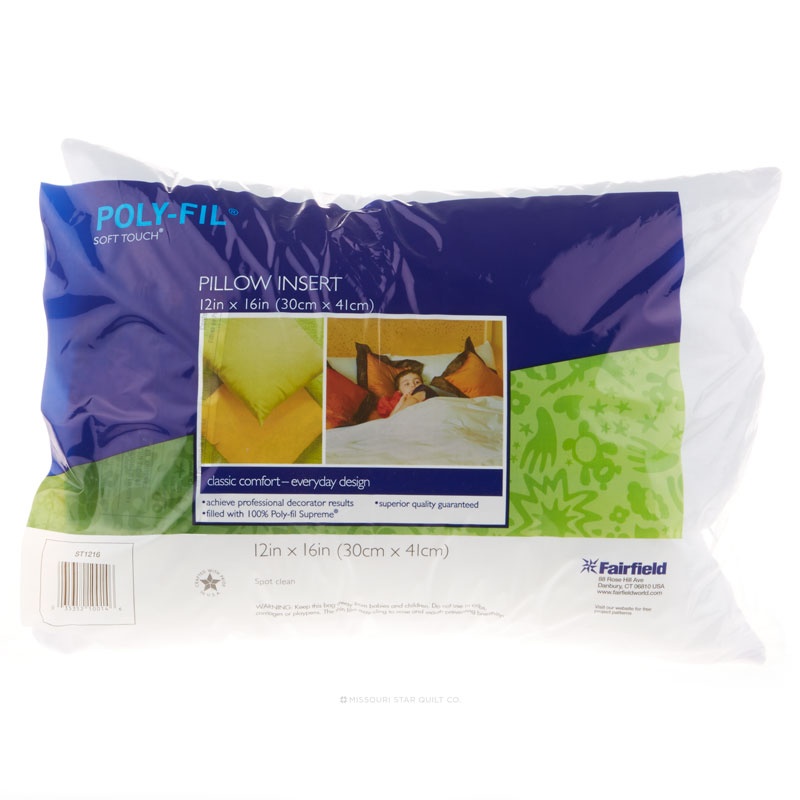 Soft Touch Pillow 12x16$11.95Shop →
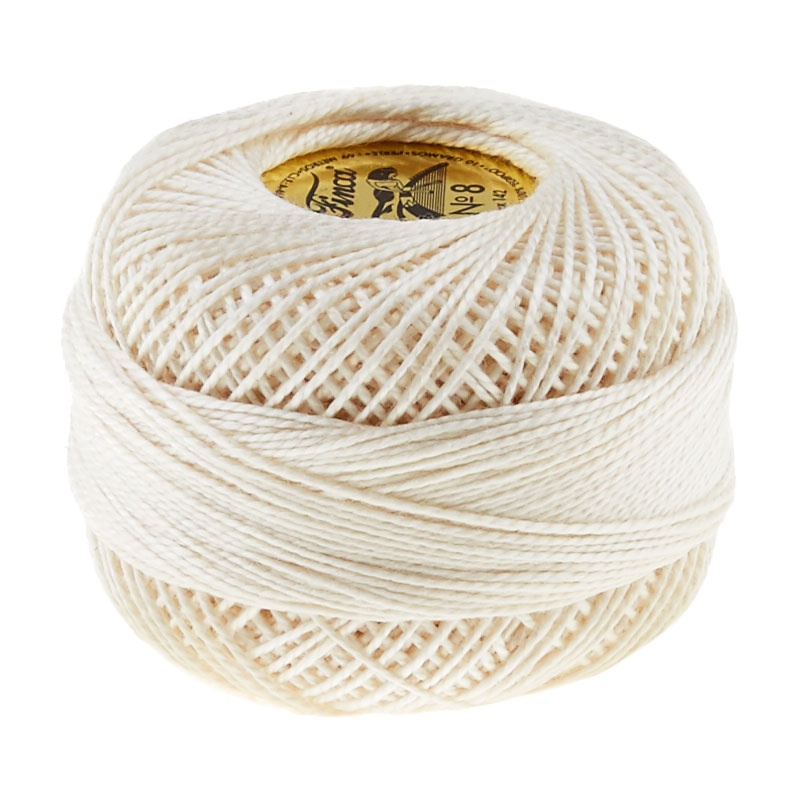 Presencia Perle Cotton Thread Size 8 Ecru$3.75Shop →
 Soft Touch Pillow - 20" x 20"$19.45Shop →
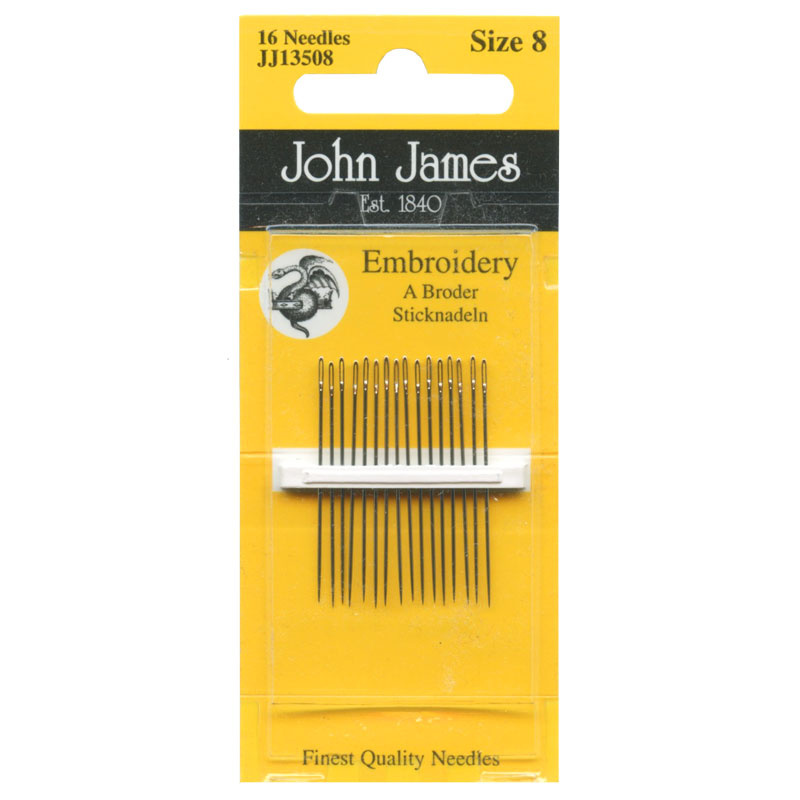 Embroidery / Crewel Needles - Size 8 (16 ct)$2.95Shop →
 Missouri Star 2.5" x 8" Ruler$11.95Shop →
 Missouri Star 45mm Rotary Cutter$19.95Shop →
 Missouri Star 6" Everyday Scissors$12.95Shop →
 Missouri Star 50 WT Cotton Thread White$7.95Shop →
 Bernette 77 Sewing and Quilting Machine$1499.00Shop →
Common Questions
What is covered in Faux Leather Pillow Set?
All of the comfort of couture! Sew along with Misty as she creates these stylish pillows. The Faux Leather Pillow Set includes four pillows in two sizes in a simple color scheme. These pillows are great for adding comfort, style, and color to any home!
How long is the tutorial video?
The tutorial video is 00:13:09.
Are supplies listed for this tutorial?
Yes. The tutorial page includes the supplies and materials connected to this project.
Is a transcript available?
Yes. A written transcript is available on the tutorial page.
Video Transcript
One of the things I love about throw pillows is you can incorporate different textures to add a lot of interest to your space. And so that's what we've done here with the faux leather and even some embroidery details, and of course some quilting cotton that you probably have in your stash. So let me show you how we made these.
So if you want to make this whole set that I've designed, you're going to need a yard and a quarter of black, a yard and a quarter of white and then just a quarter yard of this stripe. I loved the detail that it added! You'll also
want to pick up two packages of this Sally Tomato faux leather, some Perle
cotton and some embroidery needles. And of course if you don't want to make all of them, you won't need quite so many things. You can just choose which ones fit your space. But this will make all four of the pillows that you see behind me.
So let's go ahead and get started. To begin we're just going to make this faux leather front and it is cut at 18 inches square. So open up your roll, cut it to 18 inches and then we're going to flip it over. You can see I've started marking this up, but this is what you're going to do. You're going to draw a center line in both directions. Then we are going to measure down along the line and we're going to make a little dot every inch, just like so. Then from there we can take our ruler and I just put it on the quarter inch mark. The little dot that I made is lined up with that and then it's a quarter inch out from the line that we drew. Then I'm going to put a dot on top and bottom of that. So you can see here and then again on the other side. So this quarter inch mark is on the line that I drew, this one is lined up with the intersecting dot and then we're making a dot at the top and the bottom. Because all of this is on the inside, you don't have to worry about what marking tool you're using. You're never going to see it.
So then now I'm just going to take my ruler and connect those two dots and we'll make that X and we'll do the same thing in the other direction. So this is really the most time consuming part of this pillow because you want to take your time and get all of these marks right. So I'm just going to hurry up here and finish these and I'll meet you back here when it's all done.
Okay so now that we have all of our X's marked out, I've gone ahead and
threaded my embroidery needle. And if you have not worked with this faux leather before, it sews through like butter. It is so easy to work with. So you're going to go ahead and knot the end of your thread. I'm going to
start here at this top corner from the back and pull this through. Then we're going to, you can kind of like feel with your finger, and see me make sure you guys can see this - I'm just going to gently glide my needle along the right side until I get to where that point is and then I can push this through, just like so. Then I'll come up and come out of this top X and then the same thing and come back in on that bottom side. So the whole point is this is supposed to look hand stitched. You're adding that hand stitching detail and it gives you this beautiful X on the outside. If you wanted to double up your thread to make it a little bit thicker you absolutely could. You could even use yarn if you have that. So don't be afraid to play with it.
Then from here you can just continue down. So we'll come down to the next X, poke this out. Watch and feel the needle, it just makes a little rumple on that faux leather, poke that through. And we'll work our way all the way down, just like so. Perfect! And then to knot this off, I just went back to one of these little loops that I have close by and just pulled this through like so and ran my needle. I just kind of held it tight. And then we'll knot it again just to make sure it's good and secure. So just stick that under there. There we go. Now it's knotted and we can trim this thread. Perfect - you can see how those X's are starting to come together. They look so nice. And you'll just continue this down the center in both directions.
But let's go ahead and talk about how we finished this. These are all finished basically in the same style. But for this size, you are going to cut two rectangles that measure 18 by 14. Then all I did was turn under a half an inch twice and top stitch. And so I've gone ahead and done that to both of these. So then to finish this, we're just going to set these right sides together. Of course all this stitching would be done, and then we put the right sides facing one another and just overlap. When you're working with the faux leather it's a really good idea to use the Wonder Clips so you're not pinning through it. So then I would just clip all the way around and finish this off with a quarter inch seam. So it's as easy as that! Then we've got this great throw pillow that's all done!
So let's move on to the next one. All right, so this next pillow is even easier than the first one if you can believe it. I have cut an 18 inch by 9 ¼ strip of our faux leather and also a piece of black. And so we're making this pillow right here. All we're going to do is put these right sides together and sew one straight seam to make our pillow front. Let's go ahead and do that, so you can see how beautifully this faux leather sews. Get this ready to go here, just line those up. I am using white thread just so you guys can see, but of course I would probably use black at home. Keep it all lined up, it's looking good. Beautiful! All right you can see how easy that was to stitch and then you can just come and finger press this back or use a pressing cloth to roll away. Of course you don't want to press directly on the faux leather, but that is as easy as it is to make this pillow. And then you finish it off on the back in the exact same way of the first one I showed you, but I used black fabric for this one. So this front is ready to go.
So now let's make these cute striped ones that you see here. Go ahead and set this one aside. So for the three stripe version that you see, I went ahead and I cut strips of my yardage. So I have a 2 and 1/2 inch black and a 2 inch white strip. So I sewed it all together into a strip set and now we can cut these down into the size that we need. So let's move this out of the way, there we go. I'm going to go ahead and trim off the selvage on this first end. So we need to come over 12 Iines, whoops get that thread out of the way. There's our first cut and then we can slide this down. So now let's line this up again and we'll come over 12 inches again for that second cut. All right so you could save this for something else or another pillow, whatever you want to do. Then we're going to grab our faux leather. So this gets cut at 5 inches by 12. So then to finish this off, you're just going to attach your strips to both sides. And you can kind of play with it and decide whether you like the black in or the white in. I think both options are cute. I opted to put the white against mine just for some contrast.
So then we're just going to sew those together. I have one that I've started here, because I'm going to save part of these step outs for the next one. But you can see I've got one I've already sewn. So let's go ahead and take this to the machine and we'll add this one to it. So if you get worried about the faux leather at all, of course use those Wonder Clips anytime you feel like you need to, so that they don't slip. But I have found that it is just really easy to sew with. So I am just going to take a few stitches to get started, make sure it's anchored and then I'll just keep everything lined up and sew all the way down. All right so now the front of our cute little striped pillow is all ready to go.
I absolutely love this one - I love the little black and white stripe added in here. It just gives it a real pop, I think. And so then to finish this it's basically the exact same way as the square, just slightly different measurements. So these measure 12 inches by 13 inches, that we just fold under a 1/4 in twice. And so the same thing. We're just going to line these up so the right sides are facing. So this fold side is up towards me, and the finished side is going down towards the pillow. We're going to line up those edges, whoops shifted on me there, and then overlap in the middle and sew all the way around. And so that is how you finish the rectangles.
I do have one more version of this where you take your 5 inch x 12 inch leather piece. Then as opposed to making a strip set, you can just add a solid piece of fabric on each side. So these ones should measure six, they do so 6 by 12, and we'll just set that on either side, sew that to the center and that gives you this little one right here. Super easy!
I just love how this whole set comes together with the different black and
whites and the texture, the added stitching on here. I think it comes
together really cute and it's super fast to make these and freshen up your space. So I hope you enjoyed this tutorial and I'll see you next time on At Home!