Meadowlight Cushion with Dee Bushrod
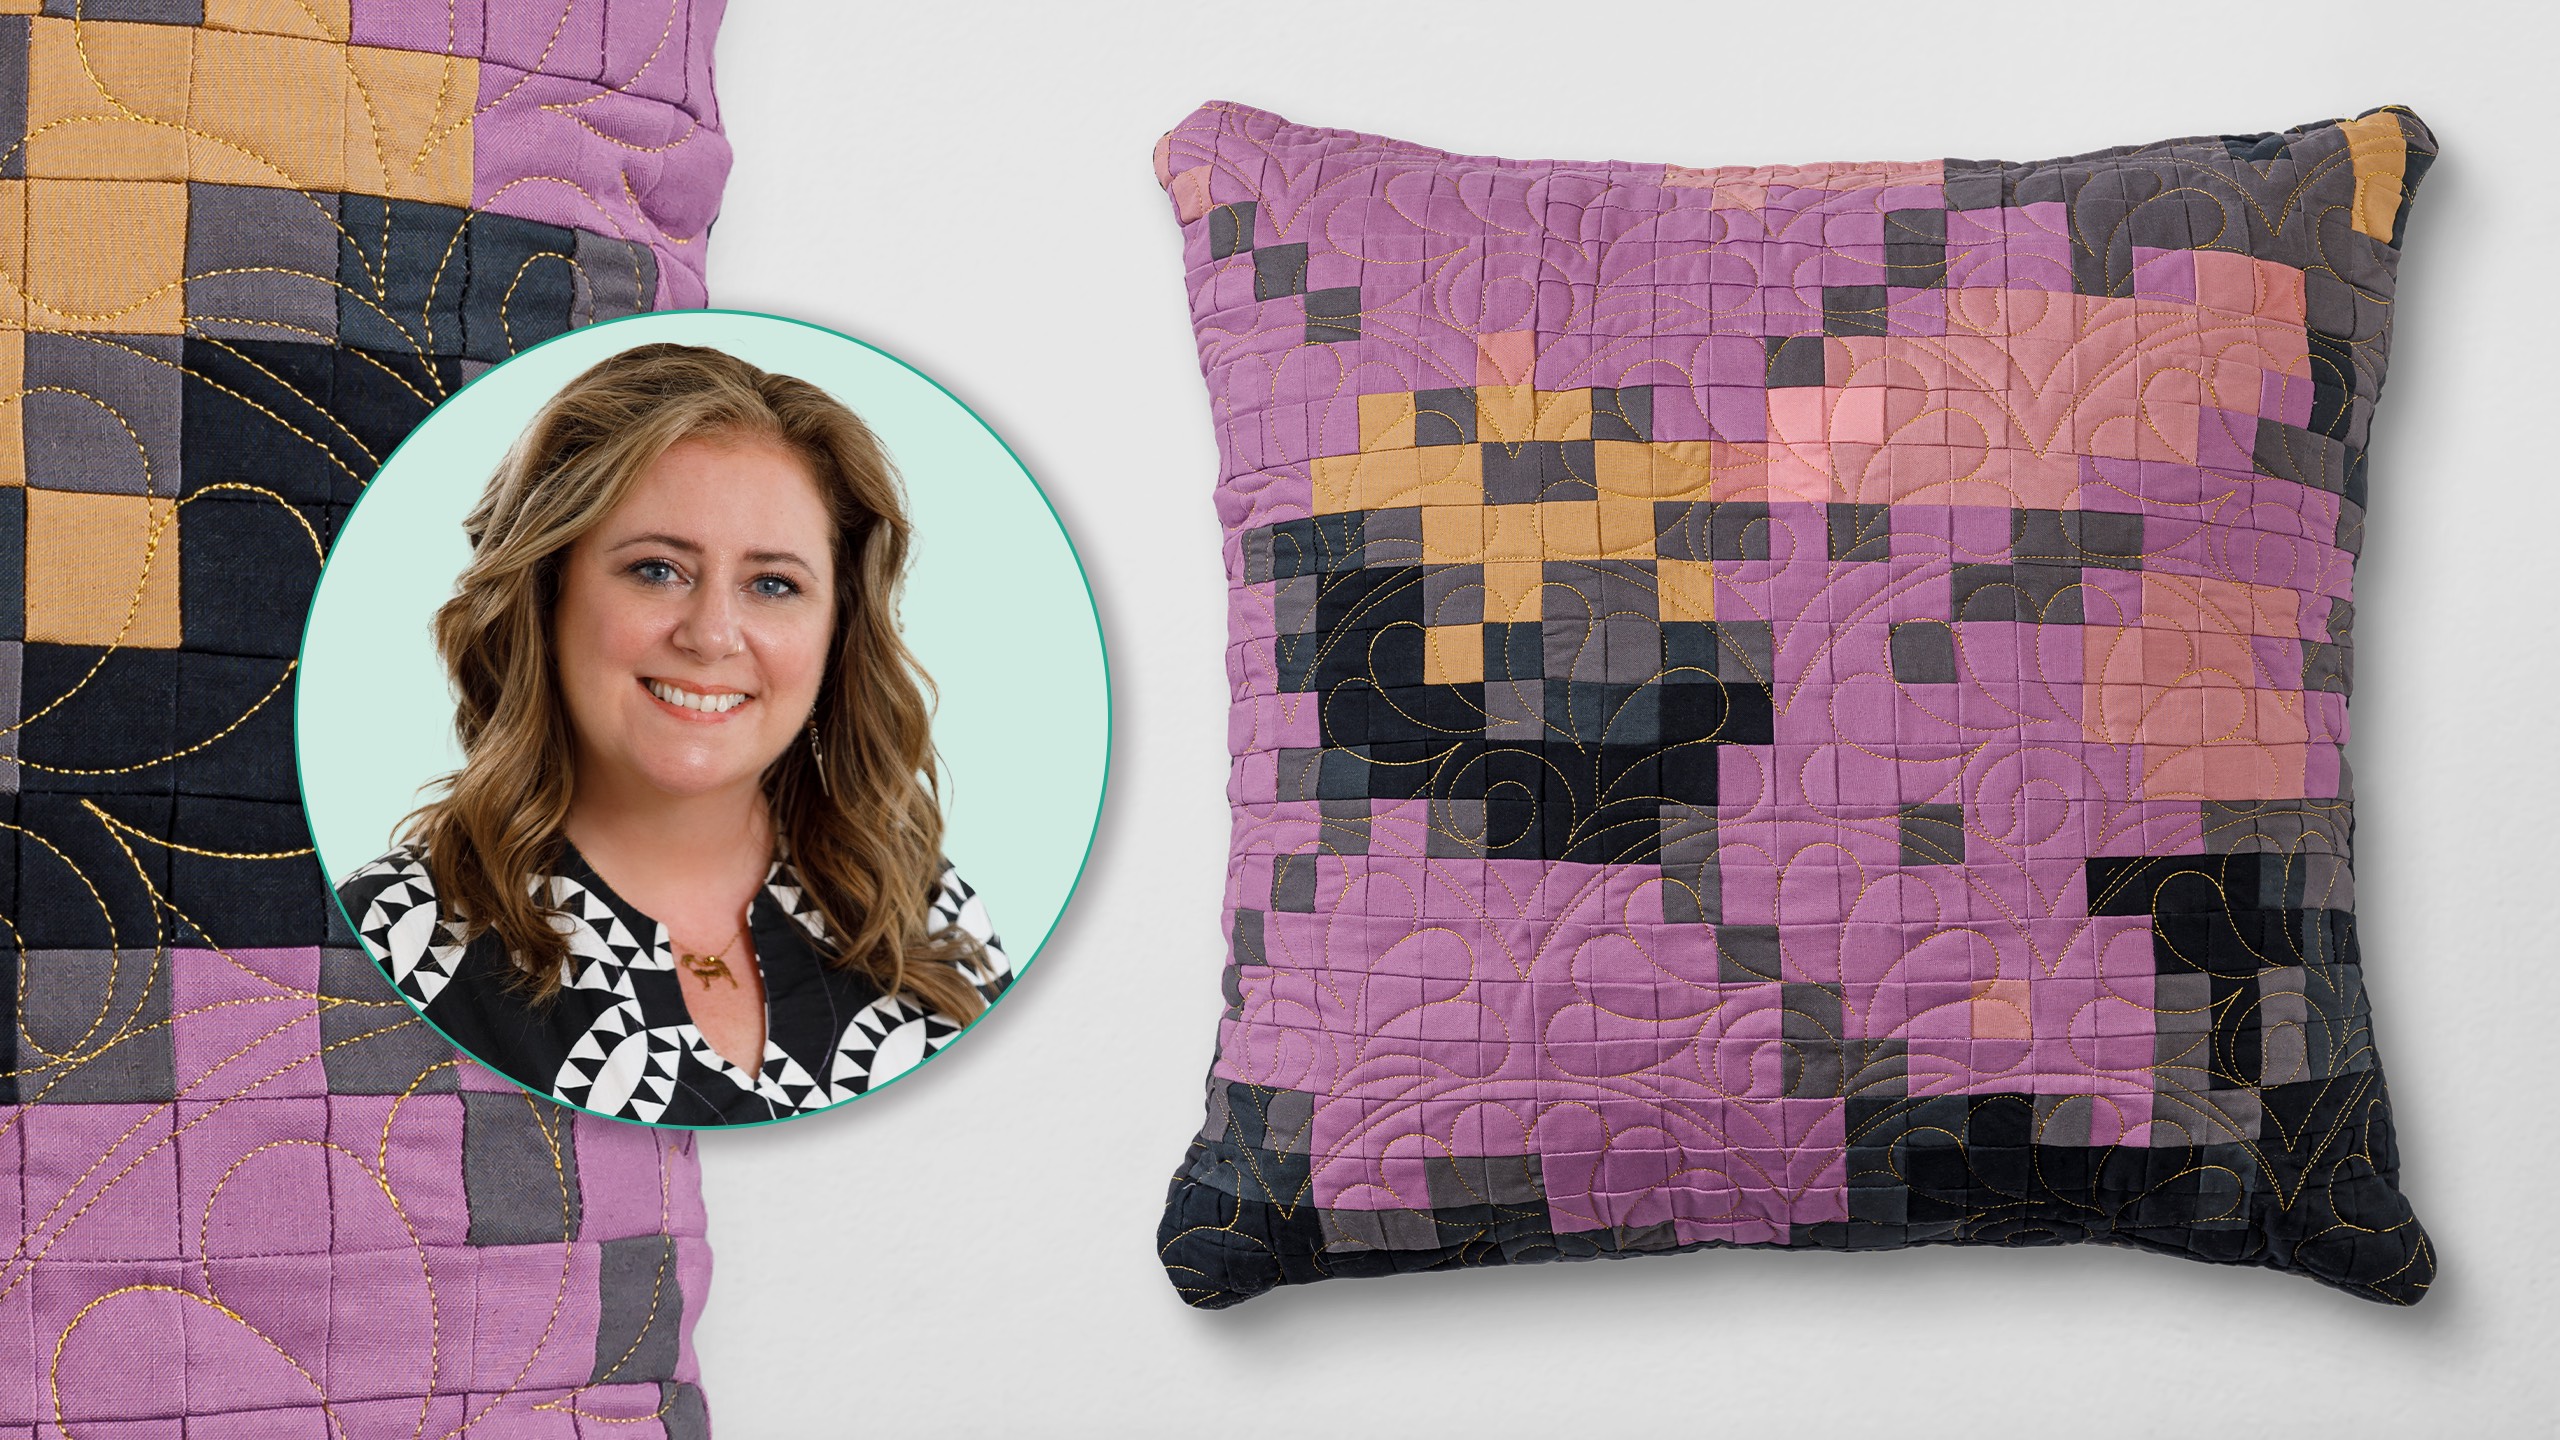
Turn an image into a quilted project! Dee Bushrod demonstrates the technique of pixel quilting as she shows you how to make the Meadowlight Cushion. Dee's pixel technique can be used to make a quilt or quilted project from an image of a person, pet, landscape scene, or any picture!
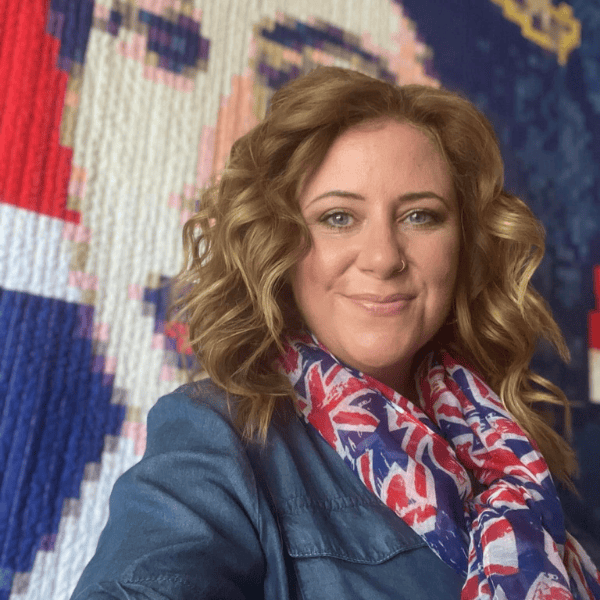
Instructor
Dee Bushrod
Shop this tutorial
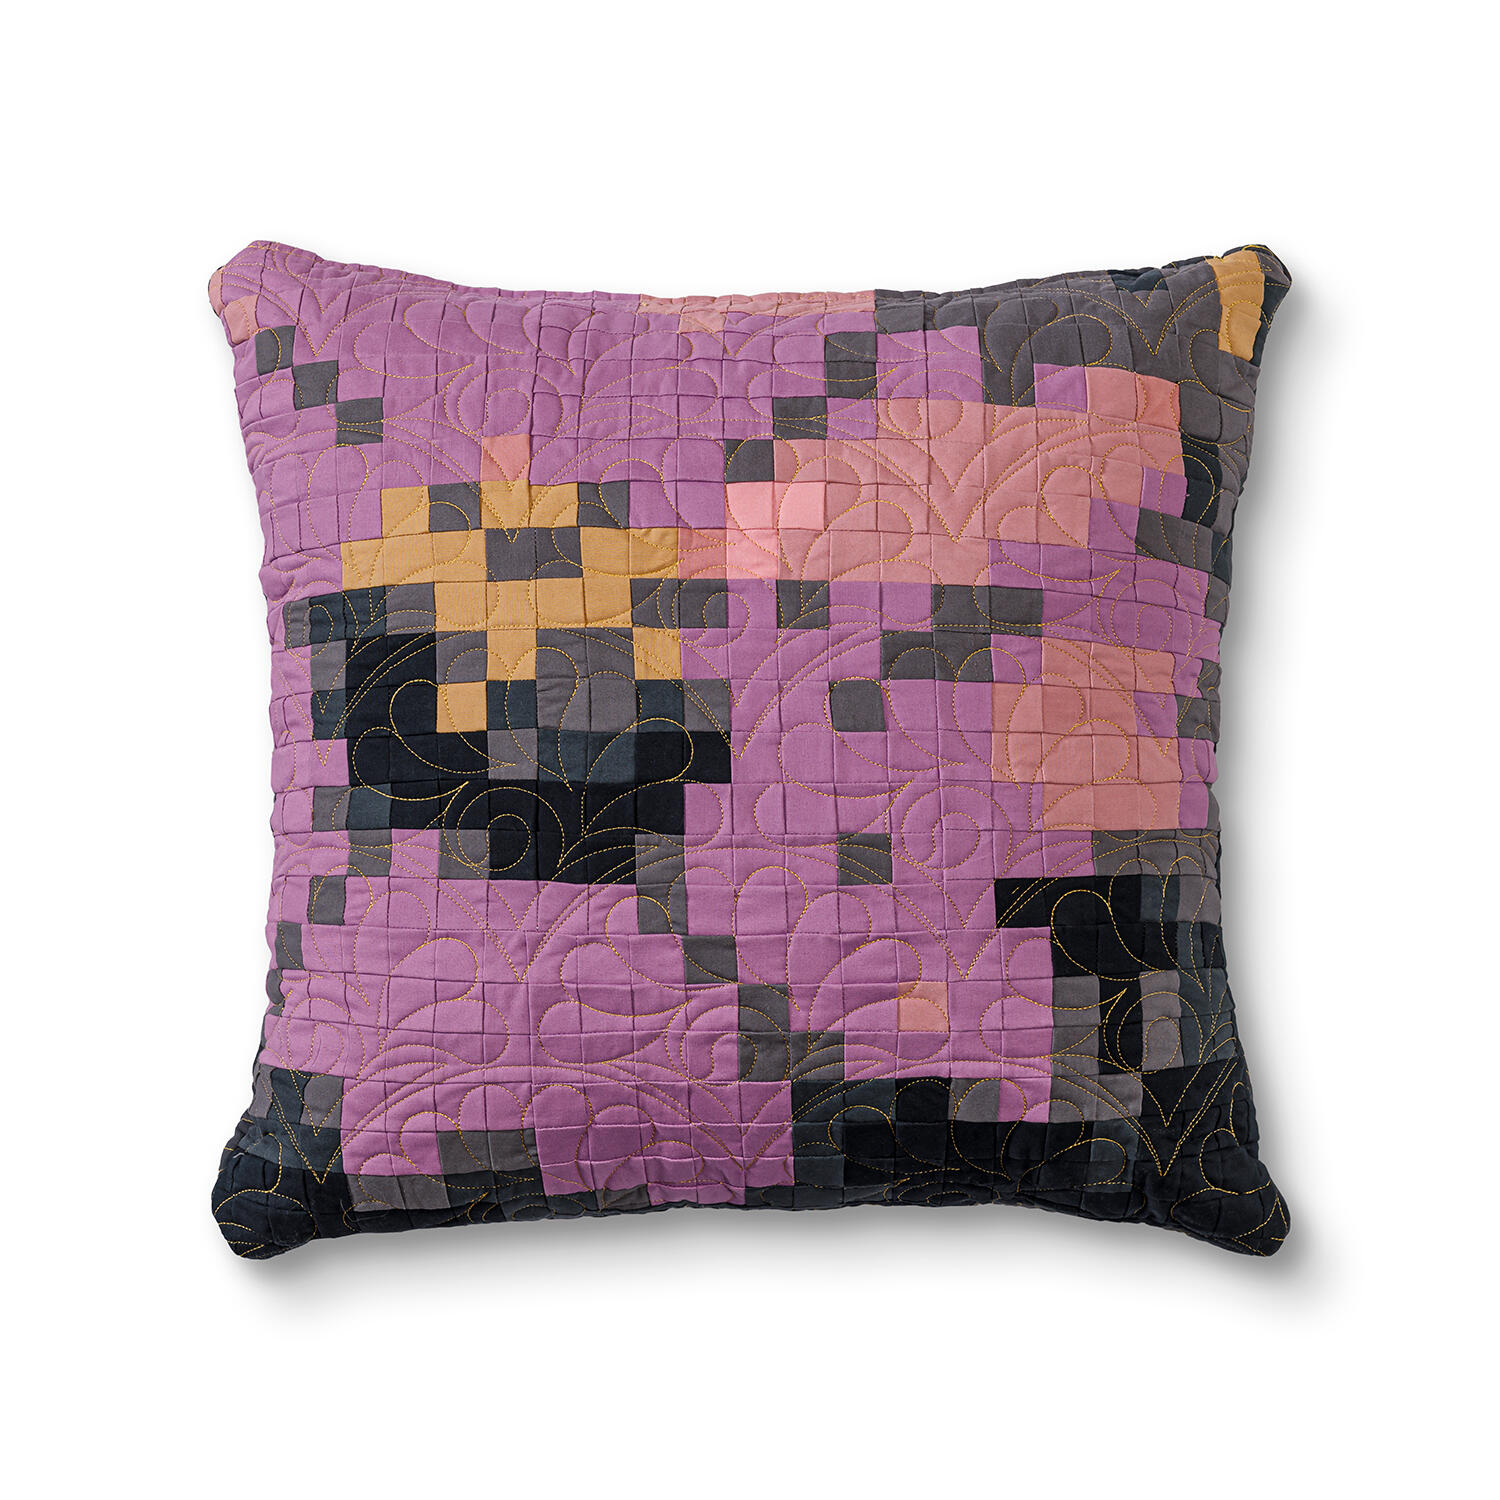 The Meadowlight Pixel Cushion Kit$69.95Shop →
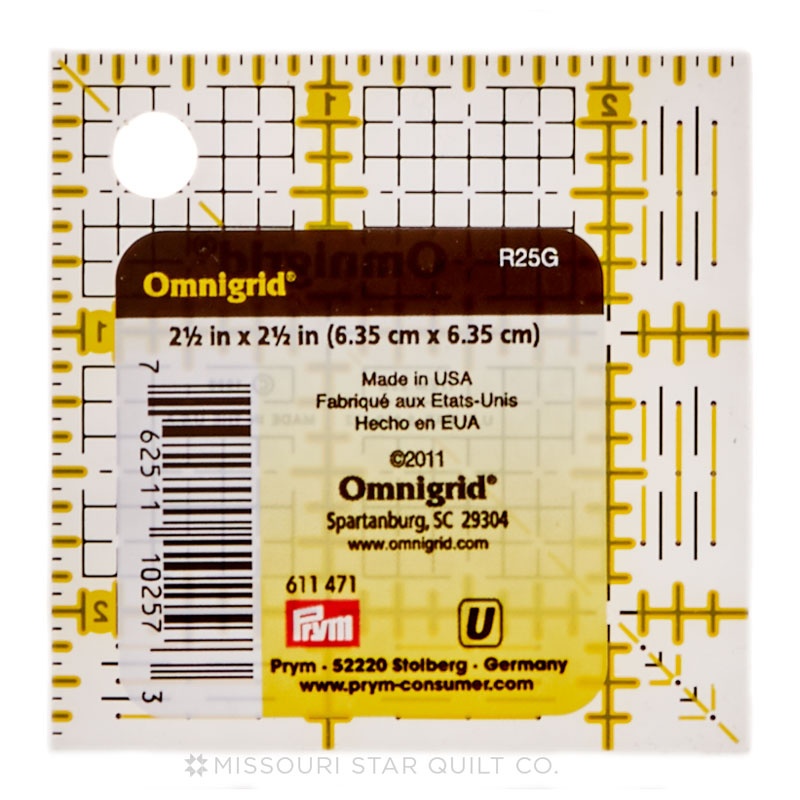 Omnigrid 2.5" Square Ruler$11.95Shop →
 Quilters Select Non-Slip Ruler - 6.5" x 24"$45.99Shop →
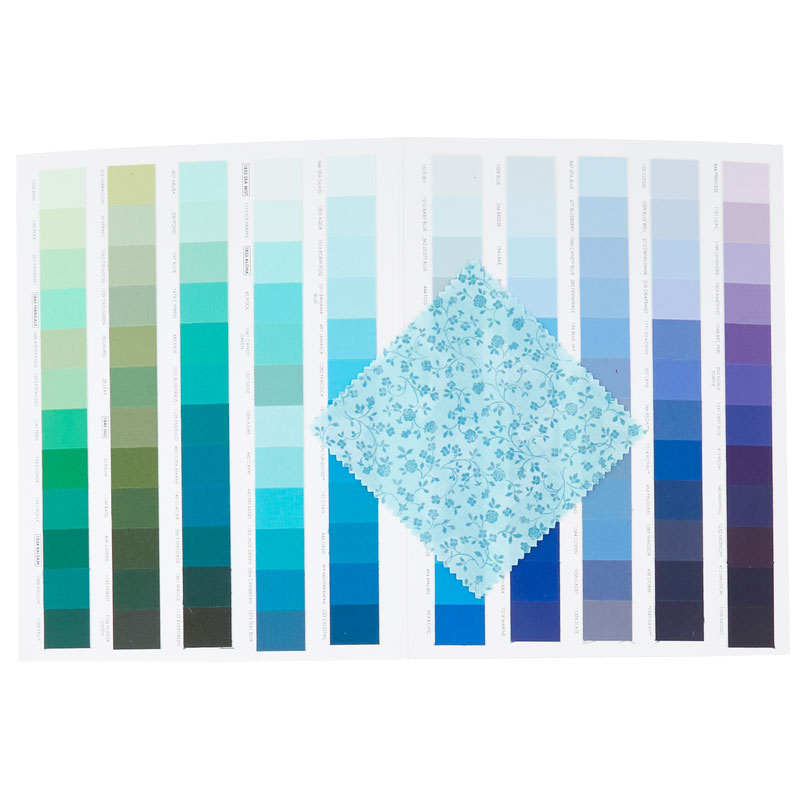 Kona Cotton 365 Colors Color Card$43.75Shop →
 Missouri Star 6" X 24" Ruler$29.95Shop →
 Baby Lock Accomplish - 1500 SPM Straight Stitch Machine$1199.00Shop →
 Missouri Star 45mm Rotary Cutter - Olga$19.95Shop →
 Missouri Star 4.5" Everyday Scissors - Elna$9.95Shop →
 Missouri Star 8" Everyday Scissors - Amelia$19.95Shop →
 Best Press Spray Starch Scent Free 16 oz$9.95Shop →
 Missouri Star + Oliso M3Pro Mini Iron$84.95Shop →
 Missouri Star Wooly Betty Board - 17.25" x 25.5" Orange Border$99.95Shop →
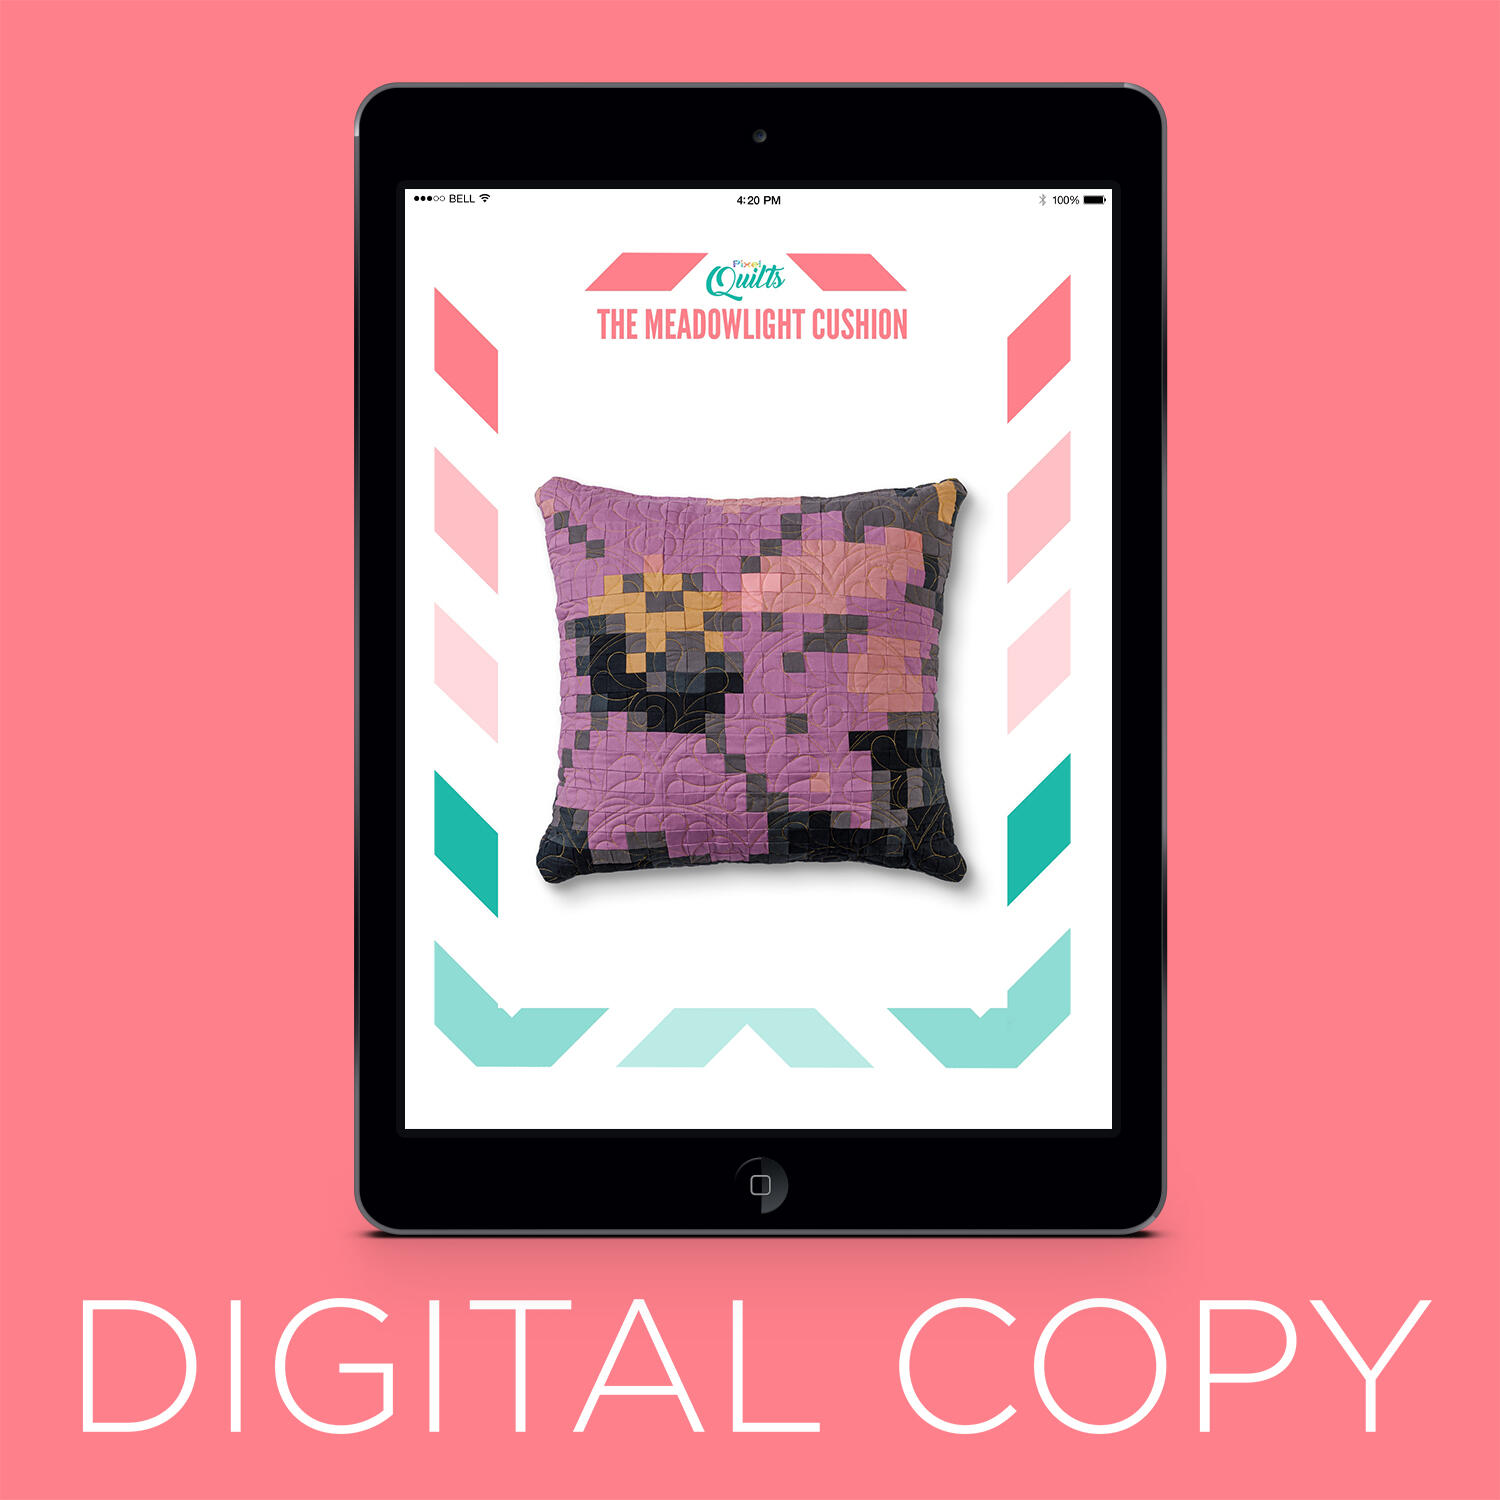 Digital Download - The Meadowlight Cushion Pattern$8.00Shop →
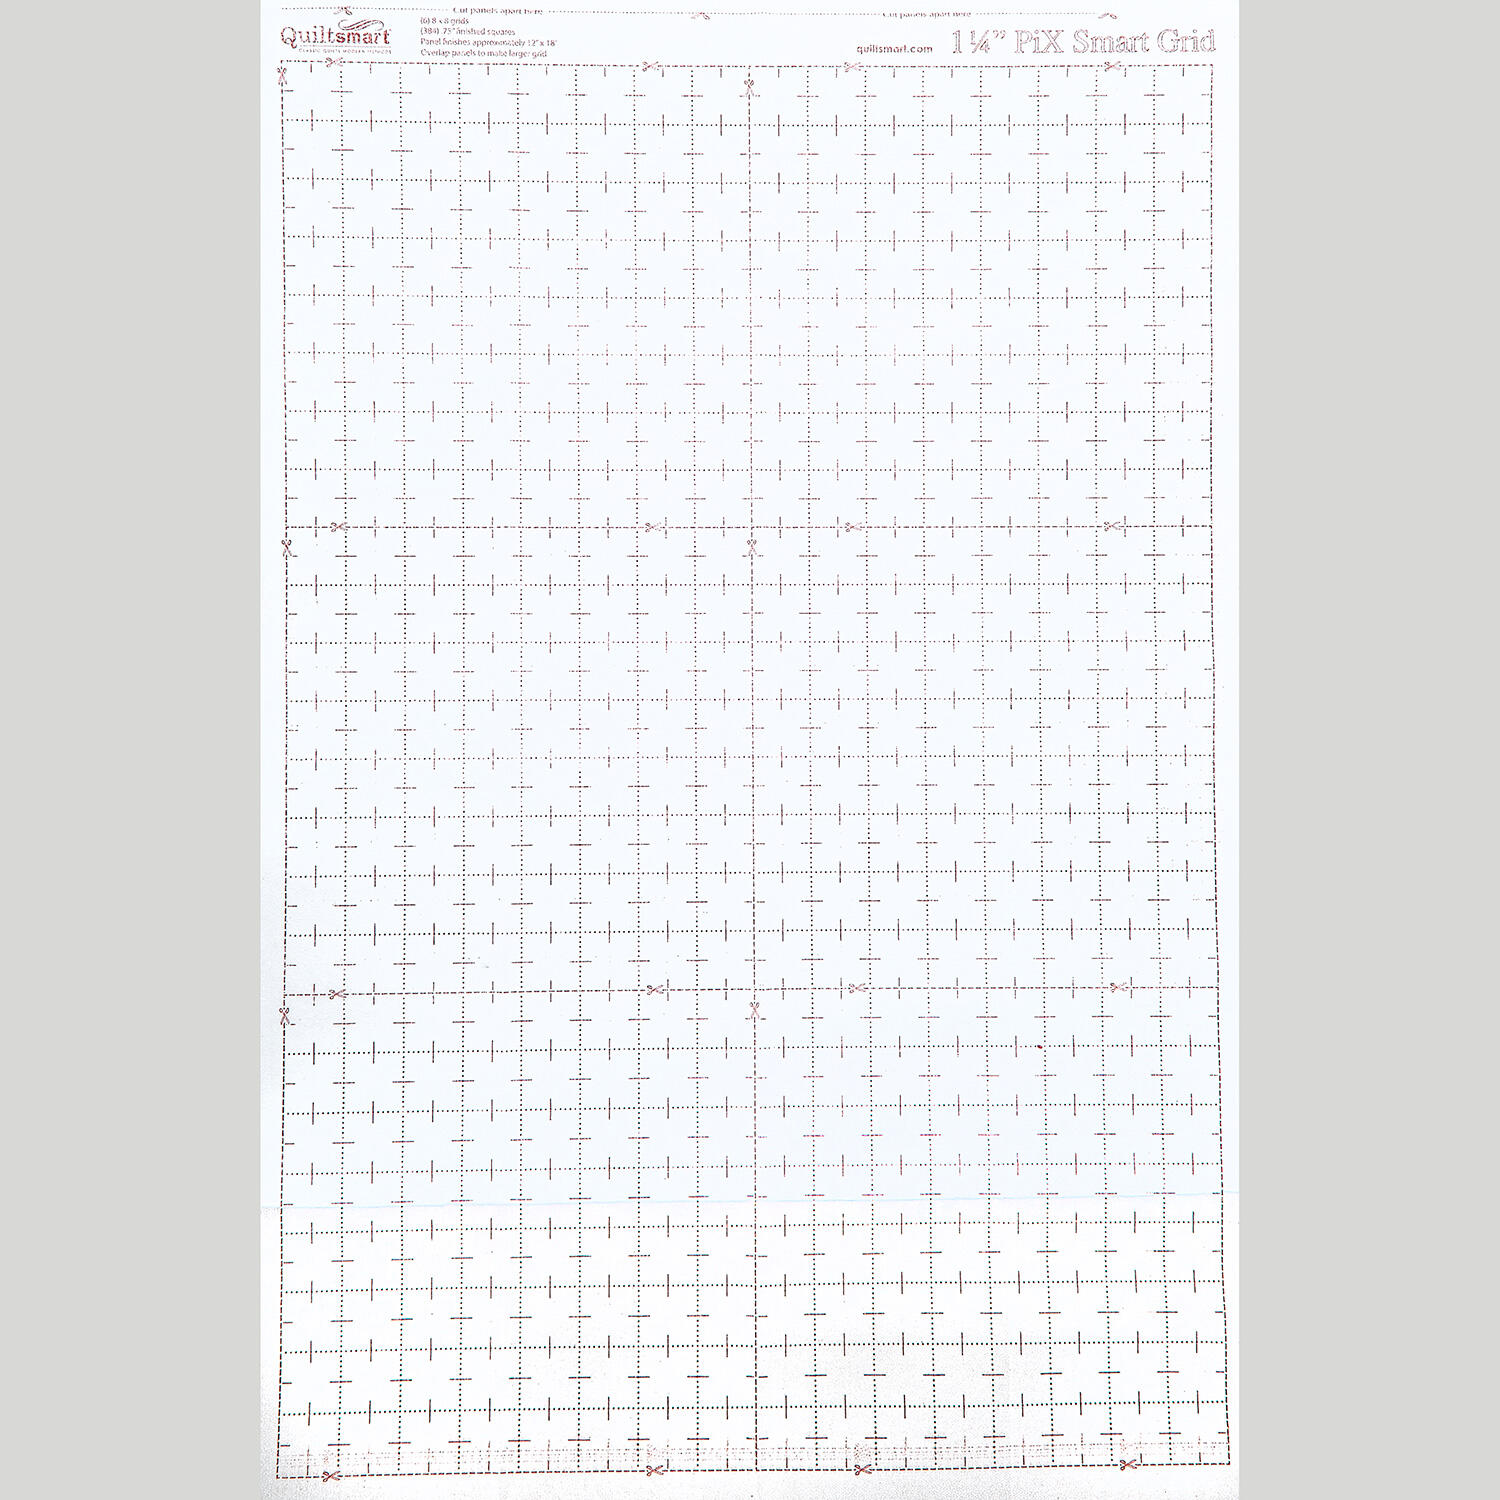 Quiltsmart Pix Smart Grid Interfacing 1.25" - 24" x 36" panel$5.95Shop →
Common Questions
What is covered in Meadowlight Cushion with Dee Bushrod?
Turn an image into a quilted project! Dee Bushrod demonstrates the technique of pixel quilting as she shows you how to make the Meadowlight Cushion. Dee's pixel technique can be used to make a quilt or quilted project from an image of a person, pet, landscape scene, or any pic...
How long is the tutorial video?
The tutorial video is 00:17:26.
Are supplies listed for this tutorial?
Yes. The tutorial page includes the supplies and materials connected to this project.
Video Transcript
Hi, I'm D. Bushrod. I have been a quilter for almost 20 years, but about five years ago, I discovered a passion for pixel quilts. And that's why I'm here with you guys today. So, we've put together a project for you that's based on nine blocks. So, a nice small introduction to pixel quilts. And we've kitted it all for you so that you can make this cushion, which is a flower. and hoping that after you've made this cushion, you'll get the bug and you'll move on to something more like this. So, this is my quilt of Queen Elizabeth that was actually requested by Buckingham Palace and so it was sent to the Queen in 2022 for a platinum jubilee um to celebrate 70 years on the throne. I uh was a homesick Brit in Tulsa and dreamed up this project and then I ended up contacting Buckingham Palace and sending a letter to them just saying that I'd very much like to send this to the queen and they responded back to me and asked that I do send it to the queen. And so this is my replica that comes around with me now. And um I get to show her off. So in order to get you started on your pixel journey, we've broken this project down into just nine blocks. If you're making a full pixel quilt, it will be 108 blocks. But we're going to start you off with a nine block project so that you can see how it goes together. And we're going to be showing you a really easy method to use to get your pixels perfect. [Music] Okay. So, to make this project, these are the supplies you're going to need. First things first, the interfacing. The grid interfacing. I am using the Quilts Smart Pixel Grid because this cushion uses 1.25 inch um pieces and this is the only company on the market that produces one of that size. And then just your basic sewing supplies. So just a rotary cutter and ruler, pair of scissors, some best press if that's the one you like, and then I really like the mini iron to get into this project. But all of these fabrics and supplies will be included in the kit. So, let's get started. Okay, so the first thing we need to cut in order to get this project underway is the grid smart interfacing. And you'll see on the interfacing, it makes it really easy for projects like this um and any pixel quilt because it's already grided up into an 8 by8 square. So, because we're going to be just working on one square at a time, I'm going to go ahead and just cut that one section. And then I'm going to go ahead and cut it into the 64 squares we need for one square. When you're working with the pixel grid, I think the best thing to do is to go ahead anyway and cut off any salvages because that is just going to make your life easier for when you're ironing. With the grid ready, this is where we just look at the pattern and we basically just follow the pattern colors and place the squares on the grid. So, in order to do that, we need to make sure we cut out all of the squares ready to go. So, the pattern will tell you exactly how many squares you need to cut out of every single color. And at this point, it's just going to be a case of getting your fabric. Now, how you prepare your fabric is completely down to you. I know some people like to starch their fabrics, some people pre-wash their fabrics. So, how you do it is how you would do it for this project. I personally just iron my fabrics and put some best press on them um just to make it a tiny bit sturdier. So I just have a few squares of the mustard I need to cut out for this pattern. And the way I usually do it is with best press and then I really for these projects I prefer the mini irons. The new mini Aliso one I really like because you've got the little light and I feel like this tip is like a really good precision tip for pixel quilts. So when you're happy then you just go ahead and then you just need to make sure that when you're cutting you're cutting the squares at 1.25 in or 1 and a/4 in. Okay. So most people think that with pixel quilts you do have to be crazy precise. And I will say that there's going to be a certain type of quilter that will be crazy precise, but actually that's not always the case because the interfacing actually gives you a lot of grace as well. So, at the moment, I'm just need a few of the mustard to go into this project. And I know I'll be able to get them all out of this strip. So, I'm just going to go ahead and cut one and a quarter inch blocks or pixels out of this. [Music] So, this is the point when we're going to start laying down the pixels. And this is the part I want to emphasize that you need either need to do this on an ironing board or you need to have a wool pressing mat. Because if you can imagine, we've got this flimsy piece of interfacing. And if you line up all of your pieces ready and then you've got to take it to the ironing board, it's not going to be pretty. So, this is the point where basically we've got it ready on the pressing mat and we're just going to follow the pattern and put our pieces down ready for the next block. [Music] This is the part that sometimes people get a little bit frustrated with because especially like the precision quilters um because they're worried about them all not being perfectly aligned. But actually, it's okay cuz I'm going to show you why it's okay in a minute. So, I'm placing the pixels down based on the block I'm working on. So, I'm able to look at the block and know that these colors go in these areas. And so, this is not just the basis for the project that we're working on now, but this would also be the basis if you wanted to make your own pixel quilt. This is one way that you can do it. [Music] And you can press these and you can move these pixels like around and actually even if you make a mistake after you've put press them with an iron, they will still peel off and you will still be able to move them. There's there's nothing on this project that if you go wrong, it can't be fixed. It's all fixable. [Music] Okay. So, once you have your pixels all laid down, and you can see that some of them look like they're touching a little bit and some of them look like they're not. And that's all okay because that will all be sorted out as soon as we sew it. Um, we're going to press depending on the iron you're using with with the mini Eliso. I usually put it medium to high and I will press without steam. Um, that's just cuz I've had some bad experiences with steam, but I know the maker of this product uses steam when she presses, but she lowers the temperature a little bit. So, I will usually just use my mini Eliso on like a medium to high setting and go ahead and and press the squares onto the interfacing. I've never had a problem with that, but I do know that people like to use silicone mats, pressing mats, or even parchment paper. So, I'll go ahead and show you with that so that you don't get all my bad habits. So, test your iron on a corner. Um, I know the heat of this is going to be good enough, but if you're worried about um whether it's hot enough that it's going to stick, go ahead and just test it on a corner and then just let it cool down a wee bit and then you can tell whether it's going to stick properly or not. But we want to give a really good press to the front because we want these guys to stick on here for the first two sections of sewing that we're going to do on this. If they start dropping off because they're not pressed on enough, it's going to be annoying. Ask me how I know that. So, you could just leave it there and seeing that they're all pressed on. But if you really want to give it a nice press, then you can go ahead and do it on the back. And the back doesn't have any adhesive on it, so you don't have to worry about the pressing mat at this stage. So, I will say that this grid interfacing by Quilts Smart is the only one that I found on the market that gives a hair's width around the blocks. So, that that will help to reduce the bulk when when we are beginning to sew when we're sewing the block. So, you can see from the quilt smart grid that there's lots of markings on it. So the dotted lines mean that is the areas that you're going to fold. And then these lines here actually represent the quarter of an inch seam allowance. So there's even guidance for when you're sewing using this grid. So the next step is we're going to take this over to the machine and I'm going to show you how we sew this in rows to begin with, which makes it really easy to produce these blocks. I will say that when you're putting your blocks onto the interfacing, it's very forgiving. So, if you look at this, there'll there'll be some people that will be horrified because it's not all perfectly placed, but they will be caught in the seam allowance. So, if you are a perfect pie and you want it all perfectly placed, then it it's great and it'll look beautiful, but ultimately all of this is going to be caught in the seam allowance anyway. I will just show you when we're going to fold over in one direction and sew straight down each seam in all of the same directions. And these markings here represent a true quarter of an inch. And it doesn't matter if you follow the markings exactly to get a true quarter of an inch or you do a little bit less to get a scant quarter of an inch. The only thing that matters is that whatever you do, you do it throughout the quilt. Okay? So, just pick a direction. It doesn't matter which direction. And we're just going to go ahead and sew that quarter of an inch. I will say that usually I drop my stitch length down a little bit. So I will usually drop it down to two or 1.8. And the only reason I do that is because um I don't want to have to back stitch everything. And I feel that that gives it just a little bit more of a steady stitch. [Music] So, when you've got your first row sewn, we're just going to go straight to the next one. And you're going to do exactly the same on this one. [Music] So once everything is sewn in this direction, you're going to bring this to the pressing mat and we're actually going to go in to every seam now. So you'll see between every seam, there's a little gap where the pieces don't meet and we are going to clip up to the stitch line at that gap. Now, I will say I have done a whole quilt like this um with the clipping. And all this clipping is going to allow us to do is then iron and perfectly nest the seams. So, I did a whole quilt like this. And then I contacted the manufacturer of this grid. And I said, "That's a lot of clipping." And she actually said to me, "Oh, I don't bother clipping." So, this is best practice. But again, I have done one quilt where I did clip every seam and then one that I didn't and I didn't really see a massive difference, but I get it. If you're a precision quilter, then you'll probably want to go in and clip. Okay, so with everything clipped now, we are going to use the iron to basically point each section in a different direction. So, and this looks this looks really clumsy. The way I do this, I know it looks clumsy, but just trust me. We're not trying to get a perfect press. What we're trying to do is just get the fabric and the interfacing to kind of go in that direction so that we can nest the seams. But it doesn't have to be perfect at all. And this is where I really love the little eliso because I feel like that tip of it means that I can really get in close and um get the fabric going in the direction I really want it to. It's a lot harder to do this with a larger iron. Okay. And when you've roughly pressed everything into the right direction, this is where we're going to flip the fabric in the other direction. And you can see that the seams will now nest perfectly. and we can sew using that line. We can sew the quarter of an inch in the opposite direction. Okay. So, we're just going to do exactly the same as we did with exactly the same seam allowance and stitch length. And we're just going to ensure that the seams are nested and go in the opposite direction. I do like to just check that the seams are nested. So, which is why I'm kind of stopping and starting. Honestly, there will be a time that you miss one. And do not worry. It it will not it will not affect the overall look of a quilt if you've got a seam going in the same direction. [Music] So, when it's all sewn together, best practice is just to give it a really good press. Now, and again, this is where you get to decide if you want to use best press or starch or however you want to do it. Um, this is where you get to decide to do that. And I usually start on the back and just make everything go in the same direction and then I'll carry on to the front and press it that way as well. And then usually because I'm doing a load of these at the same time and sometimes you can see they just they they want to curl a little bit. Once I'm done with pressing that one, I usually just put it under my wool mat and then keep it nice and flat while you're working on the next blocks. Because when I'm working on a pixel quilt, I always want to attach the next block onto the block I've just done in order just to keep track of everything. So, I will go ahead when the next one is done. I that this one is going to dictate the way the seam allowances go on this one. Now, do you need to do this? No. It will be okay if you don't. You'll just do more pressing. But if you did want them to all nest perfectly, basically you will look at the seam allowances on this one, which they're all going in that direction. And for the next block you make, you're going to do the seam allowances in the opposite direction. So this is one block of the nine block kit that you can will come completely kitted with all of the interfacing and all of the fabric. And so you can see with this when you've done nine blocks, it makes a really nice sized cushion cover. But likewise, if you wanted to turn it into a wall hanging or if you wanted to turn it into a bag, that will then just dictate how you finish this. So, this is one way you can put together pixel quilts with the interfacing. There is actually another way that I'm going to be showing you in a future tutorial. So, rotary cutters aren't the only way that you can piece pixel quilts. Um, if it seems a bit overwhelming with all the tiny pieces, there is actually a 1.25 two five inch or one and a quarter inch dye the acuquilt cell if you love your acuquilt. So, this is one other way that you can piece this project and I can't wait to see what you make and I'll see you next time.