Mini Periwinkle Squared Pillow
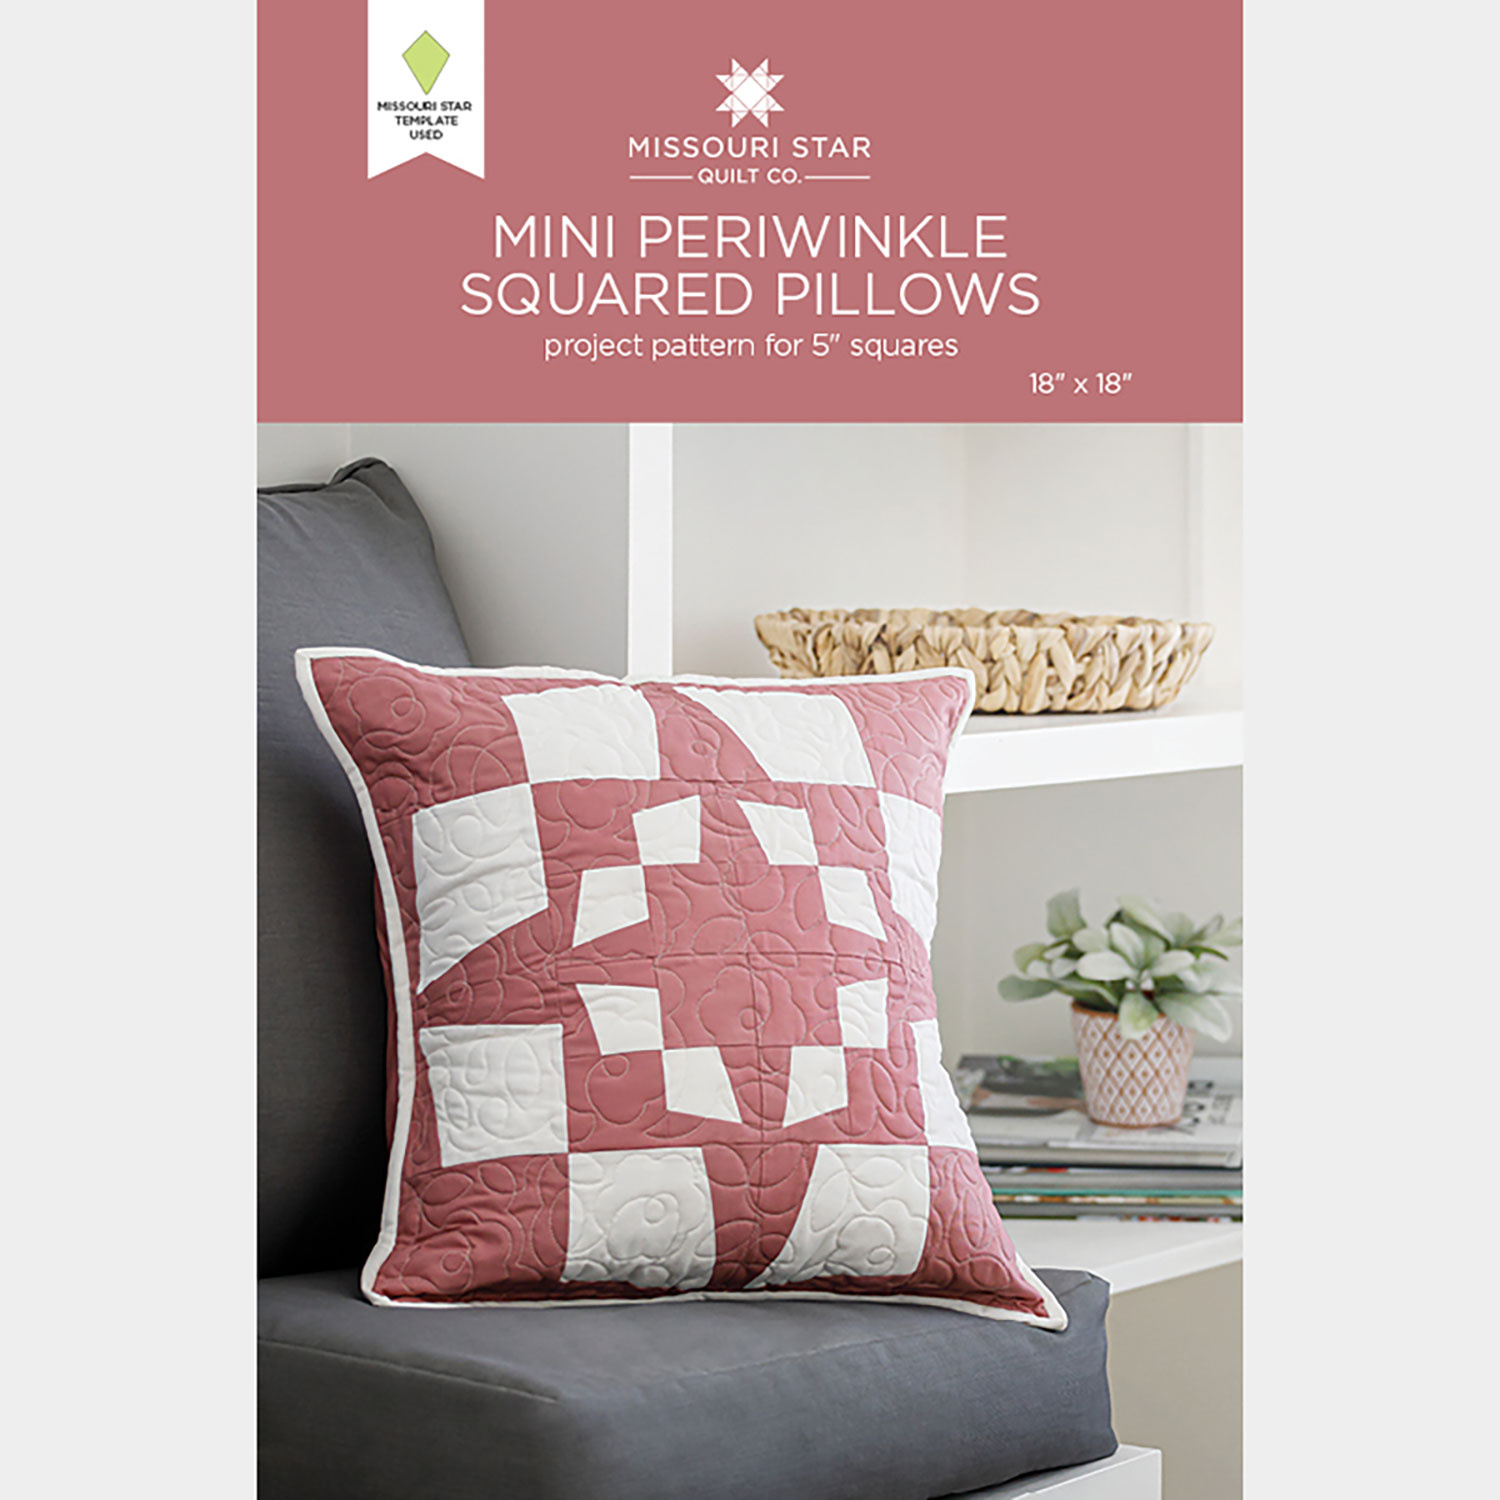
Follow along with Misty as she shows you how to adorn your home with the perfect accent piece: the Mini Periwinkle Square Pillow! Learn how something as simple as a pillow can beautify any couch, bed, or chair.

Instructor
Misty Doan
Misty Doan grew up surrounded by sewing and quilting. She loves spending time sharing tutorials each week each week, and when she’s not stitching up one of her fun sewing projects for home decor, most likely you’ll find her hanging out with her husband and three awesome kids or working on a house project.
Shop this tutorial
 Mini Periwinkle Squared Pillow Set by Missouri Star$8.50Shop →
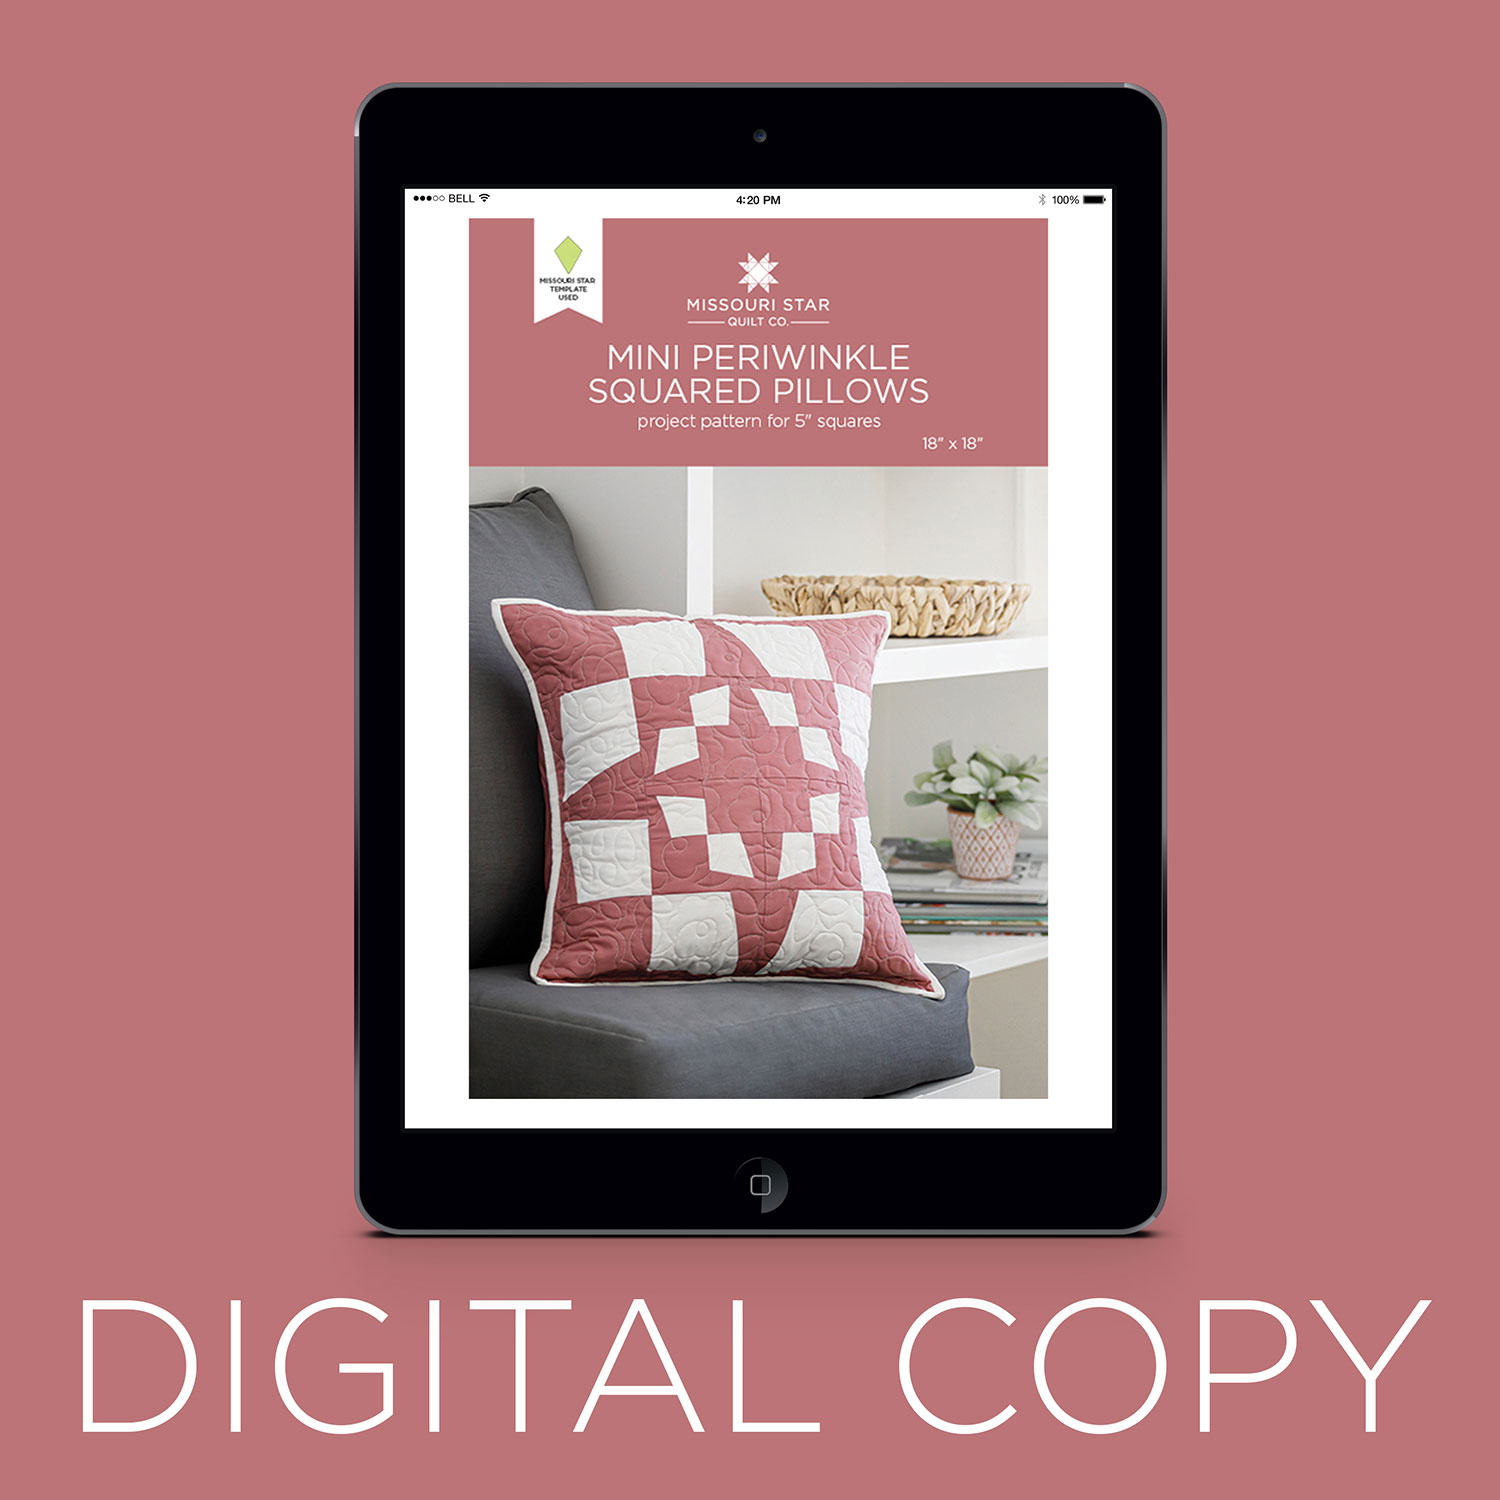 Digital Download - Mini Periwinkle Squared Pillow Set by Missouri Star$6.95Shop →
 Kona Cotton - Rose Yardage$7.48Shop →
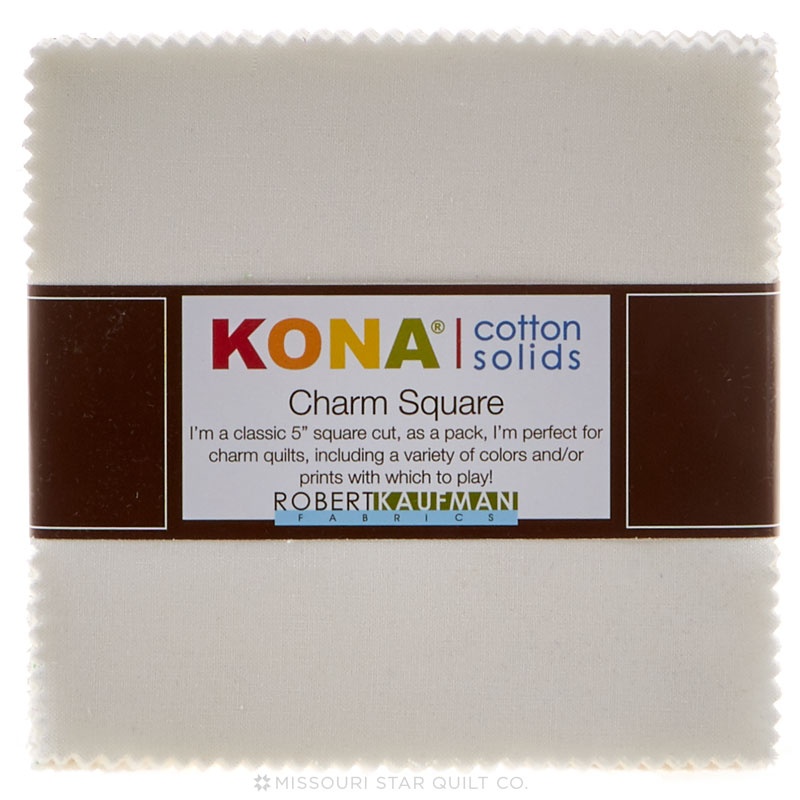 Kona Cotton - Snow Charm Pack$10.95Shop →
 Kona Cotton - Snow Yardage$7.48Shop →
 Poly-fil® Premier™ Ultra Plush Pillow Insert - 18" x 18"$24.95Shop →
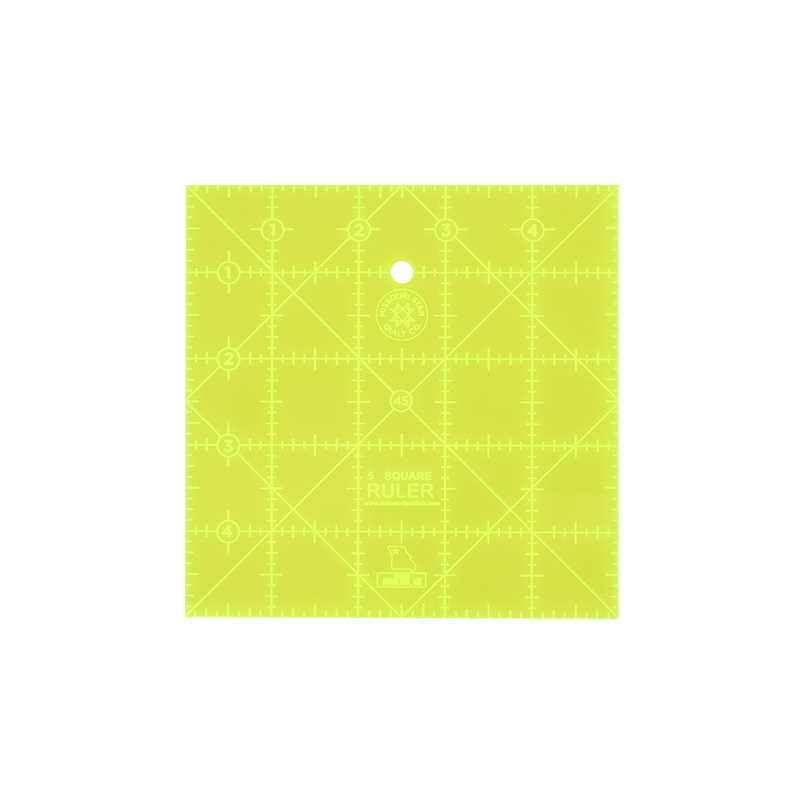 Missouri Star 5" x 5" Square Ruler$8.95Shop →
 Missouri Star 2.5" x 8" Ruler$11.95Shop →
 Missouri Star 5" x 15" Ruler$19.95Shop →
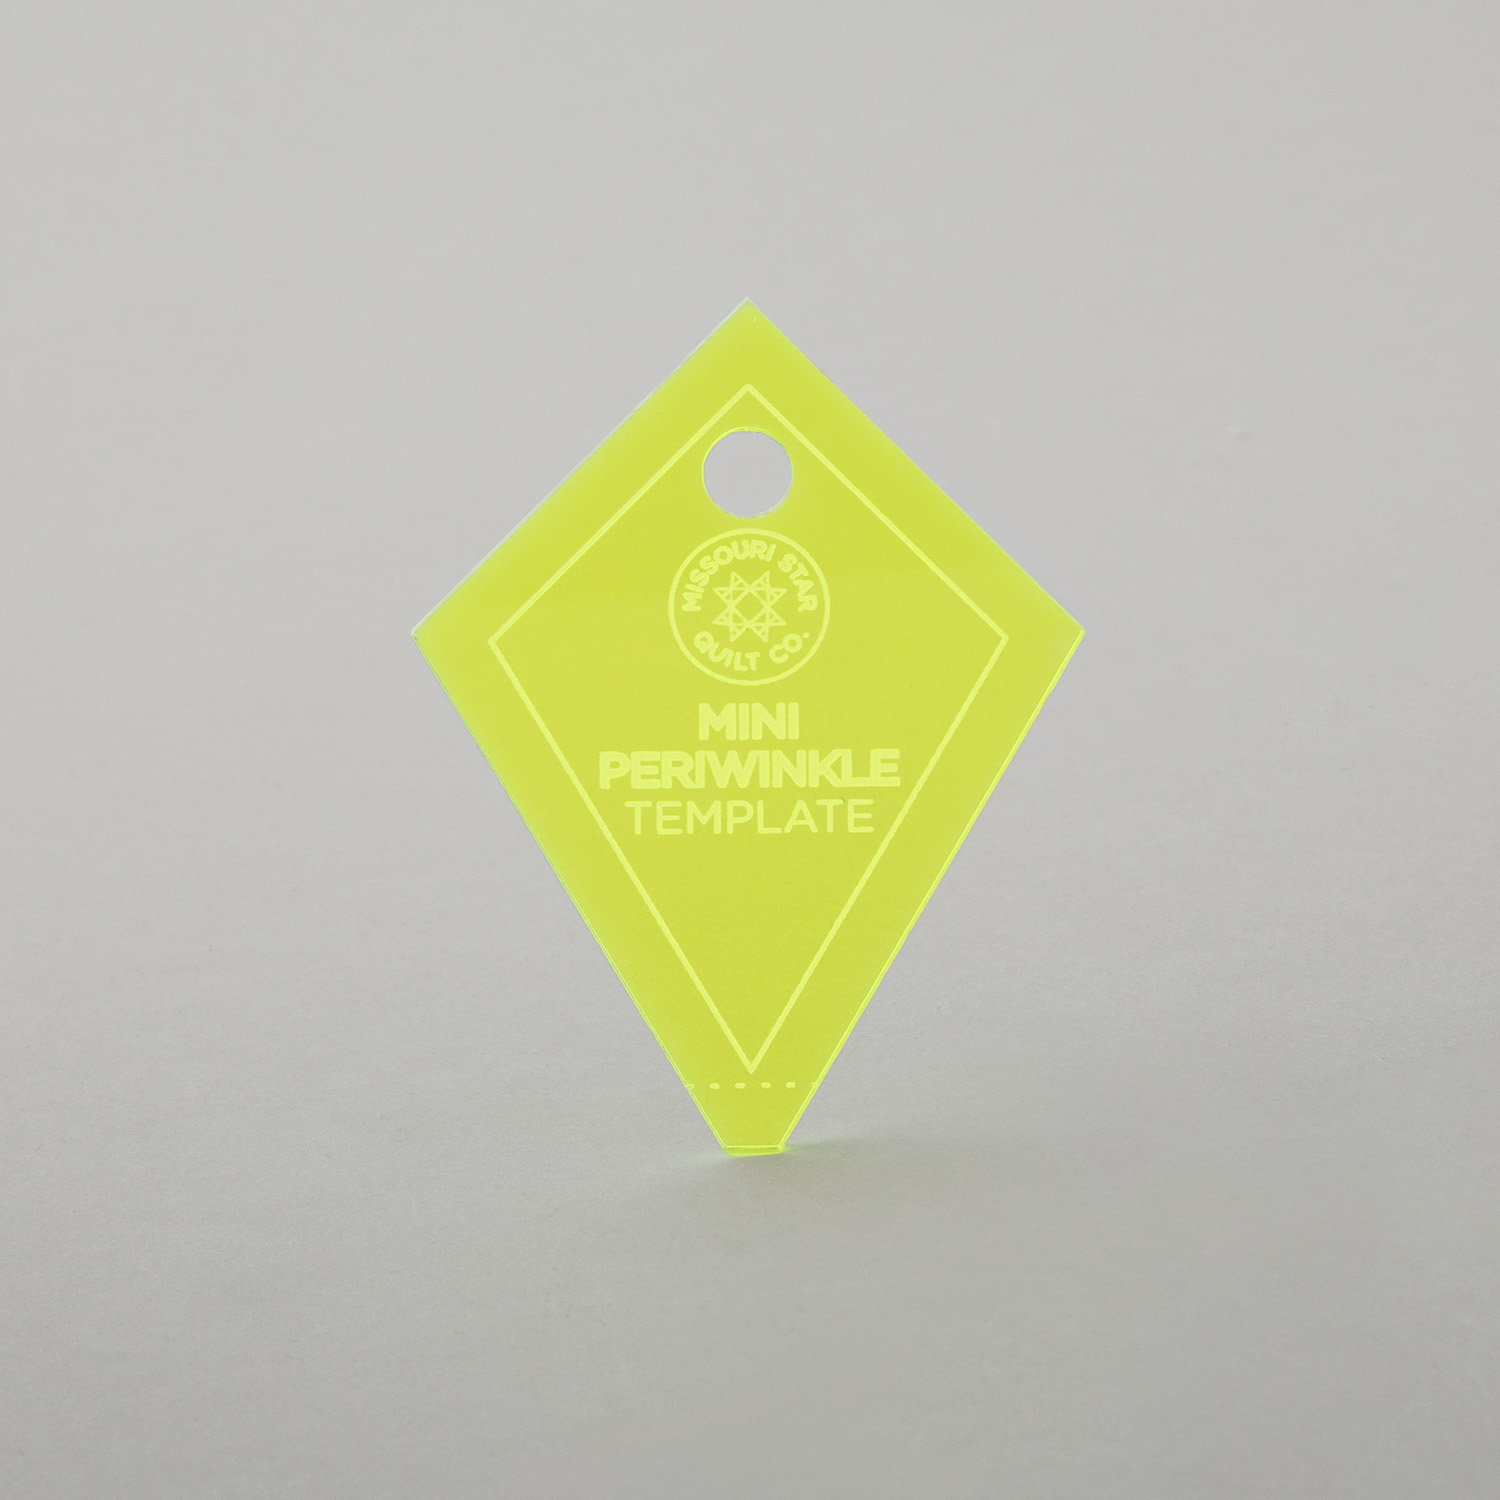 Missouri Star Mini Periwinkle Template for 2.5" Squares$4.95Shop →
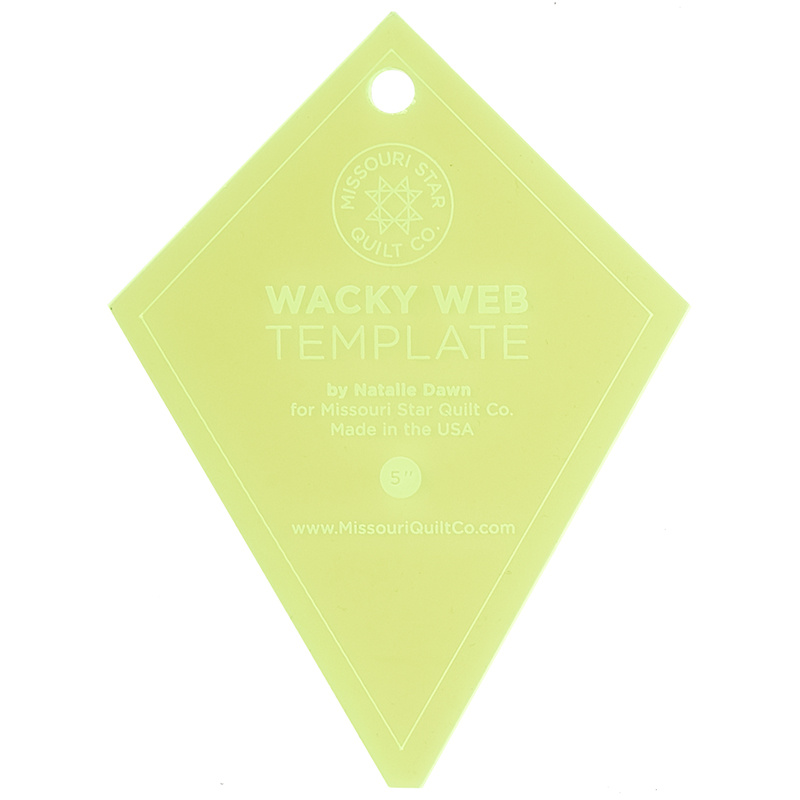 Missouri Star Small Periwinkle (Wacky Web) Template for 5" Charm Packs$8.95Shop →
 Missouri Star 45mm Rotary Cutter$19.95Shop →
 Missouri Star 8" Everyday Scissors$19.95Shop →
 Missouri Star 50 WT Cotton Thread White$7.95Shop →
 Exclusive Missouri Star Jenny TG1600 ProPlus Oliso Smart Iron$199.99Shop →
 Missouri Star Wooly Betty Board - 17.25" x 25.5" Orange Border$99.95Shop →
 Bernette 77 Sewing and Quilting Machine$1499.00Shop →
Common Questions
What is covered in Mini Periwinkle Squared Pillow?
Follow along with Misty as she shows you how to adorn your home with the perfect accent piece: the Mini Periwinkle Square Pillow! Learn how something as simple as a pillow can beautify any couch, bed, or chair.
How long is the tutorial video?
The tutorial video is 00:15:46.
Are supplies listed for this tutorial?
Yes. The tutorial page includes the supplies and materials connected to this project.
Is a transcript available?
Yes. A written transcript is available on the tutorial page.
Video Transcript
So the pattern for this is going to show you how to make four of these
adorable pillows. You're going to want to grab a charm pack. I'm using Snow and for our background we use this beautiful Kona Rose color. It's also going to be super helpful if you have both the Mini and the Small Periwinkle template, as well as a 5 inch squaring ruler. So have all of those ready to go and let's dive into making this!
So up first we are going to take our 5 inch squares and you can stack a few at a time and we are going to use our Periwinkle template. We're going to line it up in one corner just like so and trim off our excess. So if you have a rotating mat, that can be kind of helpful when you're cutting all of these. But it's also very forgiving, so if you just want to rotate your fabric you don't need to worry too much if there's a little bit of shifting. There we go.
All right, now for each pillow you are going to need eight of these large Periwinkles that we're going to make. I have a few ready to go, but we're going to take each of our Periwinkle shapes and we're going to pair those with two 2 inch by 5 and a half inch rectangles. So I went ahead and cut those from this pink fabric that is my background of my pillow. We are going to lay that along this long side of our Periwinkle and what you're looking for is you just want a tiny bit of overlap here at the top and the majority of the overhang to be happening down here at the bottom. So let's go ahead and sew this a quarter inch. We'll press it open and add the other side all right?
So it's super convenient to have your iron close by, because we're just going to roll this back. All right. So once we have that pressed back we can bring in our other rectangle. And so same idea as before, we're just barely overlapping this top and we're coming all the way down this long side. You'll notice it's not going to come past this first rectangle that we sewed. And that's okay because we're going to trim this off so this is just enough fabric for us to have as little waste as possible.
Then we can go ahead and sew this down with a 1/4 inch seam allowance. Now we'll go ahead and press that back as well, just like so. And this is how our block is going to look. So I know it looks a little wonky and you're like how in the world is that going to turn out? So that's where our 5 inch square ruler comes in really handy. We're always going to line back up with that original 90° angle that we had from our charm pack. And you can see how this fits on there. And we can trim off this excess to have a perfect square. So let's go ahead and do that just like so. We can spin this around and right there. There we go and so now it's back to 5 inch square. You're going to need eight of these for each pillow I have a whole stack back of them ready to go here.
So we're just going to set these aside for now and we're going to work on our minis. So let's go ahead and grab everything that we need. So it's a very same idea as far as cutting out the Periwinkles go, but from your 5 inch square you're going to be able to cut four at a time. And so you're going to take your little template and you can either fold this in half and cut two at a time if you'd like - whatever you're comfortable with. And it's just going to fit on that outside corner and you're just going to use your rotary cutter and cut them out. They look just like this when they're cut out. And so we are going to now pair those up with our 1 and 1/2 by 3 and 1/2 inch background strips. So I have those ready to go. I'm going to go ahead and make two of these. Just because sometimes when things are smaller it looks a little trickier, it's harder to see, and I want to make sure you guys see the process.
So let's go ahead and pull all of these over to the machine. it's the exact same concept where we're just going to start with that little bit of overhang at the top and have the majority of it down here at the bottom. So I'm going to go ahead and chain piece one after the other. We'll trim it up and add the other side. So let's go ahead and do that. This is a really convenient project to do chain piecing on because you are going to have a lot of repetitive sewing. So you would just put all eight of yours in here one after the other and then you could sew them all. Then we'll come back and press them. That's a nice routine. So now we can go ahead and press these back. There's one and then the other. All right, now contrary to the first larger version, we are going to get rid of some of this excess fabric. So we're going to go ahead and lay our ruler just along this opposite straight edge and we're going to cut off this piece at the bottom, just like so. And again on this one just like so. So now we can turn this back around and we can bring our little rectangle and we can add it to the other side. It's going to get rid of that bulk that would be difficult for us to sew through especially on these small piecing projects. So we can just sew these one after the other.
There's one. All right, let me cut these apart, then we'll press these. Just roll it back. All right, there we go. So now these are done and we can square them up. So I want to tell you because I have made this mistake many times for some reason. We want to square them to two and a half. In order for this all to match up we're going to square them to 2 and 3/4 so that is the number you are looking for on your ruler. It's a little bit. You know it's not hard, we just have to really think about it when we're cutting. I have squared them wrong many times, that's why I'm telling you.
So I'm going to lay my ruler on here and I make sure that I can see that one two and my 3/4 is right there so I'm just barely trimming off any. I always start by just straightening these two little sides, just cut that little wing off of there. There we go. And now we can flip this around and I'll put that right on the two and 3/4 mark, which is right here on my ruler. And now we can square this off just like so. So let's go ahead and do that again. So we're going to just square off this first side. Flip that around and we're looking for two and ¾, double checking both sides just like so, beautiful! Another thing that you can note is this 45 degree line should run right through the middle of that Periwinkle. So that's a good way to keep it all straight.
All right, so let's clean some of this up. Now we are going to pair two of these just like this with a 2 and ¾ inch background square, which that's our pink in this case. And so now we can put these together just like a four patch and so let's go ahead and take this to the machine. There's one, we'll just slide this right behind as long as I have it all lined up and now we can just open that up and sew it together just like so. Take a few anchoring stitches and then make sure that center seam is nested - it's really the only place we need to line this up. There we go and trim our threads. Now we can give this a good press. There we go - there is our little Periwinkle unit.
So now let's go ahead and lay this out. So this is so fun! We are going to take four of these small units. And when we turn them, even though they're all made the same it spins in the middle here just like so. And now we can come back and we can surround them with the larger Periwinkles just like so. Here we go, whoops turn that one more time, there we go. And then all we need to do to finish this off is put our solid 5 inch squares in the corners. So let's go ahead and do that, and one more, there we go, How fun is that? It comes together so fast!
So you're just going to sew this in rows - four across and then add one row to the other. And so when it's finished and quilted it looks just like this. Isn't that so cute? I went ahead and quilted it with posies and then I trimmed this up to 18 inch square. And now we can add our backing to turn this into a pillow.
So let's go ahead and talk through that. I'll move some of this out of the
way. Because I wanted this little piping edge, we finish this off a little bit
differently. Since I'll bind it on the outside, let me show you how I did
that. So we'll set this aside since I trim this to 18 in square. That's the
width I'm looking for for my backing pieces and so what I did is I took my
background fabric, which is this pink, and I cut an 18 inch strip by the width of fabric and then I cut that in half to form two rectangles. Then all I did was I folded that in half like so, and along the fold side I just did some top stitching. And the reason that I did this method is it just gives it a little bit more stability and I like that in a home decor project. If you didn't want to use this much fabric, you could totally just turn under the edge and finish it that way as well. So we are going to take the wrong side of our pillow front, put that face down and then we can line these up on the back and we're just going to overlap those two finished edges. And this is an instance where pinning is really your friend. So I have some pins here. I'm going to pull these over and I like to secure the middle where that overlap is and make sure that my corners stay lined up. So sometimes just taking the time to do a few pins, you'll be really glad you did.
All right, so I like to do it this way just because I have found with this method it can shift on you. So then to finish this off I just have my binding strip ready to go. We can flip this over. So since this is a small project I do want to talk a little bit about the width of the binding. On a quilt I usually do two and a half. For a small project like this I like to do 2 and a quarter. So it's just slightly narrower and it's going to give you a really crisp clean, almost piping look to that binding. Just makes it really really nice! If you have a hard time holding that in your hand, go ahead and use two and ½. It's okay, whatever is easiest for you. But that's what I've done here.
So now that we've pinned this - this is two strips sewn together on the 45 -
and we are just going to start on the front and bind this as we usually would. You're just going to remove those pins as you get to them. That's why I pinned them this way, so I can see the little heads of the pins poking out as I'm approaching them. And then we'll just finish that off like normal and it turns out absolutely beautiful.
This is your finished project! The pattern will give you enough to make four so you can toss them on your couch, or your bed and have a great look for spring. So I hope you enjoyed this project on the Mini Periwinkle Squared Pillow and I'll see you next time.