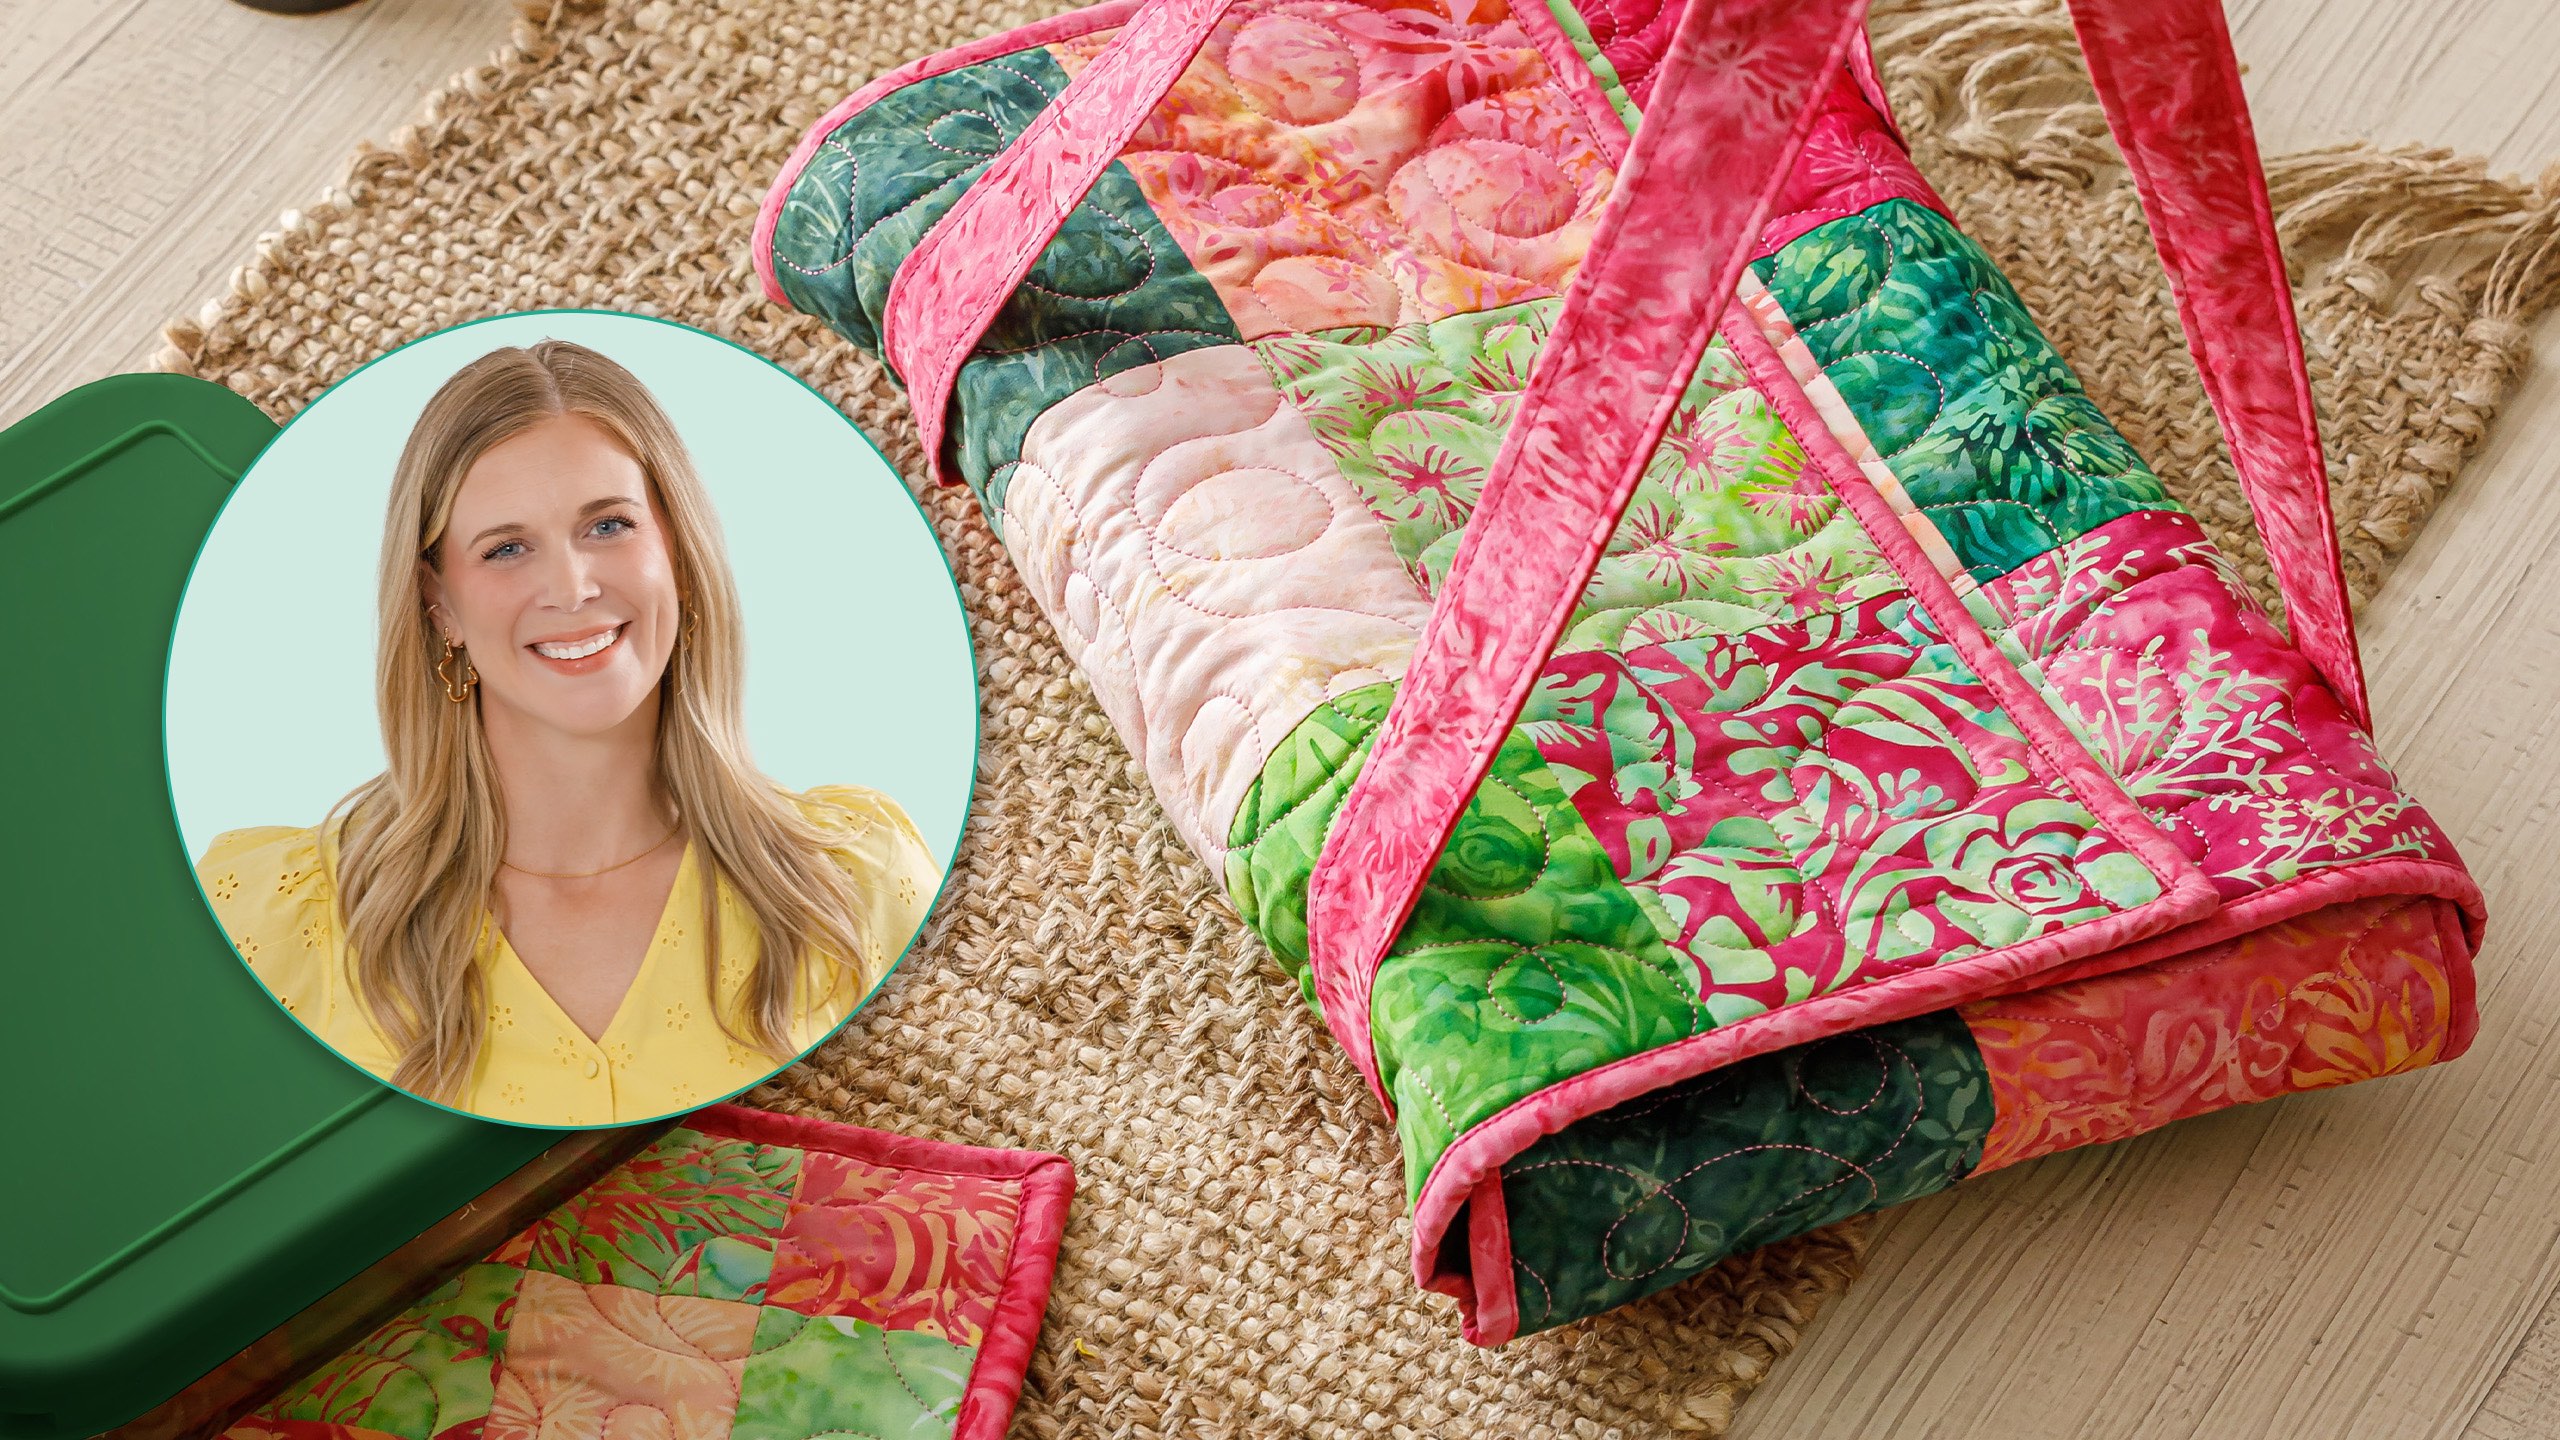
We've got something absolutely bag-tastic for you - a Triple Play with Natalie, Misty, and special guest Jess Barrera! Together, they will try their hands at these oh-sew-stylish Triple Play bags using the new kits from Sallie Tomato. If you're a bag maker or looking to try something new, this one is for you!
Natalie is the host of Quilting 101, Embroidery 101 and the Creative Strategist and Editor of Block Magazine at Missouri Star Quilt Company. She was taught how to sew by her mom, of course, and began quilting when she grew up.
What is covered in Triple Play! 2 New Sallie Tomato Bags?
We've got something absolutely bag-tastic for you - a Triple Play with Natalie, Misty, and special guest Jess Barrera! Together, they will try their hands at these oh-sew-stylish Triple Play bags using the new kits from Sallie Tomato. If you're a bag maker or looking to try so...
How long is the tutorial video?
The tutorial video is 01:15:55.
Are supplies listed for this tutorial?
Yes. The tutorial page includes the supplies and materials connected to this project.
Video Transcript
Hi everybody. I'm Natalie with Missouri Star Quilt Company and I am here today with Misty and as you can see we have a special guest with us. That's right. Instead of a double take, we're gonna have a triple play this week. This is Jess from Sally Tomato. Jess, thanks for being here. I'm so excited to be here and share this fun triple play bag with you guys. I'm going to walk through the entire tutorial. [music] Jess, thank you so much for being here. For everyone that maybe hasn't met you before, will you just give a little bit of your backstory and how Sally Tomato came to be? Sure. Well, thanks for having me. Super excited. So, I started Sally Tomato in college and I have sewn all my life. Um, turning sewing into a career has been really fun. Writing the patterns and I've always been intrigued by the bags and wanting to make them look elevated. Um, so I've done lots of testing and um, playing with the hardware and the unique materials to get that elevated look, but it's been a lot of fun to grow the different fabrics and hardware options and expand the the bag designs. Well, I love your bags. They really do look like, you know, boutique style. I don't think of myself as a bag maker, so I'm very excited to learn how it's done. Oh, thank you. I do too. I think you do such a fabulous job and you have such an assortment now of designs that you've come up with and today you're going to share this triple play bag with us. Yeah, it was so much fun to design and the flaps on this bag are interchangeable using a magnet. So, you can create multiple flap designs to create a custom bag. So, really you can have an infinite number of bags with just one base pattern. I think it is so fun. So, I um I mean you can see I added embroidery to mine, but I have so many different ideas. I almost got a little bit carried away. I wanted to make more and more and more because the options are endless. They really are. It's so much fun and I had so much fun doing mine. Of course, I did just some traditional piecing, but I used your faux leather to do it, which so that was a new challenge, but I think it would be super fun to do some English paper piecing and things like that as well. Really, the possibilities are endless. So, yes, there's so many good ideas. Now, we have made um custom kits that are exclusive to Missouri Star for each of our bags. Yep. And that's super fun. So, what comes in all these kits? Yeah. So, the two colorways available have all of the essential supplies to make the bag plus three flap styles. So, you get a main fabric that's for the exterior of the bag. The contrast will be used for the strap pieces as well. And then you have two accents for two additional flap styles. So you can pick and choose the flap styles that you want and kind of customize based on the fabrics. And then you also get a zipper because the bag has a recess zipper closure. All of the hardware is included in the kit. So it's all bundled together. You don't need to hunt for all the pieces, the magnets. You have the zipper pull. It comes with the lining and interfacing to add the structure to the interior as well as a foam, a sew in foam that'll help give the bag some body. And then there's some optional supplies too to enhance your project. So you can add rivets to the straps to help add reinforcement to them. And then some helpful notions. When bag making, I love using a stiletto. It's really helpful. And I'll cover that all in the tutorial. Um, the rotary punch is helpful. Basting tape is also helpful to have on hand when we get to the recess zipper. Basting spray is great for when we get to adding the foam stabilizer. Pinking shears will help reduce some of the bulk along the flap edges. And then sewing clips are a must when bag making because of all the layers and the thickness. So, there's um lots of options to to make the project, but I'm excited about each of the kits. with everything inside. Me, too. I think they turned out super great. And I think Natalie and I will go ahead and step out. So, you can just take it away and show everyone how to make these great bags. We'll see you in a bit, then. All right. You'll want to start by referring to the pattern and cutting out all of the pieces that are needed for the project. The pattern includes the cutting instructions, so just go material by material and cut out the pieces that you need. I've already cut out all of my pieces. So, we're going to get started by preparing the lining pieces and attaching the interfacing. For my project, I'm using the lining fabric from the kit. And this is Sally Tomato Turtleneck, which we designed specifically for bag linings. So, it's a coated cotton and it's a nice weight and perfect for bag linings. It's waterresistant and if you're using a kit like I am, you can actually skip adding any interfacing to your lining pieces. If you're using cotton or canvas, another type of lightweight or midweight woven material for your lining, then you'll want to follow along with the pattern and fuse your interfacing to the wrong side of each of the pieces noted in the pattern. So, just follow the manufacturer's instructions for the type of interfacing that you're using and fuse it to the wrong side of each of those pieces in the pattern. So, since I'm using Turtle Tex, I can skip adding any interfacing and move on to the next section of instructions. So, I'm going to grab my gusset piece. All right. So, here is my gusset piece. And my fabric is non-directional, so I followed along with the pattern and just cut one piece for my gusset. If you're using a print that is directional, the pattern explains how to piece together two pieces at the center. So that way, the print is the correct direction once it is attached to the bag because the gusset will end up curving around both of the sides. And you'll want to make sure that the print looks good once it's attached to the bag. So, just another tip um is to follow along with those instructions for if you're using the directional print. So, my piece is ready for the next step of the instructions. So, we're going to move on to attaching one half of the invisible snap. So, let me grab those pieces. So, we're going to start with one piece of foam for the exterior back along with our pack of invisible bar magnetic snaps. So, the invisible bar magnetic snaps will be used to attach and detach the different flaps so you can make them interchangeable. And what's nice is that the snap will be completely hidden. So, we're going to attach it to the foam piece. And I'm using a sewin foam. I always recommend using a sewin foam versus a fusible because it won't look wrinkled once the bag is turned right side out. So, it has a nice clean finish. Um, the foam compresses as you sew and it pops right back into shape. So, it's a really nice option to add structure to your bags, but then it's nice and lightweight and easy to sew through. So, I already marked the placement for my magnetic snap. I'm going to take the snap halves out of the packaging. And we'll start by seeing which sides are the attracting sides. So, just lightly tap the magnets together. And when you test it, you'll see that um one side holds together a little stronger than the other side. So, what I like to do is mark the attracting sides just with a Sharpie or permanent marker and put an X on the sides that match. You can set one of the snaps aside. And you'll want the attracting side face up. So you'll center it at the placement mark. And you can use some basting tape or washi tape to help hold the magnet in place as you sew. But I'm just going to hold it in place and head over to the sewing machine. We're going to start by top stitching close to the magnet and then also about an eighth of an inch from the plastic edge. So, I have just the standard foot attached to the sewing machine. If you have a narrow foot or a zipper foot, it will help stitch close to the bar magnet. But the main thing is to have the two lines of stitching to help make sure that the bar magnet stays in place. You'll notice as you sew, the magnet want will want to stick to the needle plate. And so just guide it along gently as you sew. And make sure to back stitch. And just take your time going around the magnet. And if you're finding that the magnet is sticking too much, you can lift up the magnet and tuck the foam underneath. Just be careful that it doesn't get caught in the seam allowance, but that will add an extra layer to prevent it from sticking as much to the needle plate. And if you folded the foam, just make sure to readjust before sewing along another edge. So, here's how it should look once it's all stitched. And now we're going to attach the main fabric to each of our foam pieces. So, I'm going to grab my pieces. And I've already prepped this step. I took each of my main fabric pieces and layered them right side up on top of the foam with the magnet for the back panel face up. So on the wrong side of the back panel, you'll see the stitching and the magnet will be on the top. You'll layer your main fabric on top of the back piece. Then you'll have a piece of foam and exterior fabric for the front along with the exterior back pocket and your gusset. Once you have each of your pieces positioned, I recommend using a temporary basting spray between the cotton and the foam just to help them temporarily hold together. You could also use sewing clips around the outer edges to prevent everything from shifting. Now is also a fun time. You could add some quilting to the pieces. Just be careful if you add quilting to the back side to not add any around the magnet piece. Once you have your pieces positioned, then you can top stitch along all of the outer edges with a quarter inch seam allowance. Once you're done top stitching, I recommend to trim the foam away from the seam allowance. So that way it helps reduce some bulk along the seam edges. So just trim close to the seam allowance. Just be careful that you don't trim through your main fabric or any of the stitching. So my pieces are all prepped. The pocket is complete along with the front and the back panels. And here's how the gusset looks as it is prepped with the foam too. So next we will add some shape to the gusset. So I'm going to grab my marking pen and a ruler to measure in according to the pattern. First, you'll start by folding the gusset in half. And if you pieced your gusset, you'll already know the center, but this will allow you to find the center and mark it. So, if you pieced your gusset, the seam will be the center. And if it's easier to see where the center is, you can just use your ruler and connect each of those center marks. From here, I'm going to measure from the long outer edge, starting at the center and drawing a line and stopping according to the pattern. So, refer to the pattern for the exact measurements. And repeat for the other side edge. And this will help add some shape to our gusset. So now you're going to take your ruler and start at the very end of your marked line and draw a diagonal line all the way out to the adjacent corner. And you'll do this for all four corners. And I'm just using an ink pen so it's really easy to see where I'm marking, but you could certainly use chalk or an air erasable pen. This line will end up getting sewn into the seam, so you won't see it in the final bag anyway. Next, before cutting, we're going to sew a/4 of an inch in from each of the long lines that we just marked. So, I'm going to start along one edge and sew all the way down the gusset to the opposite side, following the edge of the presser foot along with that marked line that I just made. And this is just a basting stitch. So I'm going to lengthen my seam allowance a little bit. You don't need to back stitch at all. So, here's how the gusset will look with the top stitching. And next, I'm going to grab my scissors. And then you can cut along the marked line. So, just follow along the marked line. I'm going to toss these scrap pieces. And here's how the gusset looks shaped in the center and tapered outwards. So, the exterior gusset is prepared. You'll want to repeat the same steps to shape the lining gusset. Following along with the measurements in the pattern, I have my piece already prepped. This time, you won't need to add the top stitching before cutting because we don't have any additional layers attached to the lining. It's just a single layer of fabric. So, you can mark and cut along the lines to prepare the interior gusset. So, we can set the prepared gusset pieces aside. And I'm going to grab another step. And next, we're going to prepare the exterior front and install the magnetic snap, which will secure the flap along the front of the bag. So, find your exterior front. Just have to feel which one has the magnet already attached. So you can set the one with the bar magnet aside. The one that doesn't have anything attached yet will be the front of the bag. Here I have one half of the magnetic snap. I can set the other half of the snap aside. And we'll start by marking the placement for the snap. So, I'm going to flip this over and do all my marking on the wrong side of the fabric. First, I'm going to find the center. So, just simply folding it in half and marking along the fold and then measuring down from the top edge. So, follow along with the pattern for the measurement. If you've never installed a magnetic snap before, it's very easy. The hardware comes with a metal washer, and this will be used as your template for marking the slits of the prongs of the magnetic snap. So, since we have our placement marked, you'll center the washer over the placement. And then just take your pen and mark each of the slits. Then grab a seam ripper and just carefully cut a slit through your fabric. You'll want to cut just a small length about an eighth of an inch. And one tip, if you're worried about cutting too far past your slit, you can add a pin at the very top edge of where the slit will be cut. Then insert the seam ripper at the bottom of the slit and the pin will prevent you from cutting too far past. So then you can take your snap piece, poke the prongs through each of the slits, and if they're not large enough, you can always cut a little bit more. Sometimes it's tough to cut through the foam and the cotton, so start out small. Then place the washer over the prongs. And I always recommend to bend the prongs away from the center to help distribute some of the bulk of the hardware. And from here, you can add a drop of permanent glue to help secure the hardware in place even more. You could take a scrap of interfacing and iron it over the hardware if you'd like to just protect your lining fabric from touching the metal on the inside of the bag. So, the front is prepped and you can set that aside for the moment. Next, grab each of your exterior slip pocket pieces. So, there should be one out of your main fabric with the foam already attached and then one out of your lining fabric. Place the fabrics right sides together. So, make sure all the edges are aligned and add sewing clips along the top edge to hold the layers together. And these are so helpful to have when working with thicker fabrics like the foam. And then we'll take this over to the sewing machine and sew along the top straight edge with a quarter inch seam allowance. Make sure to back stitch. And if you're finding that the turtle text is sticking to your foot, you can always switch to a teflon foot. Just depends on your machine. and back stitch at the end. Now over at the iron, I'm going to press the seam open. The turtle text does stick to itself slightly when ironed. So just try not to touch the iron to the back of the turtle text. Then place the two fabrics wrong sides together. And you can use your fingers to help roll the seam to make sure that the seam allowance is right along the top edge of the pocket. And this is where it's useful to have the turtle text since it slightly fuses to fabric. So it'll help keep your pocket fabric nice and flat and all of the outer edges aligned. Then once you're finished pressing, you can top stitch a quarter of an inch from that top seam edge all the way across. And usually when I'm top stitching, I like to lengthen my stitch length to about three or 3 and 1/2 mm. It adds a nice detail along the top edge. So, here's how the pocket will look after. sewing. Then you can grab your exterior back and this is the piece with the bar magnet attached to it. Have the main fabrics facing right side up. And just make sure that the outer edges are aligned and add some sewing clips around the outer edges. Then we'll secure this pocket in place with an eighth of an inch seam allowance around the outer edges of the pocket. So, here's the finished pocket. Next, we're going to work on making and attaching the strap connectors. So, I'm going to grab my pieces. You'll have four pieces for the strap connectors out of your contrast fabric. And then you'll also have four D-rings. We're going to start by top stitching an eighth of an inch along each of the long edges of each strap connector. I'm just going to use the standard foot on the machine, but if you find that the faux leather or the cork is sticking to the foot, you can switch to a teflon foot. It's always a good idea to back stitch. and rotate and top stitch the opposite length side. I have a few connectors prepped. So, after you've top stitched each of your connectors, you'll feed a connector through a D-ring, match the raw ends, and top stitch an eighth of an inch from the aligned raw ends. So, you'll repeat this for each of the four strap connectors. I'm going to set these extra pieces aside. And then we'll position two strap connectors on the front and two on the back. I'm going to start with the back piece. And I'm just going to use the cutting mat to help me align each of the strap connectors according to the pattern. And you'll want about a quarter of an inch of the strap connector to extend past that top raw edge of your exterior. And add a sewing clip to secure the connector in place on both sides. That extra length past the raw edge will help make sure that this area is stable because it will have a lot of use from the strap itself. So now we'll just top stitch an eighth of an inch along the top edge of the bag across the connectors to secure them in place. So, the back is prepared and then we will attach the connectors to the front. And it will be the same steps as before. And then we'll sew them down. So now our exterior front and back are prepared along with our exterior gusset so we can assemble the exterior together. So start by folding the front in half and marking the bottom center. So just mark along the folds. We already found the center of our gusset. So then with right sides together, you'll match the bottom center points. So just make sure each of those marks are aligned and add a sewing clip. Then curve each side of the gusset up the side edge of the bag. And make sure that the top edges are even and add a sewing clip. Then add sewing clips along each of the straight edges. And we'll leave the curves for last. And once you get to the curves, since we're attaching a straight edge to a curve, sometimes it helps to add some small little snips with your scissors into the gusset edge. So that way it will help relax the fabric. So, if you take your scissors and just snip about an eighth of an inch, every half inch or so, just along where the curved edge is going to be, your fabric will curve a little bit easier. So, try your best to align those outer edges and add lots of sewing clips to make sure that nothing shifts while you sew. Then at the sewing machine, we'll sew the gusset in place with 3/8 inch seam allowance. Bring over some of these clips. And then we'll repeat for the opposite side of the gusset and the back side of the bag. All right. So, at this point, our exterior is all done. So, we can set this aside. I'm going to grab some more pieces to continue on with preparing the interior of the bag. So, we're going to start with the slip pocket. And I have a few pieces prepared to show you the steps of how to install this. So, I'm going to lay these out. For the slip pocket, you will need two pieces out of your lining. And you'll start by pressing the top straight edge a quarter of an inch to the wrong side. So, I've already pressed each of my edges. Then, you'll place each of the pieces together with the fabrics right sides together. Make sure all of the outer edges are even. And you can add sewing clips all the way around to help hold the layers together. Then, you'll sew the two pieces together with a quarter inch seam allowance. Make sure to back stitch and double check that the folded edges stay flat as you sew at the beginning and at the end. Once you're done sewing, I recommend using a pinking shears along the curved edges to help reduce some of the bulk so that way you have a nice crisp pocket and smooth edges of your pocket. Then you can turn the pocket right side out. So you'll just turn it right side out through that top unsewn edge. And if you have a pressing tool, you can run it along the inside edges of the curves to help get that nice smooth edge. Otherwise, you can just use your fingers to help roll along the seam edges to make sure that that seam allowance is right along the edge of the pocket. Then you'll press this flat over at the iron. And again with the turtle text, it's really nice because it slightly fuses to itself and it makes for a really nice crisp looking pocket. Then after your pocket is pressed, you can top stitch along the top edge of the pocket with an eighth of an inch and a quarter inch seam allowance. So the eighth inch will help seal up that turning hole, and the quarter inch is just an extra added detail. Then you'll position your pocket right sides up over one piece of your lining. So you'll measure down from the top edge of the lining and center it within the lining. Then top stitch an eighth of an inch all along the outer edges of the slip pocket. Just make sure to leave that top edge unsewn. Then you can set aside your completed interior slip pocket piece. I'm going to set these extra pieces aside, too. and we'll work on preparing the recessed zipper. So, I have several pieces here that I'm going to lay out to show you how to prepare your recess zipper. And if you're new to zippers, this is a great way to start. It's an easy way to add a zipper closure. Plus, if you like this technique, you can adapt the size, the length of the zipper, and use it for other projects, too. If zippers intimidate you and you want to just use the flap as your closure for this project, you can certainly skip this section of the tutorial and move on to the next steps of assembling the lining. But I encourage you to try the zipper as part of the tutorial. So, you'll need to cut four pieces out of your lining fabric. And you'll start by ironing them a half inch to the wrong side. So, you'll just fold each of the short edges in and press over at the iron. And this will help finish off those short raw ends. So, here I have some completed pieces. is I'm going to set aside these extra ones. So, here's how the pieces will look once they're pressed. So, you'll have a total of four. Then, we'll prepare our zipper. I'm using a Sally Tomato nylon coil zipper by the yard. And whenever you're working with zipper by the yard, you'll want to make sure that the raw ends are finished off. So, they'll either need to be sewn into a seam or you'll finish them off with a fabric tab or hardware. So, we're going to do both part of this recess zipper project. So, since this is nylon coil, we can sew through the coil, but it looks like metal. So, it's a really fun option. The zippers and hardware come in several different colors, so you can coordinate so your metal finishes all look matching. So, we're going to start at the open end of the zipper tape. And you can slide the zipper pull out of the way if needed. I've already attached my zipper to my zipper tape. And I have separate tutorials on my YouTube channel how to get the zipper pulls on if you need extra help with that. So, we're going to start by finishing off these raw ends of the open end of the zipper. So, we're going to need to turn these ends at a 90° angle. And there are a few different ways that you can do this. I'm going to show you a method that's called the butler method. So, this is really beginner friendly. What you're going to do is you're going to turn the coil at a 90° and you're just going to take that fold of the zipper tape fabric and press it down flat. So you'll want that raw edge to be parallel with the side edge of the zipper tape. Then you can add a sewing clip. And I have about an eighth of an inch of the raw zipper tape extending past the length side edge of the zipper. So the fold is about even with the coil. And then you'll repeat for the opposite side. So just turn the coil. Take that excess fabric fold and push it up toward the coil and you can adjust it so the ends are even. Just play with it until it looks good how you want it. And then add a sewing clip. So now we're going to top stitch the zipper tape in place so the coil stays at that 90° curve. So you can take the clip off and position the raw end under the presser foot. And then just slowly top stitch and back stitch to secure the tape in place. And then repeat for the other side. Okay. So, here's how the finished zipper looks with the open end finished. And like I mentioned, there are other techniques for turning these raw ends over to create the 90deree zipper ends. And I have additional tutorials on my YouTube channel if you want to check those out and find a technique that works best for you. And whichever method that you choose, that top stitching basing that you added to the ends will end up getting sewn into the seam allowance, so it won't be seen at all. So now we're going to add the fabric for the recess zipper onto the zipper tape. So you're going to start with one of your recess zipper pieces facing it right side up. Have your zipper right side up as well. And you're going to align the long edge of the zipper tape along one of the long edges of the fabric piece. And you'll want the coil about an eighth of an inch away from the folded short end. Then you'll take another recess zipper piece and layer it right side down over the zipper and align the long edges and the short edges as well. Add some sewing clips to hold the layers together. And just double check that that zipper tape is along that raw edge of the fabric. Then we'll sew the layers together with a 1/4 in seam allowance. I like to position the zipper coil directly underneath the presser foot first and sew forward a few stitches. So, we're not starting at that folded edge. We're starting a little bit in just because of the bulk. and then back stitch to the fold. And then continue sewing along the fabric edge. That'll make sure that these beginning folded edges stay even. And if you have a zipper foot or a narrow foot, it will help maintain your seam allowance. But the standard foot on this machine is working just fine. If you need to, you can slide the zipper pull out of the way. You can even slide it all the way to the end. Just don't slide it off the zipper tape. And make sure to back stitch. After sewing, you'll press each of the recess zipper pieces away from the zipper tape so the fabrics are wrong sides together. And I'm going to iron this. So keep the long raw edges even and again the turtle text will help fuse to itself so nothing will shift. So now I've caught up with one of the other stepouts that I had prepared. So, I'm going to set these extra ones aside. And once you have your recess zipper tape pieces pressed, then you'll top stitch an eighth of an inch from the short and long edges. Make sure to back stitch. And then you'll repeat the same process to attach the remaining two fabric pieces to the opposite side of the zipper. So, here is how the zipper will look once both pieces are attached. And then it's ready to add to your lining panels. So, I'm going to set these extra ones aside as well. So, I've already positioned my recess zipper on one of the lining panels. And you can start with either lining panel. I started with the one that does not have the slip pocket, so it's a little less bulky to work with in the beginning. So, you'll want to measure down from the top edge of the interior lining piece and also find the center. You'll center the recess zipper facing right sides up, making sure to keep the raw edge parallel with the top edge of the lining. Then top stitch the recess zipper in place with an eighth of an inch seam allowance. After top stitching, you'll press the recess zipper up. And over at the machine, we'll top stitch this in place with a quarter inch seam allowance. And this will conceal that raw end and help our recess zipper stay nice and flat along the top edge of the bag. I also wanted to mention that we need to make sure to finish the closed end of the zipper tape either with a fabric tab or a metal zipper cord end. And the metal hardware is a really fun look and it's a lot easier than trying to top stitch a fabric tab to the zipper tape. The pattern instructions do explain how to add a fabric tab to close the raw end of the zipper, but I'm going to show you how easy it is to install the hardware. So, the zipper cord end hardware can work for either zipper ends or drawstring cords. So, it's a multi-purpose hardware and it's a very useful way to seal up this raw end of the zipper tape here and prevent the pull from sliding off. The hardware comes with a small screw. So, you'll need a number zero Phillips screwdriver. You can find them at the hardware store or we have a Sally Tomato seists screwdriver set as well that might be useful for installing various types of hardware and um changing out different machine machine feet on your sewing machine. So you'll simply just fold the sides of the zipper tape inward. And I just fold it in thirds so the coils in the center. It's helpful to add some glue inside the hardware just to further secure the hardware in place. And then just insert the zipper tape into the cord end. Make sure it looks good from the wrong side as well. and refold so it looks good to you. And then you'll take the screw and screw it in place with your screwdriver. So I'm just going to hand tighten this and finish tightening it tightening it later on. And here's the finished look. So, I'm going to set this aside and continue on installing the recess zipper. So, as you can see, the recess zipper raw end was sealed inside the seam allowance, and it looks all nice and finished. So, now we'll attach the opposite raw end of the recess zipper to the other interior lining piece. So, you'll want the zipper tape right side up and your lining right side up. And you'll position it just the same as before and complete the same steps. So, here I have one already complete. And you'll see both sides of the recess zipper look nice and clean. And on the interior side, everything is sealed and nicely stitched. Then you'll take your gusset and we're ready to complete the interior. So again, you'll want to find the bottom centers and start with one half of your interior. And if it's helpful, you can unzip the zipper. So that way you're working with one half at a time. And you'll attach your gusset just like we did before with the exterior. So you'll attach both sides of the gusset to each side of the lining. And here I have one already done. This time when you attach the gusset to the lining, you'll want to make sure to leave about 4 in unsewn along the bottom edge. And this will be our turning hole for turning the bag right side out when we're all done. So, at this point, I have my zipper unzipped. It will be a little bit more easier to work with, and we're going to work on assembling the bag. So, grab your completed exterior. And with right sides together, you'll insert the lining into the exterior. and start by aligning the seams of the gusset together. I like to finger press each of the seams open just to help reduce some of that bulk and add a sewing clip at each of those seams. And repeat for the other side. Make sure your strap connectors are down inside between the layers. And then align the top raw edges and add sewing clips all the way around. Then with 3/8 inch seam allowance, we'll sew all the way around the top edge of the bag. So then you'll turn the bag right side out through that unsewn section in the lining. So, I like to pull the lining out and then reach in through the turning hole and push the base of the exterior through first. And then just use your thumbs to help push the fabric through to turn the bag right side out. So you can smooth out the bottom corners and just roll the seam edges to make sure that the curves are all arranged in place. And before tucking the lining down into the bag, you'll want to fold the raw edges at the turning opening to the wrong side by about 3/8 of an inch. And then align those folded edges and top stitch an eighth inch from the turning opening to seal that opening closed. You can trim up any loose threads and then arrange the lining. inside the exterior. Roll that top seam edge so that way it's nice and flat along the top. You can use some sewing clips to help hold that top edge in place. And then top stitch all the way around with a quarter inch seam allowance. As you sew, make sure that your recess zipper and D-rings are out of the way. All right. So, the bag itself is complete. It's looking so good. So, next, if you'd like, you can add some optional shaping along each of the gussets. So, you can refer to the pattern. It's just a bit of top stitching if you want a more crisp fold at each of the side gusset um edges along the top. So, refer to the pattern if you'd like to see that extra detail. I'm going to set this down for the moment and grab my pieces to create the adjustable strap next. So, you'll need two lengths of your contrast fabric so that way you have a nice long adjustable strap length. So you'll start by placing both ends perpendicular to each other and overlapping the short ends by about an eighth of an inch. Then you'll sew a diagonal seam from corner to corner to piece the two lengths together. So now I'm going to trim this excess corner here. So the seam allowance measures about a/ quart of an inch. and finger press the seam allowance open. You don't want to use an iron on faux leather because it will melt. So, I just recommend finger pressing. Then, we'll top stitch an eighth of an inch from each side of the seam allowance. And this top stitching will help flatten the bulk of this joined seam. So you can back stitch here. And repeat for the opposite side of the seam allowance. Now you're going to fold the entire length of the strap wrong sides together, aligning the long raw edges. And you can use sewing clips to hold the layers together, but I like to just hold the strap and fold it as I sew. So, over at the sewing machine, we're going to top stitch an eighth of an inch from each length side. Okay. So, I'm actually going to stop here because I do have a strap that's already completed. So, I'm going to set this one aside. And here's my strap that's already top stitched. So, I top stitch down one length side. And then when you go to top stitch the opposite length side, I recommend to start at the same short end. So, you'll start here, sew down, start at the same short end, and sew down. And that will prevent any twists in the length of your strap. Now, we're going to add the hardware. And again, if you like this technique with the adjustable strap, you can make this for other projects, too. We don't need these long fabrics anymore. So, I'm going to set those aside as well. To make the adjustable strap, you'll need one slider buckle and two swivel hooks. The inner diameter of the hardware should measure the same width of the strap. So, this width of the strap finishes to be 1 inch wide. And we're using the 1-in wide hardware. So, starting with the slider buckle, you're going to thread the fabric from the underside of the buckle over the center bar and back down. And then fold the end of the strap back onto itself. And then we'll just top stitch this end in place with about an eighth of an inch from the raw end. And to prevent any shifting, I like to start in the center of the strap and begin back stitching and then sew forward. And make sure to back stitch again so you can trim up any loose threads as you go. And if you want to add even more reinforcement to this area of the strap, you can install a rivet. I have tutorials on my YouTube channel how to install rivets, and it's very simple to do, and I encourage you to try it. However, we can just leave the top stitching for today. So, you'll want to turn the strap so the underside with that raw end is facing up. And I just keep my thumb on the underside and slide all the way to the tail end of the strap. So I know that the underside is facing up. Then take a swivel hook and have the flat side of the hardware against the underside and slide it all the way down closer to the slider buckle. So here's how the strap should look so far. So you have the raw end facing up and the flat side of the swivel hook facing up. Then you're going to take the tail end of the strap, making sure that the unders sides are facing each other so there aren't any twists in your strap, and guide it back through the slider buckle. And you can double check that nothing is twisted. Now we have the top side of the strap facing up. So again, you'll want the flat side of the swivel hook against the underside. And then just fold the tail end back onto itself and top stitch the strap end in place. And again, you can trim up your threads and add some extra rivets if you would like for more reinforcement and some extra detail. The last part is to create the flap. So, I'm going to grab my flap pieces and set the strap aside. I'm going to lay these out to walk you through the flap construction. All right. So, I have all the flaps laid out to show you each of the steps. And these steps will be the same no matter which flap style that you choose. So, you'll start with either your contrast fabric or your accent fabric. At this point, you won't need any lining or hardware. This is the point where you will add any custom embellishments to your flap that you'd like. Just make sure that you look ahead in the pattern for the seam allowance to make sure that your embellishments won't get caught into the seam depending on which technique you decide to use. So, we'll bring on Natalie and Misty in a little bit to share how they customized their flap styles. But first, I'm going to walk through the construction steps. So, I'm going to leave my flap just plain and follow along with the steps. So, once you are completed adding any customizations, you'll need to prepare the lining for the flap. And you'll add the second half of the bar snap along with the second half of the magnetic snap that you installed before. You'll want the attracting side of the magnetic bar snap against the wrong side of the flap lining. So before I had put the X on the attracting side, so that one is against the wrong side of the fabric and I followed the same steps as before for top stitching the magnet in place. Then you'll measure the placement for the prong magnetic snap to be installed. This time I took a scrap of the foam interfacing so that way there was a little bit extra stability in the strap the snap area and it protects the prongs from poking through the lining fabric over time. Again, you can fuse a piece of interfacing to the wrong side covering the foam just to further protect your fabric if you'd like. Then you'll align all of the edges. Add lots of sewing clips so nothing shifts on you as you sew. And you'll sew all the way around the flap edges, making sure to leave a turning opening along the back straight edge. After sewing, then you'll want to trim away some of the bulk from the corner edges or along the curves as well as the backside corners, too. So you can just trim at an angle with your scissors or take your pinking shears and cut away some of the bulk. I recommend to leave the full seam allowance along any of the straight edges just to make sure that those sides are nice and secure. Then you'll turn your flap right side out and tuck the raw edges of the turning opening to the inside. Use some sewing clips to hold the turning opening closed. And you can roll the seam edges here to make sure everything is flat. And use sewing clips if you'd like to help keep the edges flat. Then you'll top stitch all the way around your flap edges with an eighth of an inch seam allowance. So this will secure the turning opening closed. So now I'm going to set these pieces aside. And you'll see the other two flap styles part of the kit that I chose to make. And what's great is you can interchange these out depending on the outfit that you're wearing. So, let me show you how the flaps look on the finished bag. So, we'll attach the bar snaps together. There's the bar snap behind the exterior pocket and the other half on the long edge of each of the flaps. So, the snaps just attach together and it's nice and strong so you don't have to worry about it coming undone and you can still access the pocket. So, from here you can clip your adjusted strap to each of the D-rings. And you can clip it to one or the other or both. It's up to you. And it's super easy to change out the flaps. So, I'll show this next flap style. Otherwise, you could add on the pointed one. Another fun option that we were playing around with was to layer each of the flaps together if you wanted a more layered look and attach them all to the bag and secure it in place. So, this is just one of the several looks that you can create to make your own custom bag. I'm going to set my pieces aside and bring Natalie and Misty back on to show you how they embellished their flaps. All right, so we already mentioned that there are tons of ways that you can customize your flaps. And Natalie, why don't you share how you embellished your flap? Okay. Well, I had so many ideas. I almost wanted to make three or four different styles just with, you know, the stuff that we have. I was so excited, [laughter] but I landed on embroidery. And so I just grabbed one of my Ingred's embroidery circles and stuck it on there and embroidered right through all of it. The cork is super soft. I didn't um I did not put it in a hoop because I didn't feel it was necessary, but I had no trouble just pulling that fab like the thread through the cork. It was great. And then I rinsed it off and it all came off. And uh I did have a little bit of trouble, but this was with the peel and stitch. It like sometimes the ink will stay and so I had to spray it pretty good. But then I just wiped it off and let it dry. So beautiful. Yeah, it came out great. So I just Man, I had so much fun with this. But I have all these different ideas. So like I want to applique patches on or different shapes. I want to do some monograms. And I like um the idea of doing like crazy quilting and having some of those embroidery things on there. I feel like there's so many customizable options that uh yeah, my creative brain is just like on fire. So I had I had a lot of fun. Yeah, thank you. It turned out so good. And I felt the same way. Like narrowing it down and deciding the one thing that I wanted to share was really tricky because like Natalie said, there really are just a million possibilities. And even like this little point shape, I thought it would be so cute to have like little um prairie points or something along that edge. Like you could just do so many fun details. And you know, I landed on patchwork. Initially, I was going to use regular quilting cotton in the middle of my star. And I do think that would be the easier option because you have a little bit less bulk than you do with the faux leather. But it was so honestly like doable. I think it turned out really great. I pressed all of those seams open. And I did um make a little printable for you guys that walks you through step by step how I made this, how I handled the ste the seams and the top stitching. And I think it just turned out super cute. So I'm excited to try even more options in the future. Oh, I love it. And that's so cute. I think the kits have enough material for you to kind of play with the patchwork on the flaps. Absolutely. I needed so little of the uh contrast colors that came in the kit that I did go and measure and I could still get the other flap pieces, even cutting what I did from what was in that kit. So, there's really room to play and use up all those little pieces. Absolutely. Oh, and I have one more to show you guys. Hang on. Oh, I just wanted to grab this out. So, this is one that I did. I played around with it and I just had this little patch that I just stitched on top and I think that turned out really fun. So, you could do this with any of like your little orphan blocks or other, you know, other embroidery options. And then I didn't want to stitch it and flip it. So, I just put a a binding on it. It's two and a quarter and it worked out really great. Yeah, it's beautiful. So, absolutely love it. I just There's so many fun things to do with these flaps. Cute. That adds a little structure around the outer edges, too. It almost looks like piping or just an extra detail. Yeah, it turns out really fun. I think the flanged binding would work really well on this, too. Oh, that's true. And then you have that even extra little little punch of color in there. Yes, that would be so fun. So, hopefully that gave you guys some great ideas and inspiration of what you can do with your bag. Be sure to share with us and tag us on what you make. I'd love to see all the different flaps that you come up with. Awesome. Yes, tag us and share your picks because I'm just so excited about all the inspiration. And Jess, you have a bunch of other great bag tutorials and um products. Where can everybody find you? Thanks. So, on our website, sallyietymato.com, we have a blog with lots of other tutorials for bags, hardware, zippers to help you feel confident in bag making. Um our YouTube channel has lots of tutorials as well, and you can find us on social media for more inspiration. So, this was a really fun project to work together and um see it all come together. Can't wait to see what you make and how you customize your bag. Thank you so much for following along today and we'll see you next time. Bye bye.


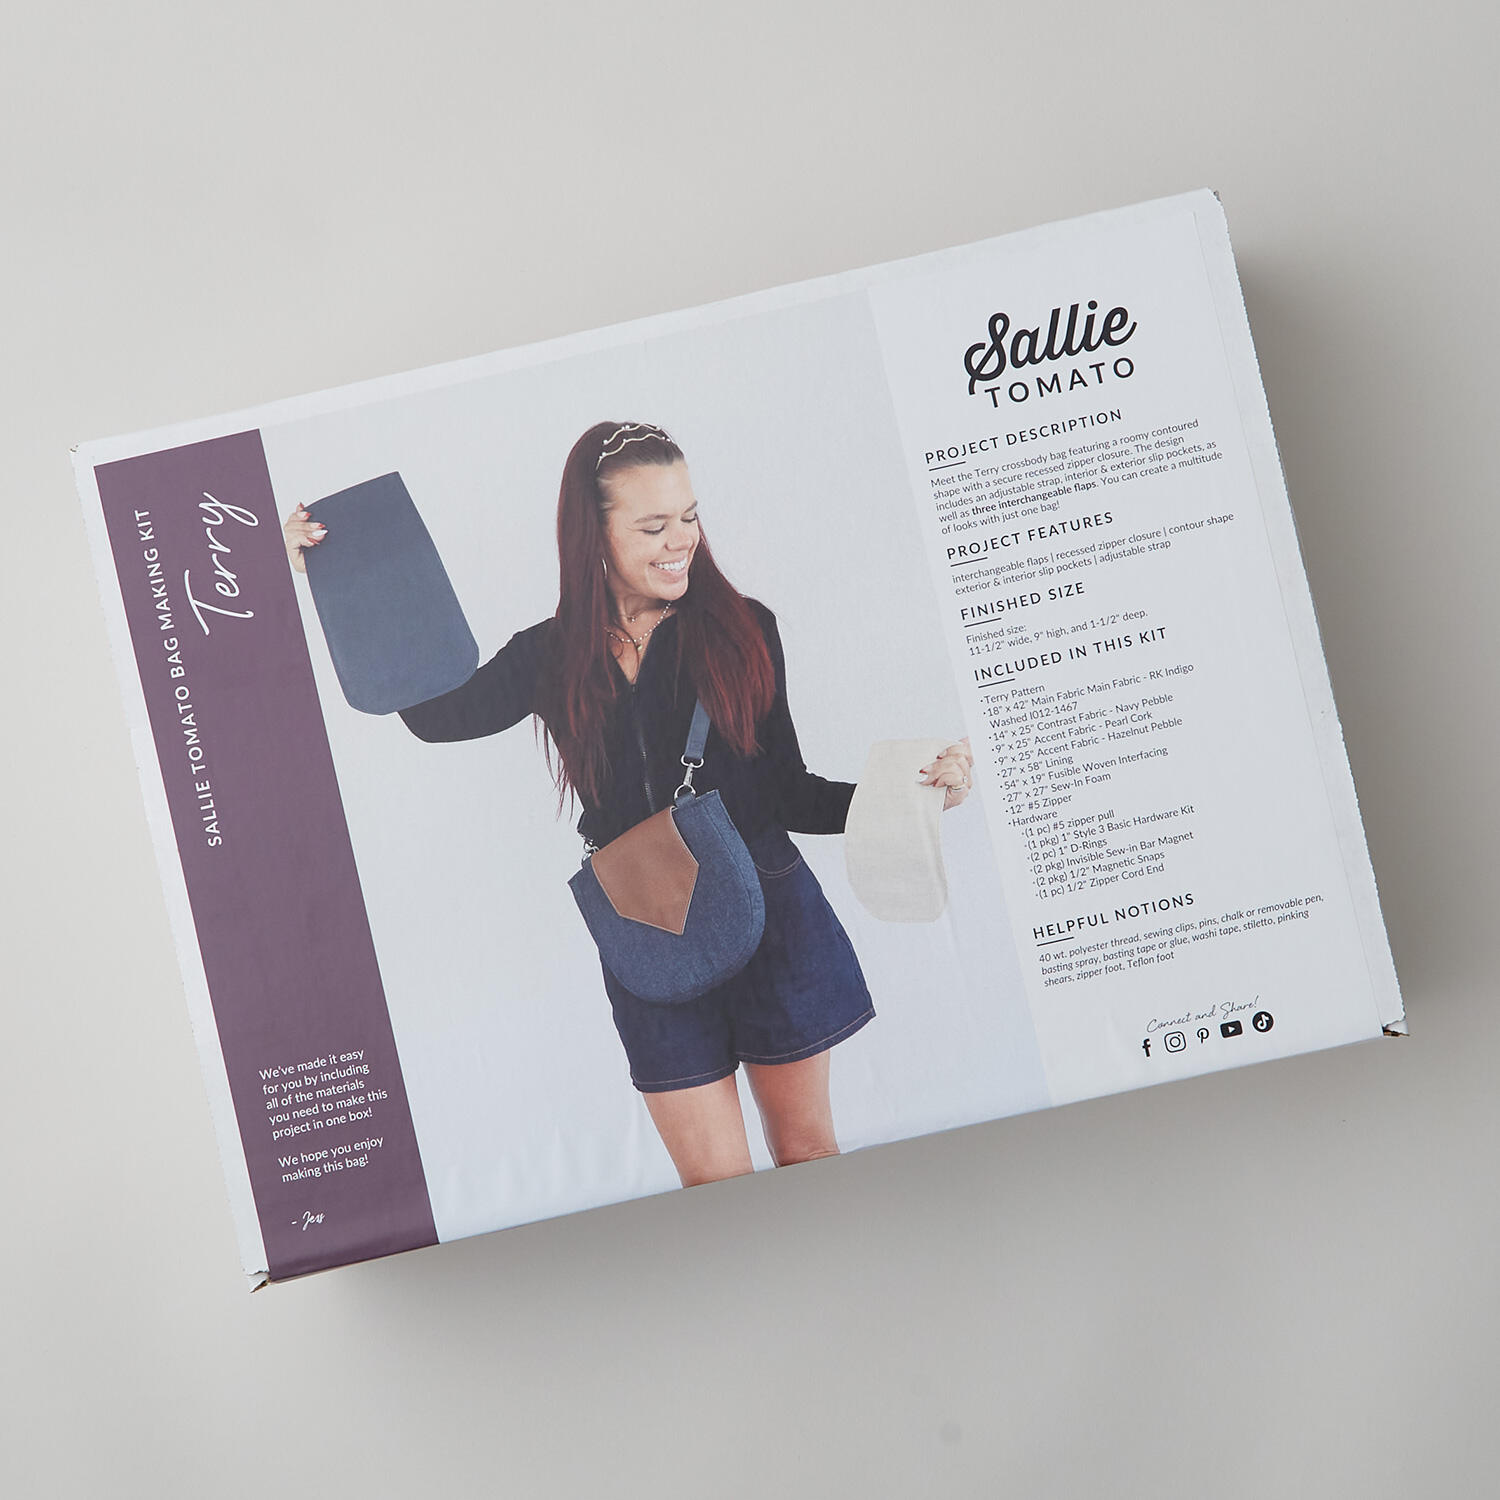 Triple Play Indigo Denim Bag Kit$144.95Shop →
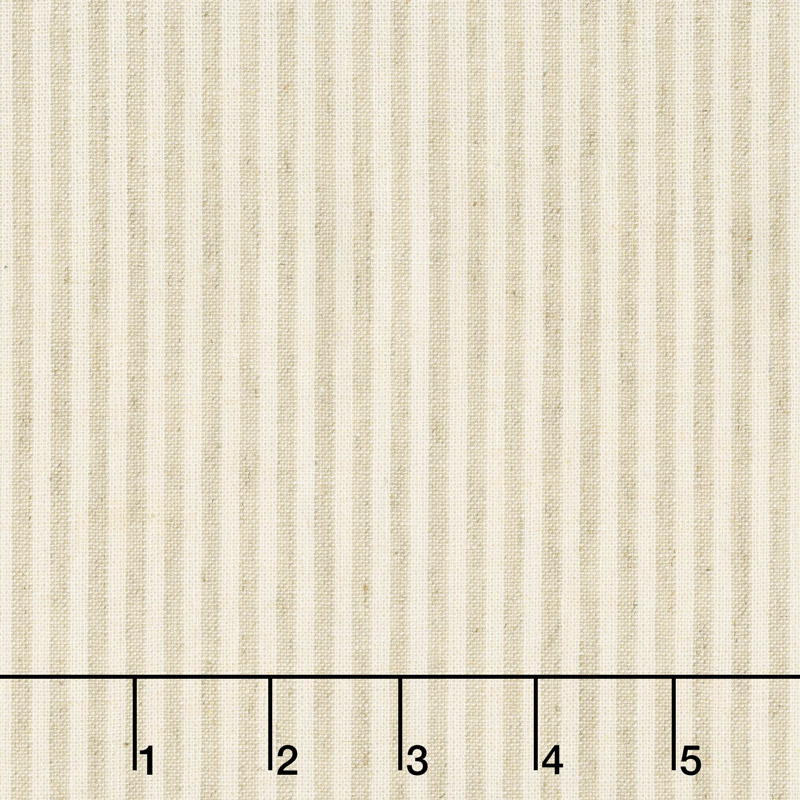 Essex Yarn Dyed Classic Wovens - Stripes Natural Yardage$13.44Shop →
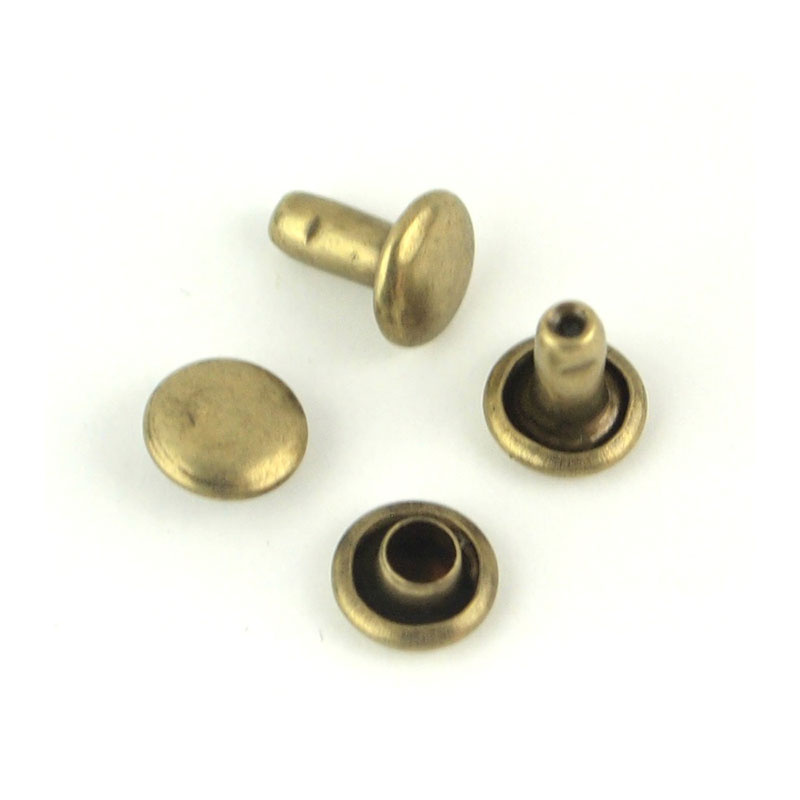 Sallie Tomato Small Rivets - Set of 24 6mm Antique$3.85Shop →
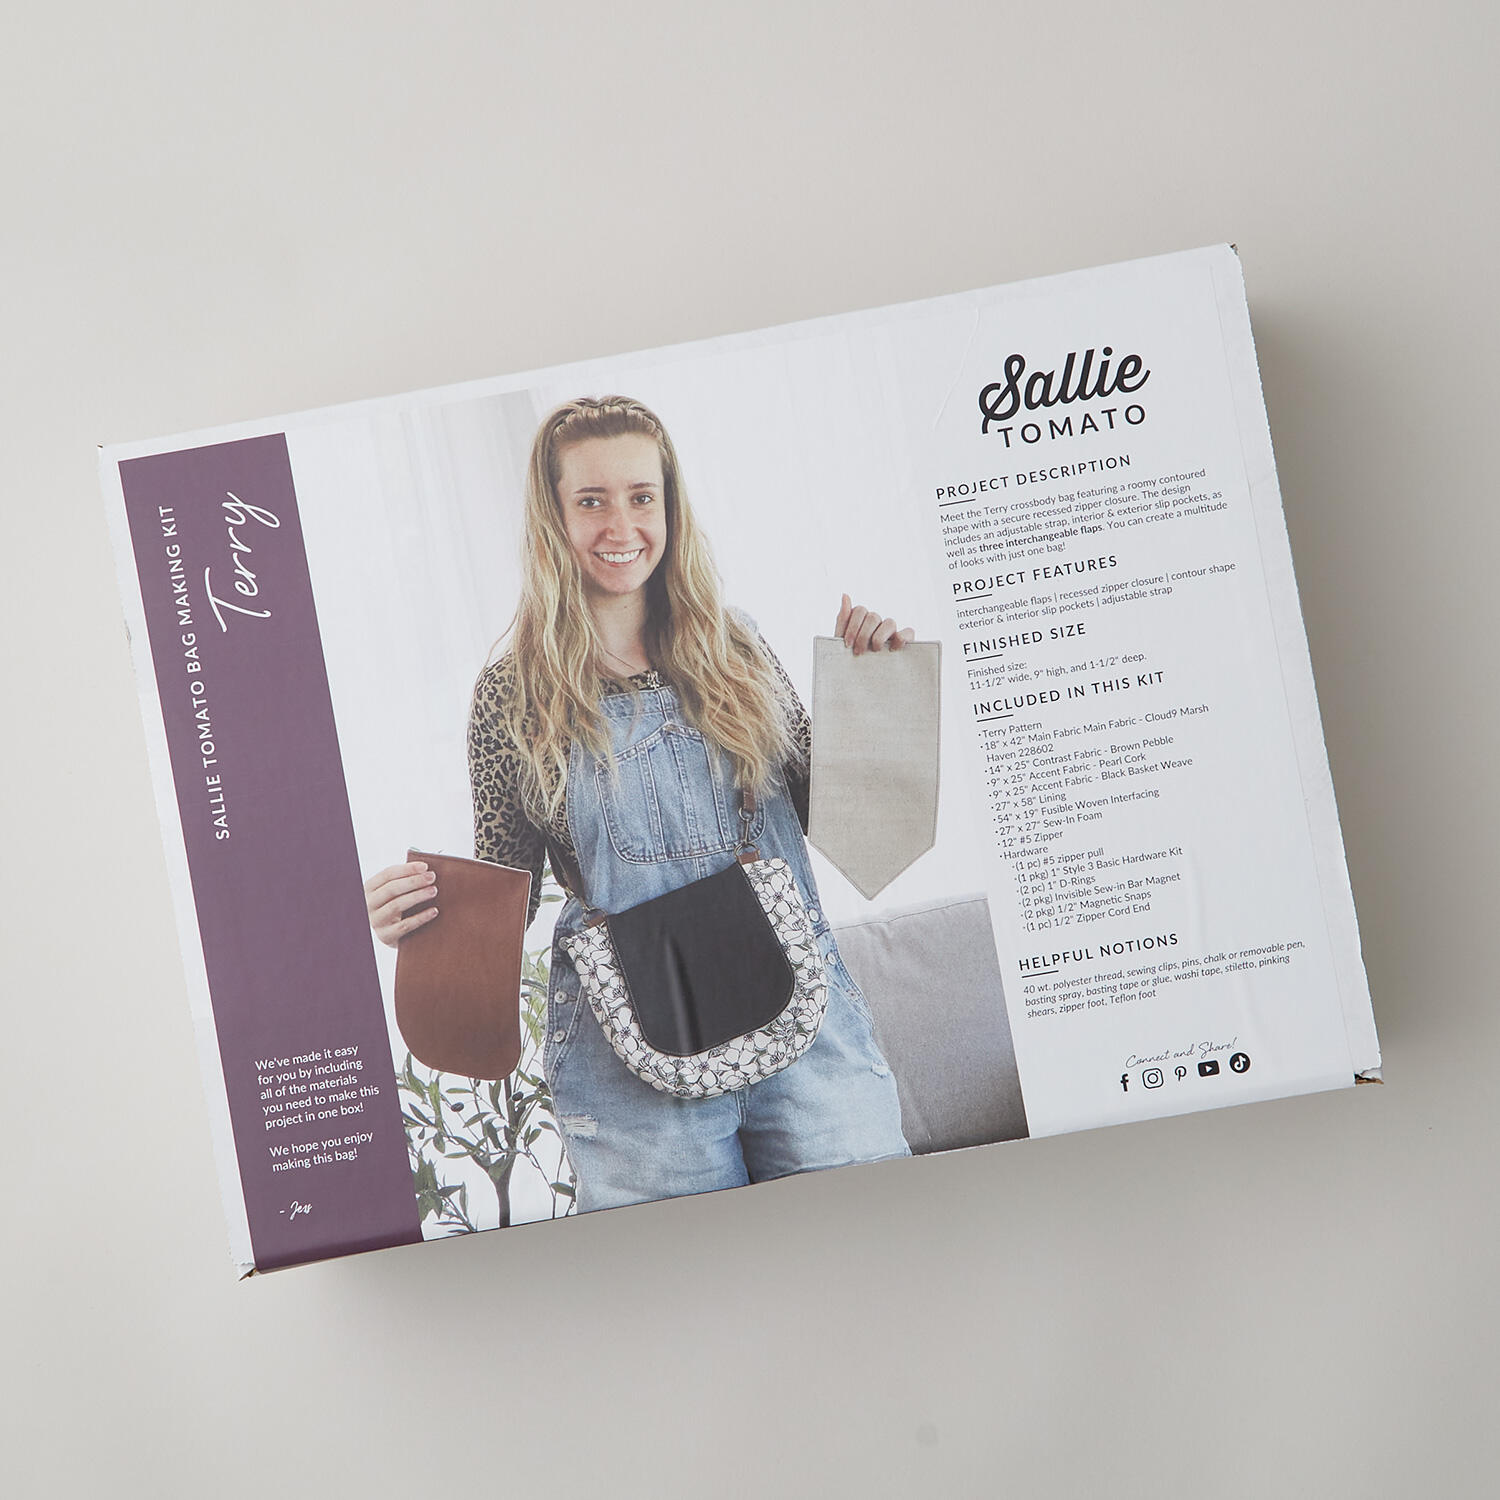 Triple Play Marsh Haven Bag Kit$144.95Shop →
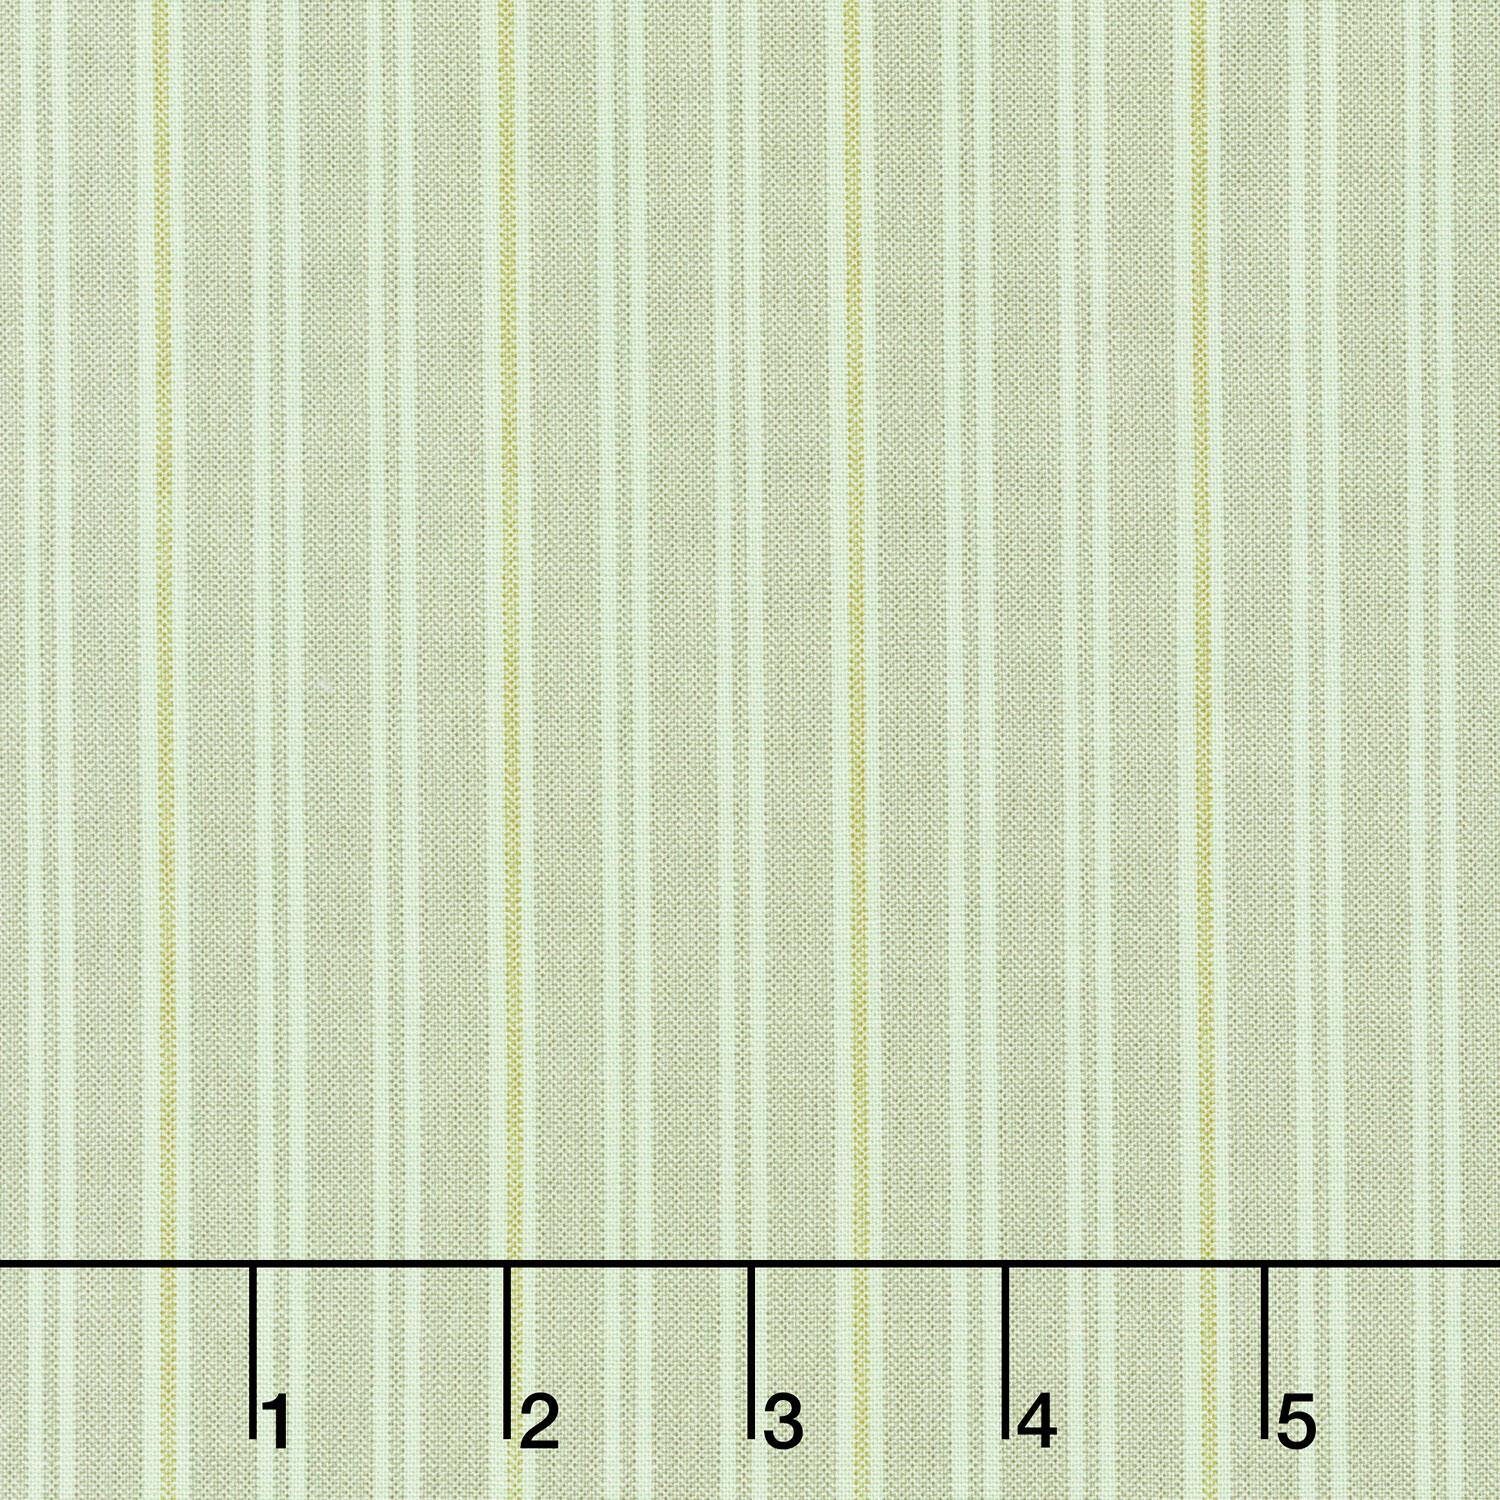 Quiltessential - Double Stripe Sequoia Yardage$11.24Shop →
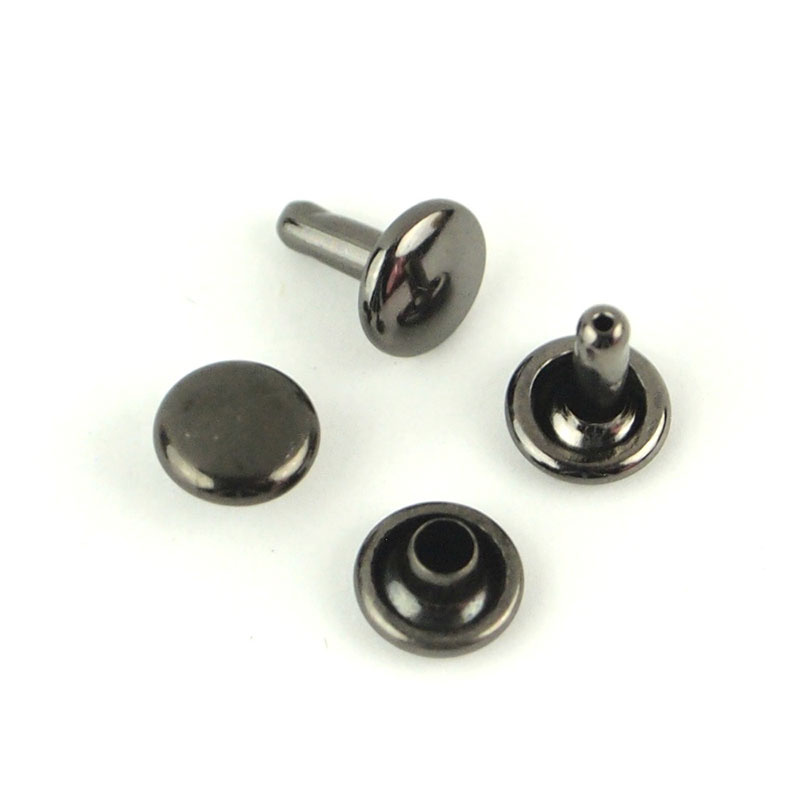 Sallie Tomato Small Rivets - Set of 24 6mm Gunmetal$3.85Shop →
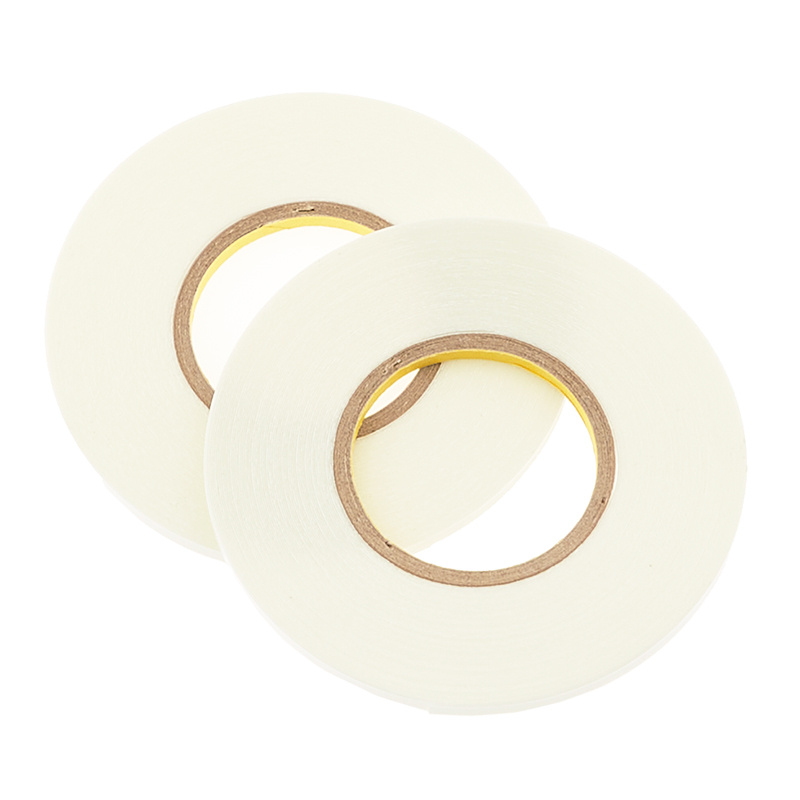 ByAnnie Double-Sided Basting Tape$8.75Shop →
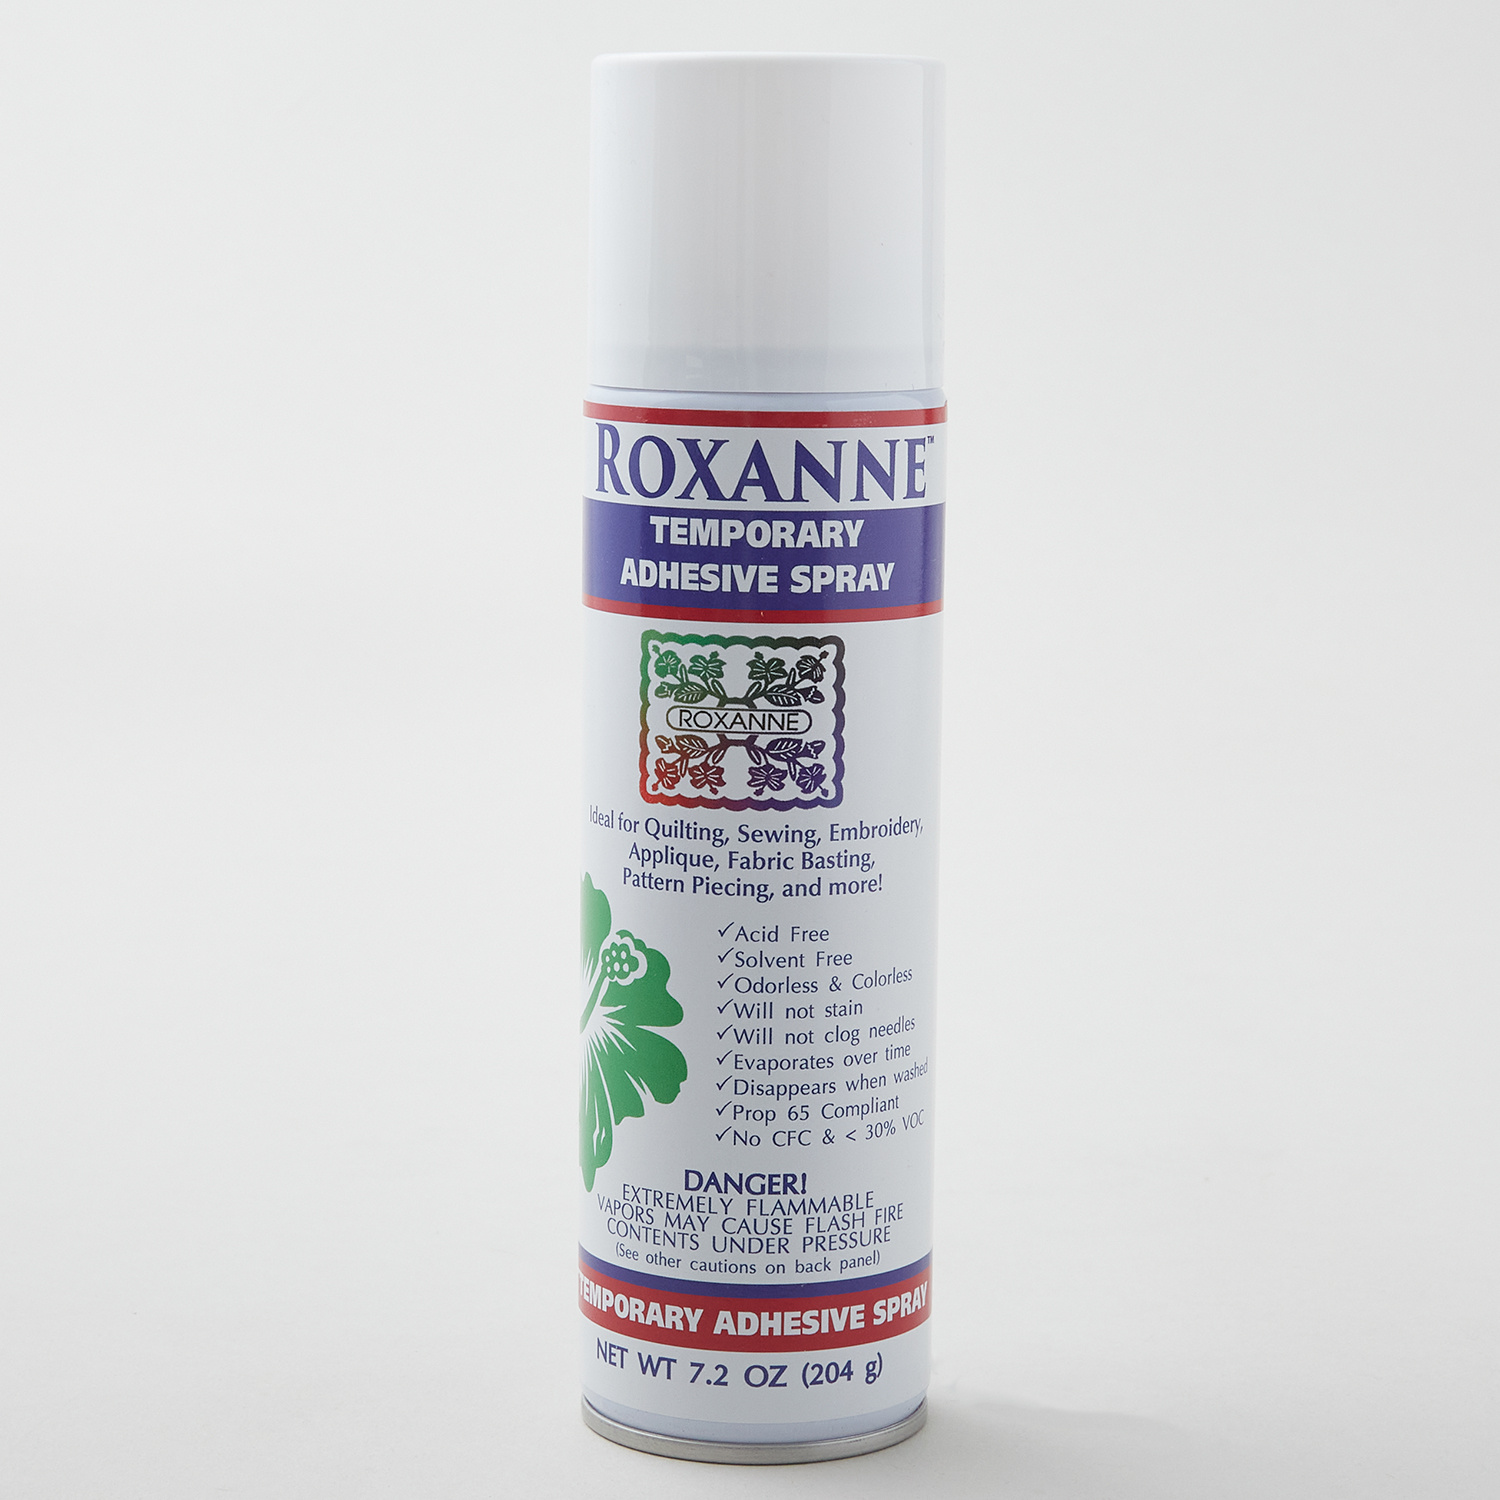 Roxanne's Temporary Adhesive Spray$20.45Shop →
 Missouri Star 50 WT Cotton Thread White$7.95Shop →
 Missouri Star 45mm Rotary Cutter - Olga$19.95Shop →
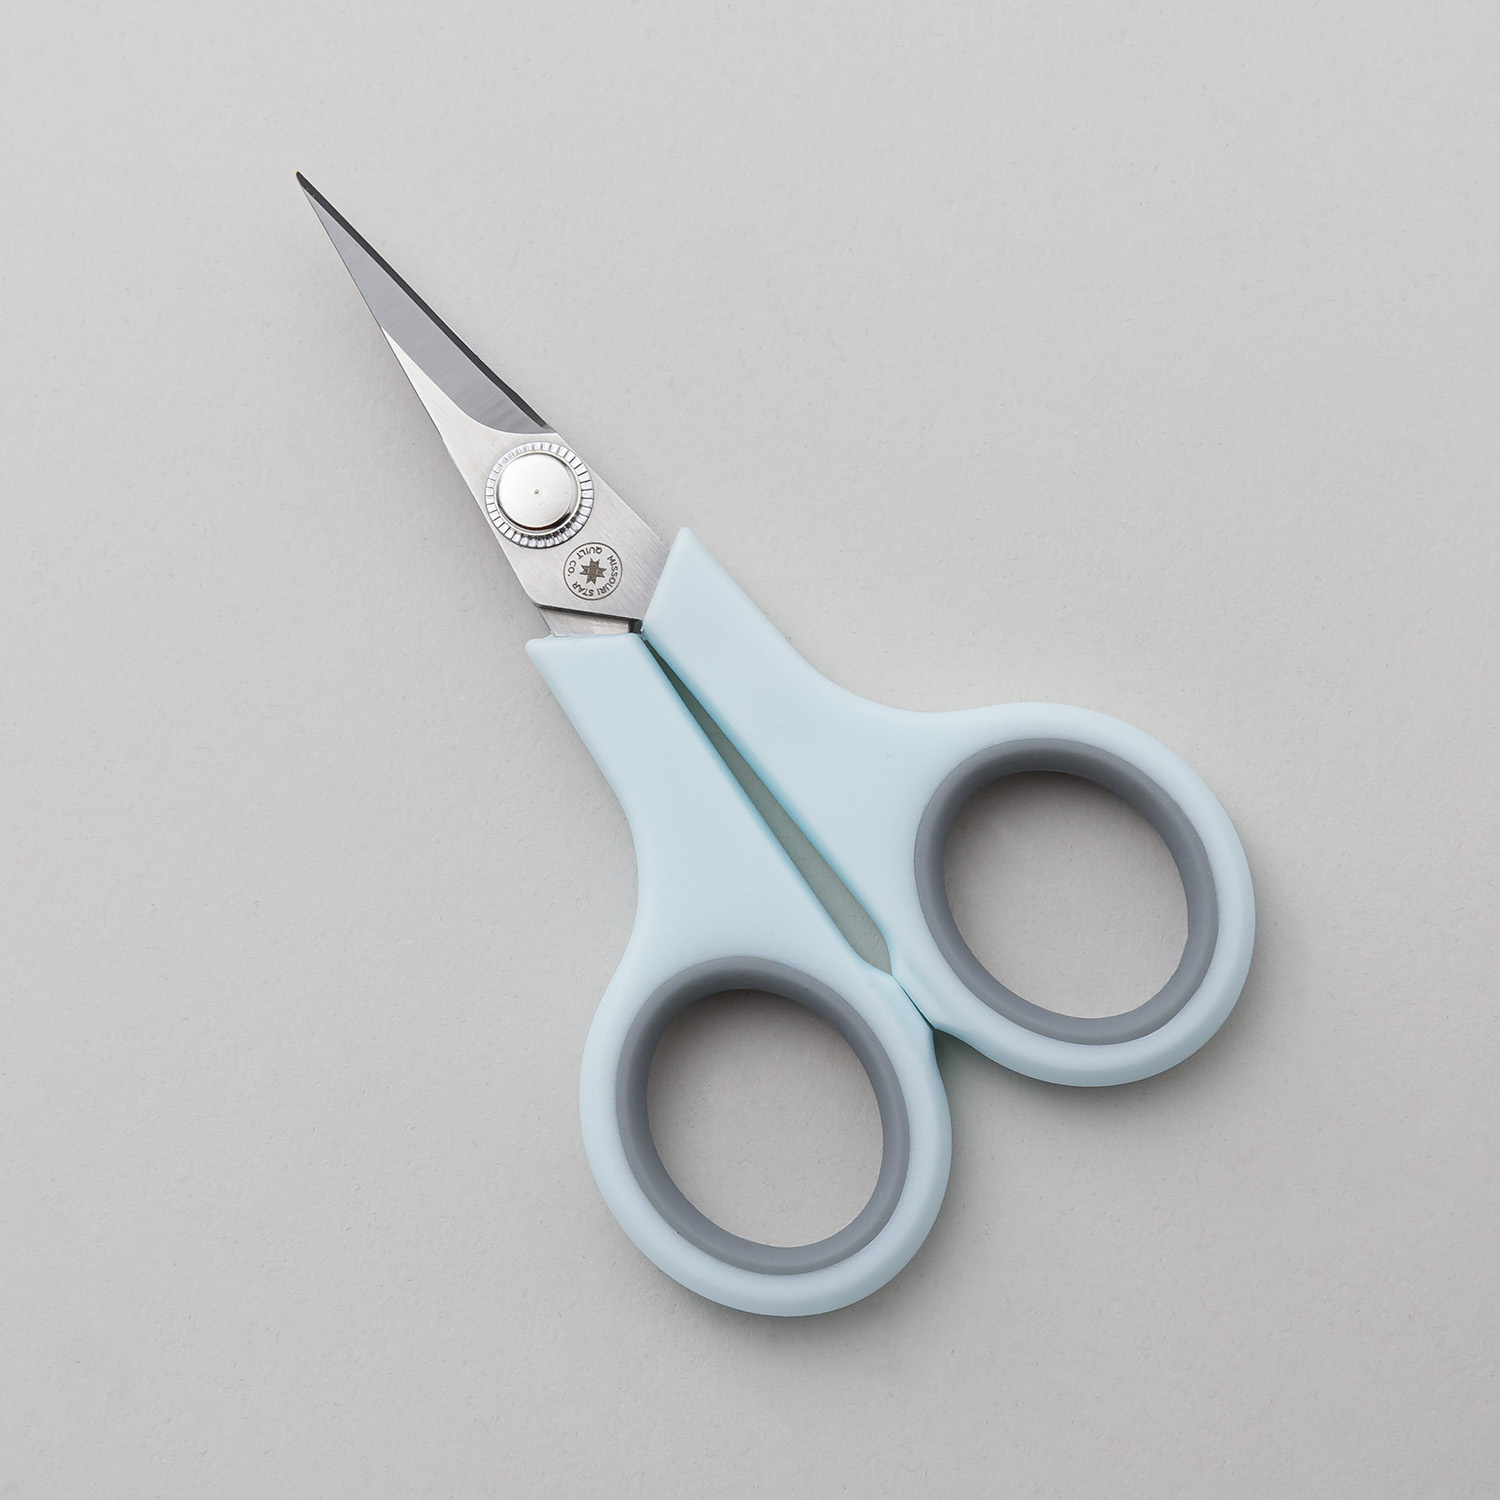 Missouri Star 4.5" Everyday Scissors - Elna$9.95Shop →
 Missouri Star 8" Everyday Scissors - Amelia$19.95Shop →
 Missouri Star Seam Ripper - Frida$9.95Shop →
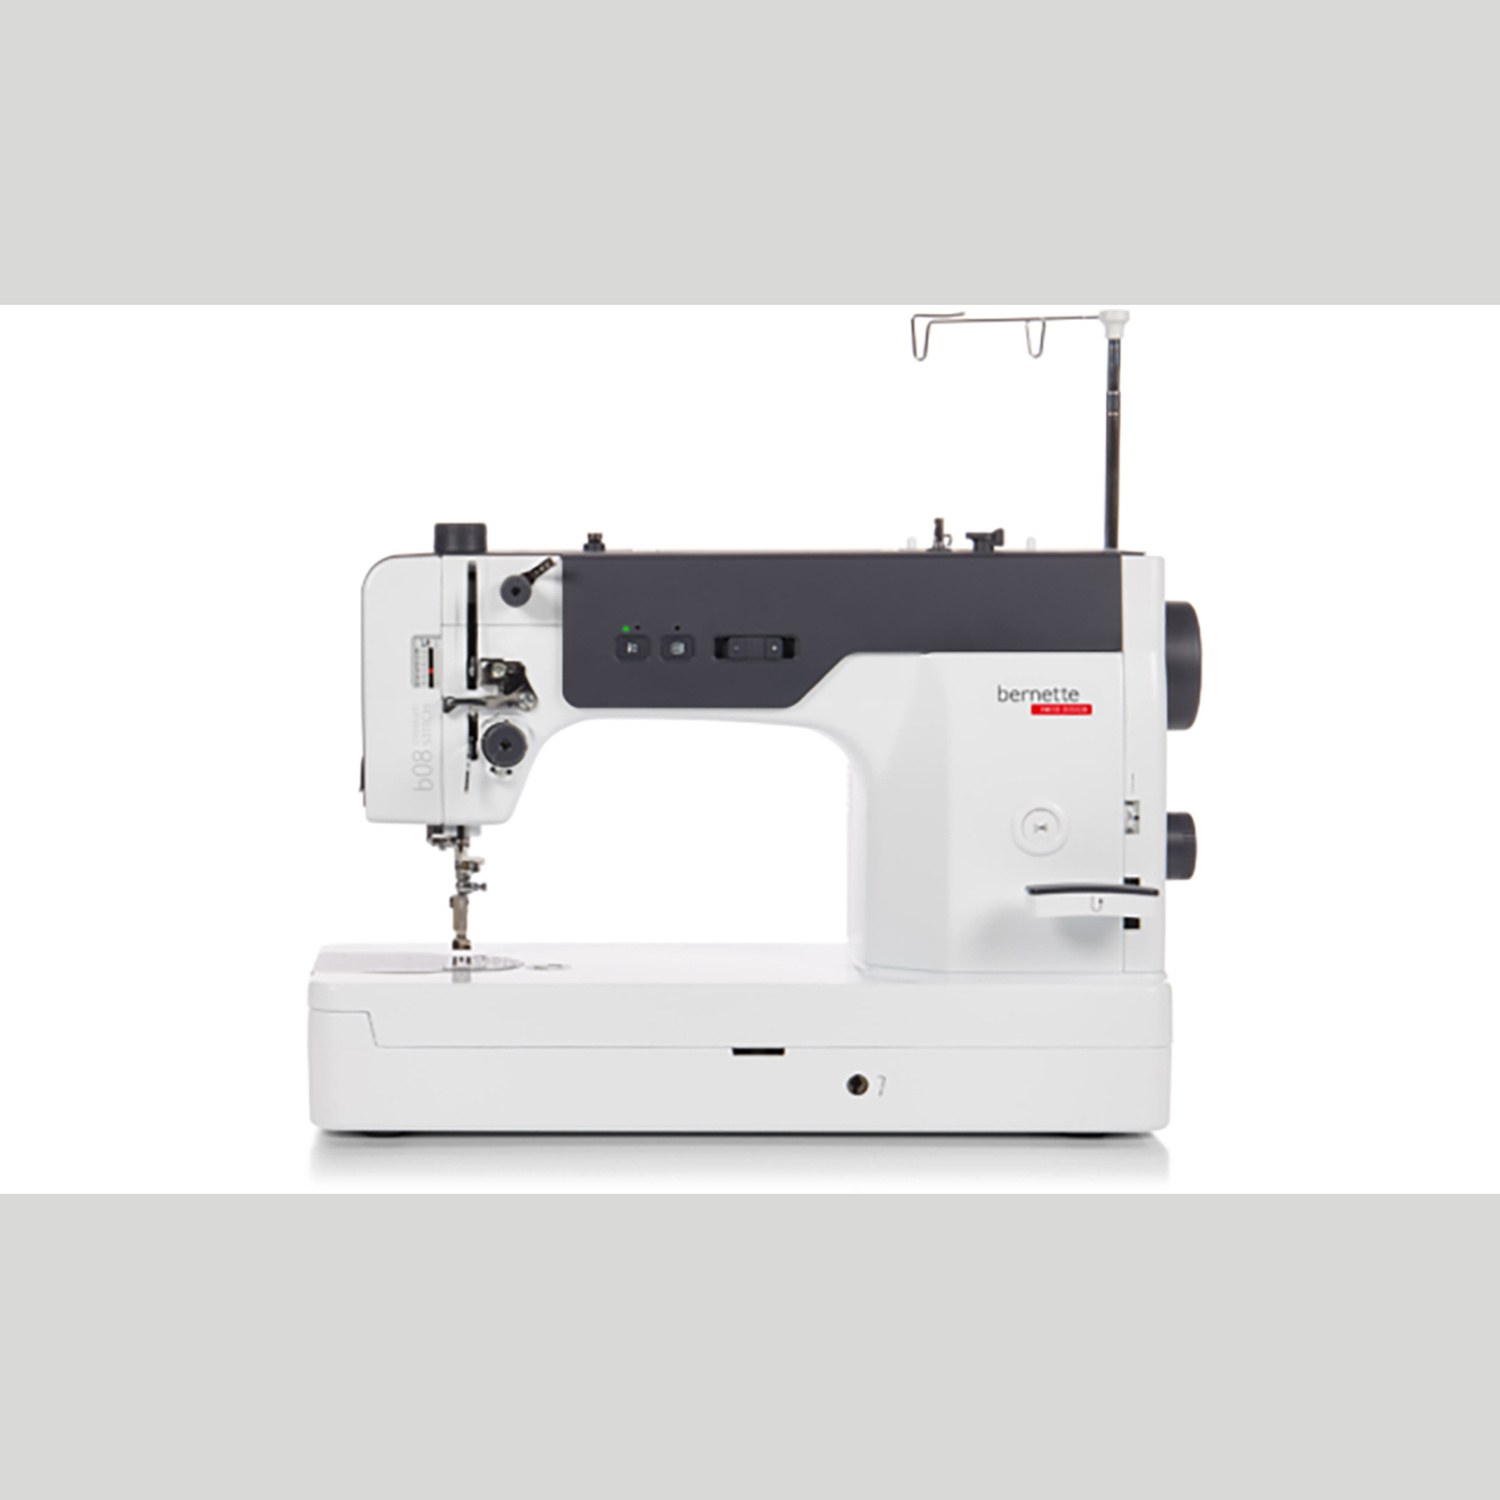 Bernette 08 Straight Stitch Sewing Machine$2299.00Shop →